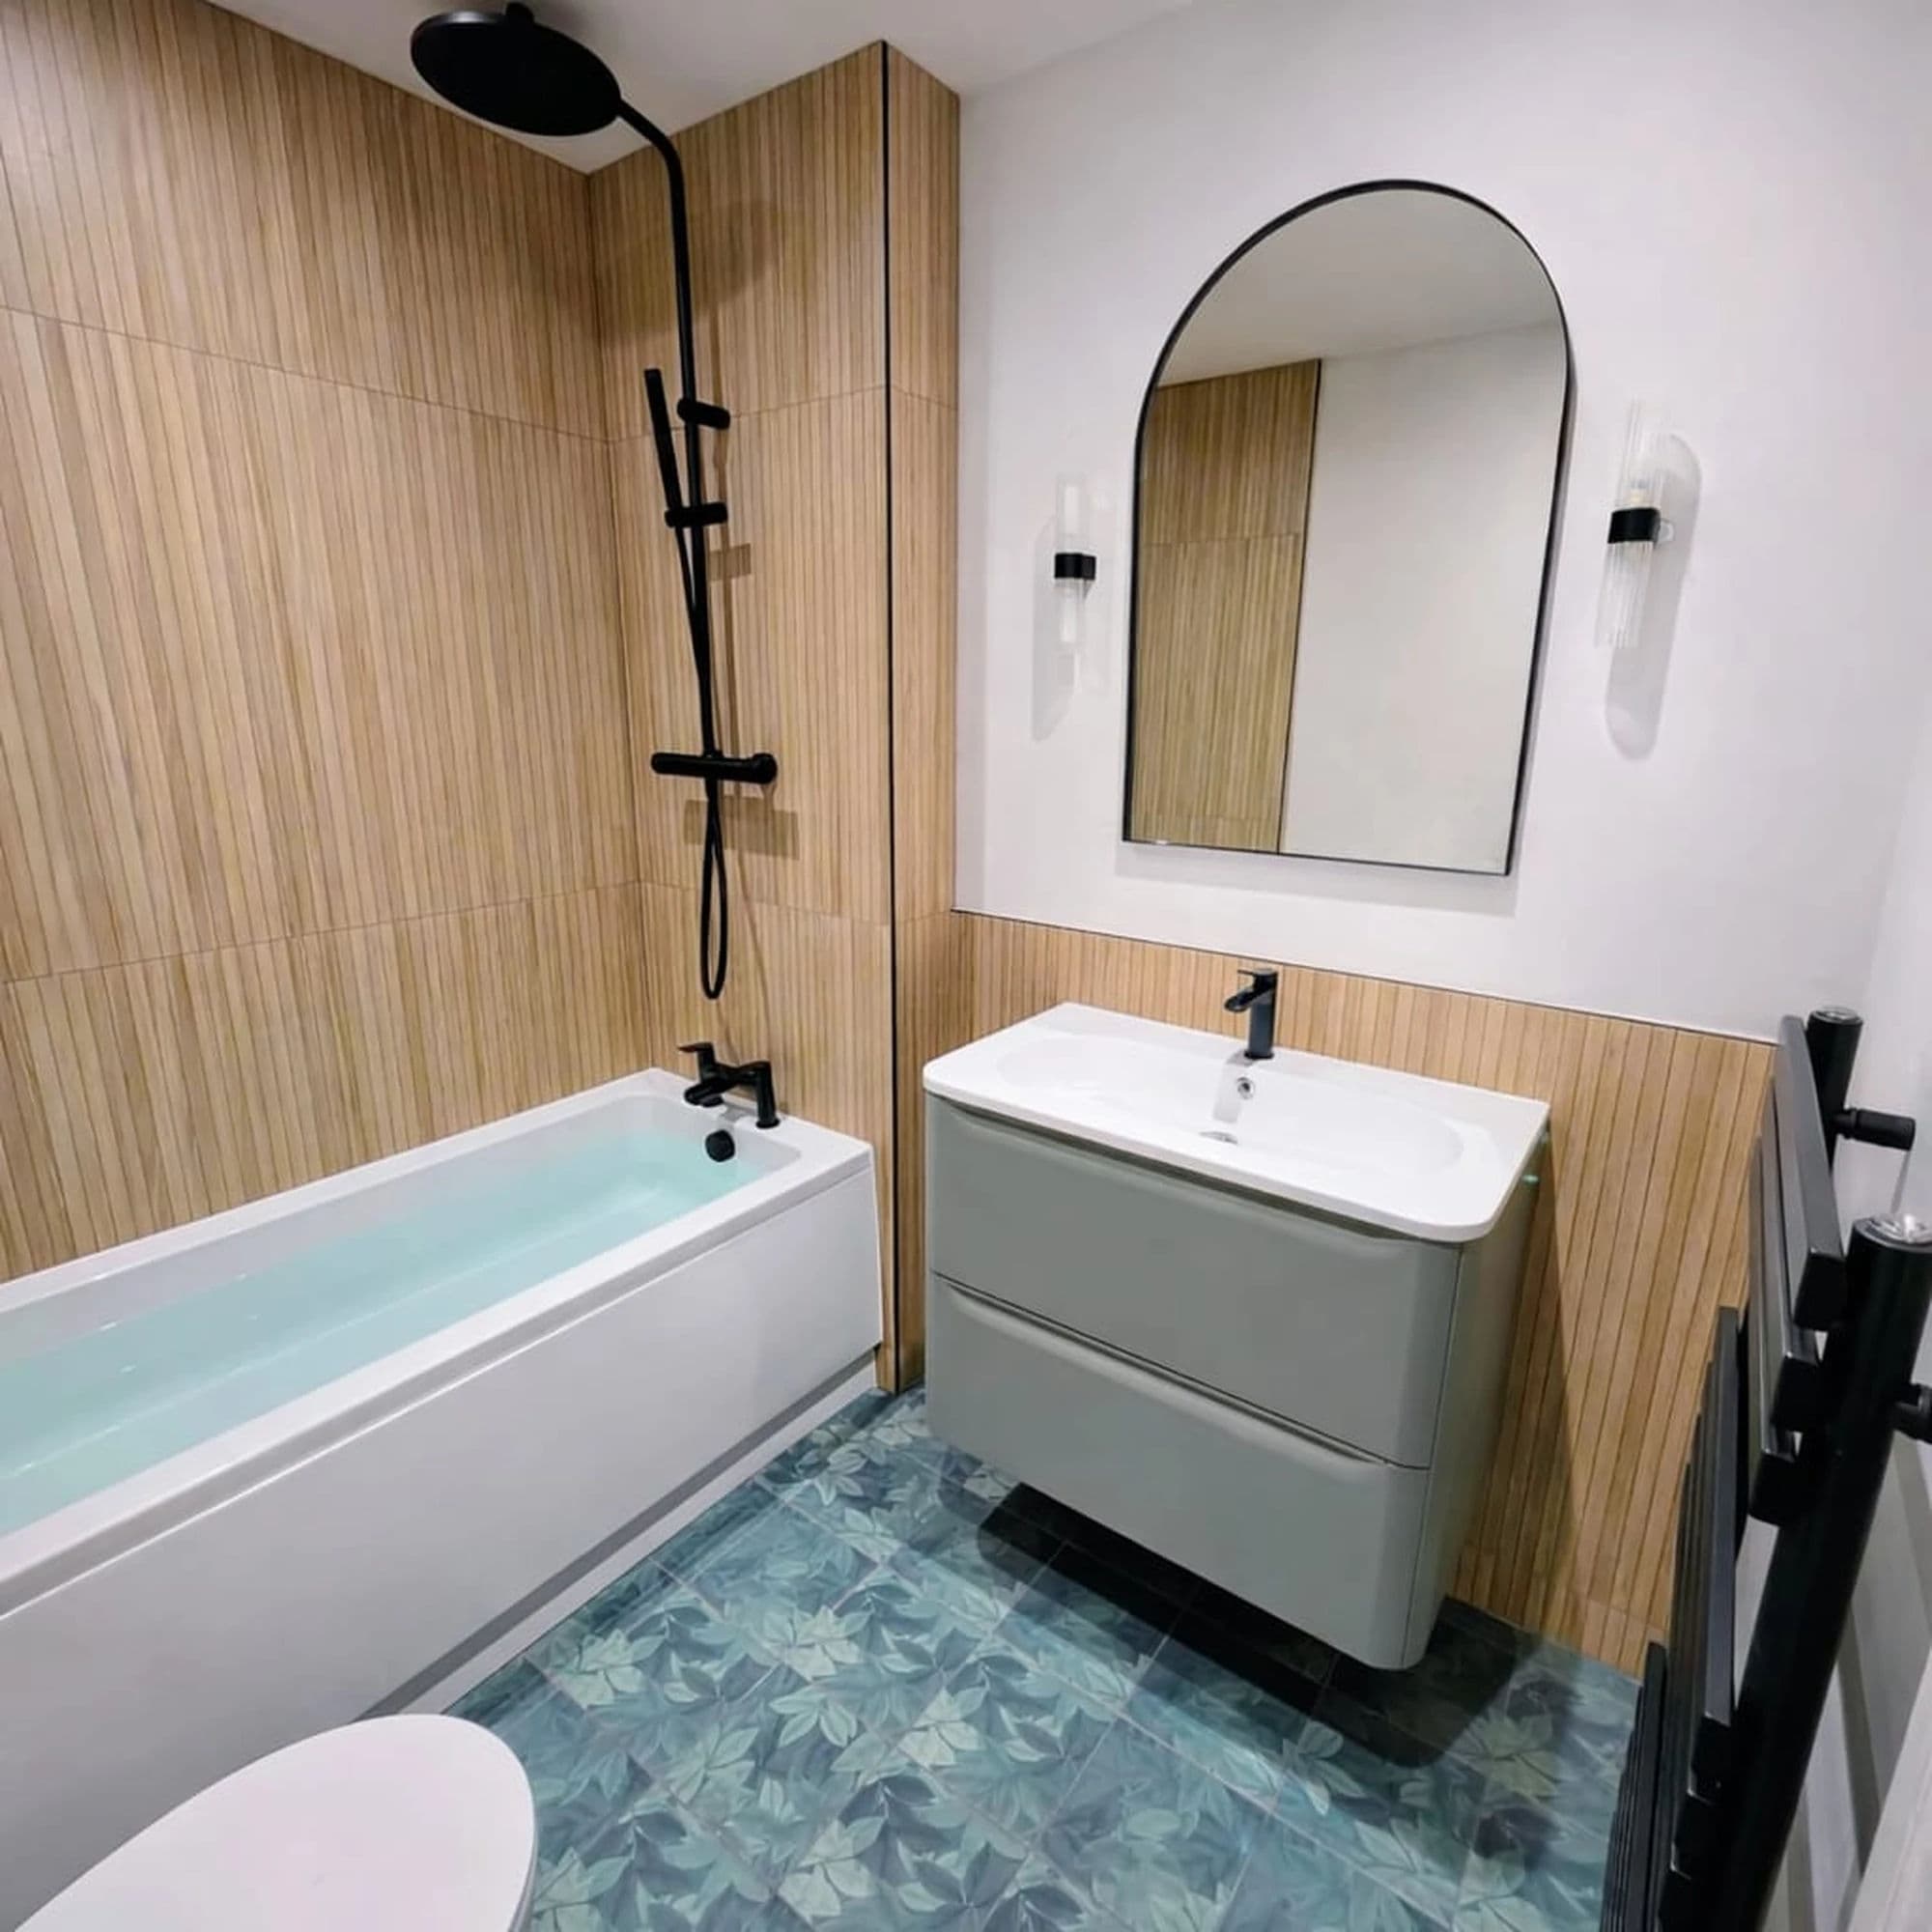
The 30-Second Read
Completed in December 2024, this complete bathroom renovation in Norton, Stockton-on-Tees, replaced an incorrectly installed bath that was moving during use, cracking the silicone seal and allowing water to leak into the kitchen below.
The homeowners wanted the bath removed and the compact room rebuilt around a proper full-size shower. We installed an 1800 × 800 mm stone-resin tray on a purpose-built platform, constructed a new partition to create the correct shower opening and fitted an 1800 mm Roman sliding enclosure with a new electric shower.
The renovation also included detailed bathroom tiling, 200 × 100 mm ceramic metro tiles in brick bond, contrasting black feature bands, a traditional black-and-white mosaic floor, upgraded ventilation and four new bathroom spotlights.
The complete project took exactly 10 working days, Monday to Friday over two weeks.
Project Overview
The original Norton bathroom contained a bath, pedestal basin and WC.
The WC and basin positions already worked within the narrow room, so there was no need to relocate them. The main problem was the bath installation.
The bath had not been installed securely and was moving during normal use. As it moved, the silicone joint between the bath and the tiled wall repeatedly cracked. Water was then able to pass behind the bath and run through into the kitchen below.
The homeowners also wanted to change the way they used the bathroom. Rather than reinstall another bath, they wanted a proper full-size shower that would be more practical and enjoyable for everyday use.
The renovation therefore addressed both issues at the same time: removing the defective bath installation and redesigning the room around a large dedicated shower.
Removing the Moving Bath and the Cause of the Leak
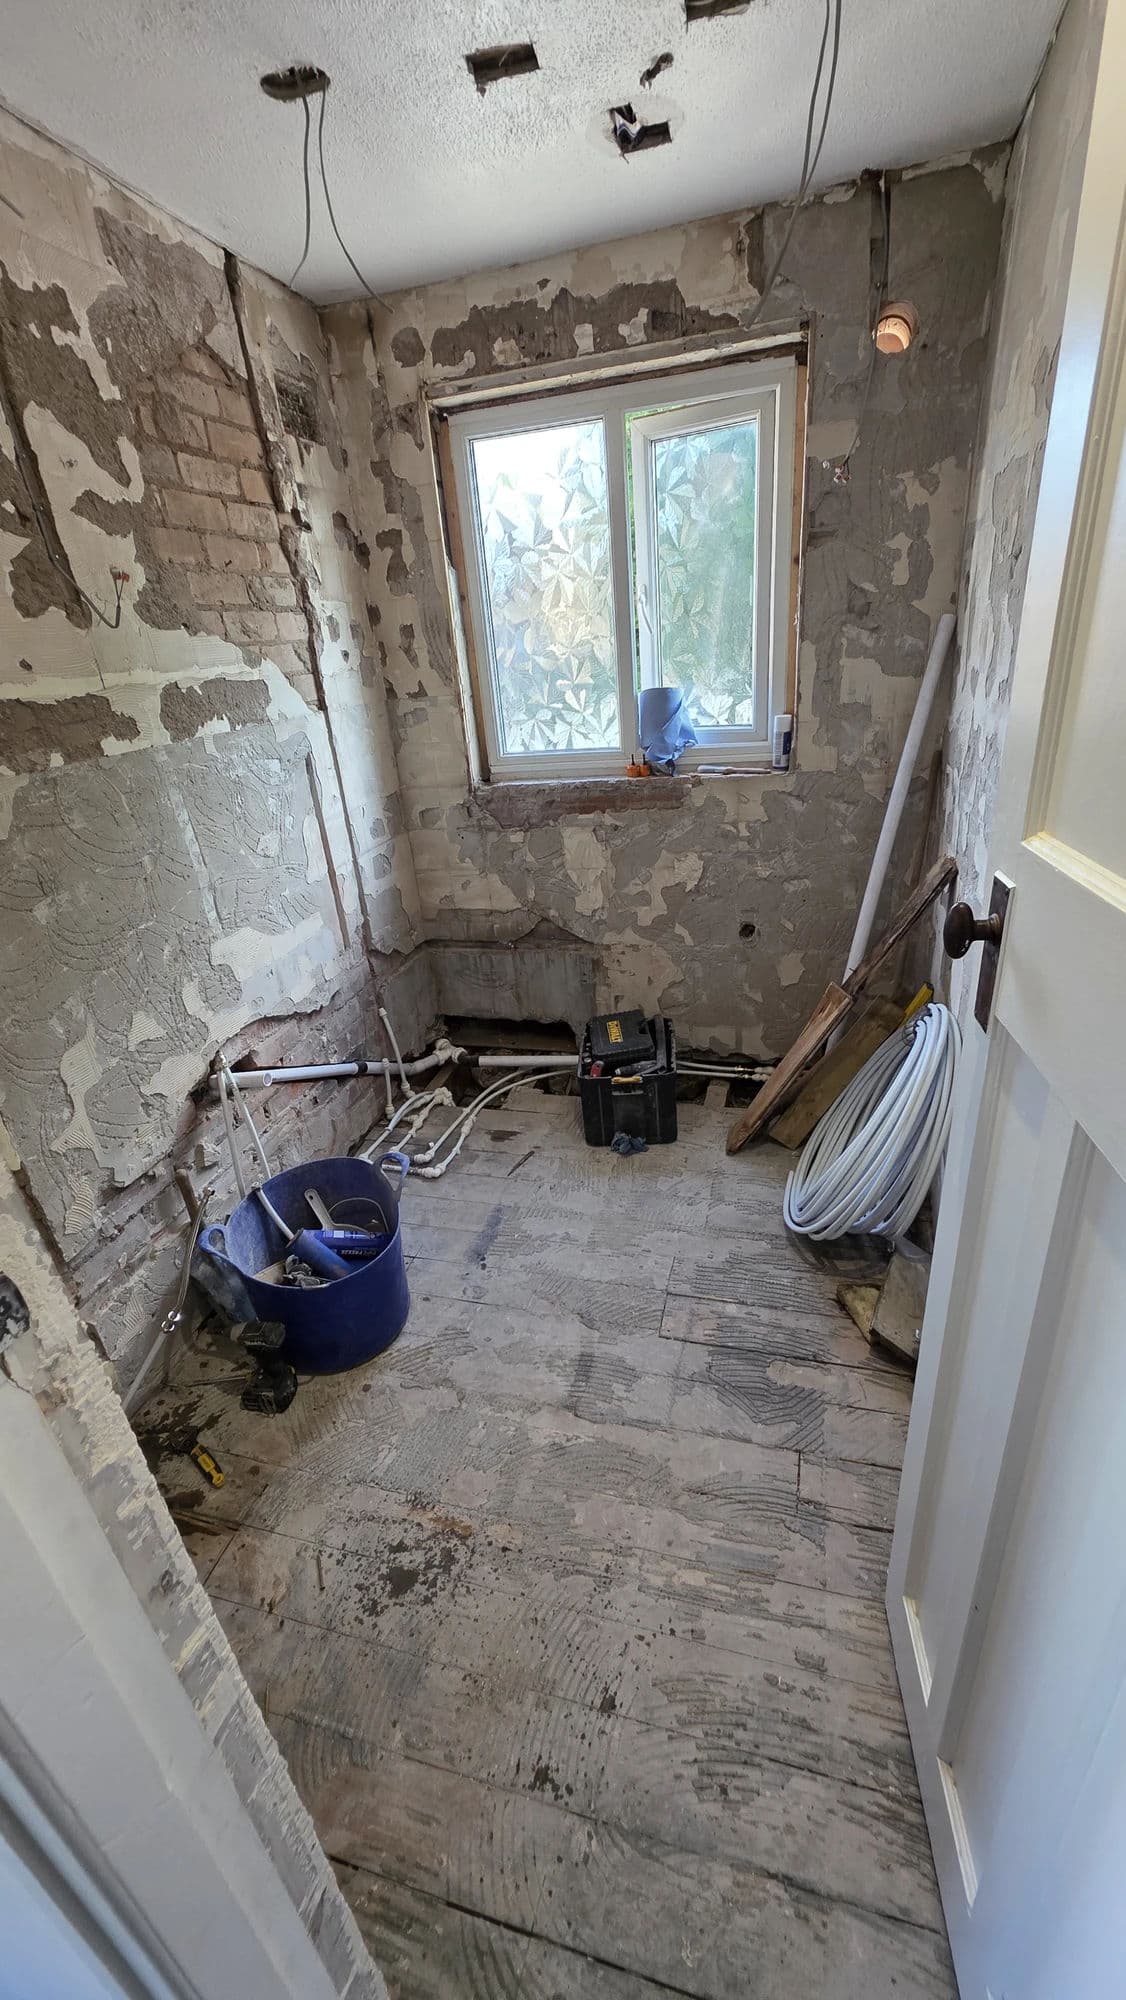
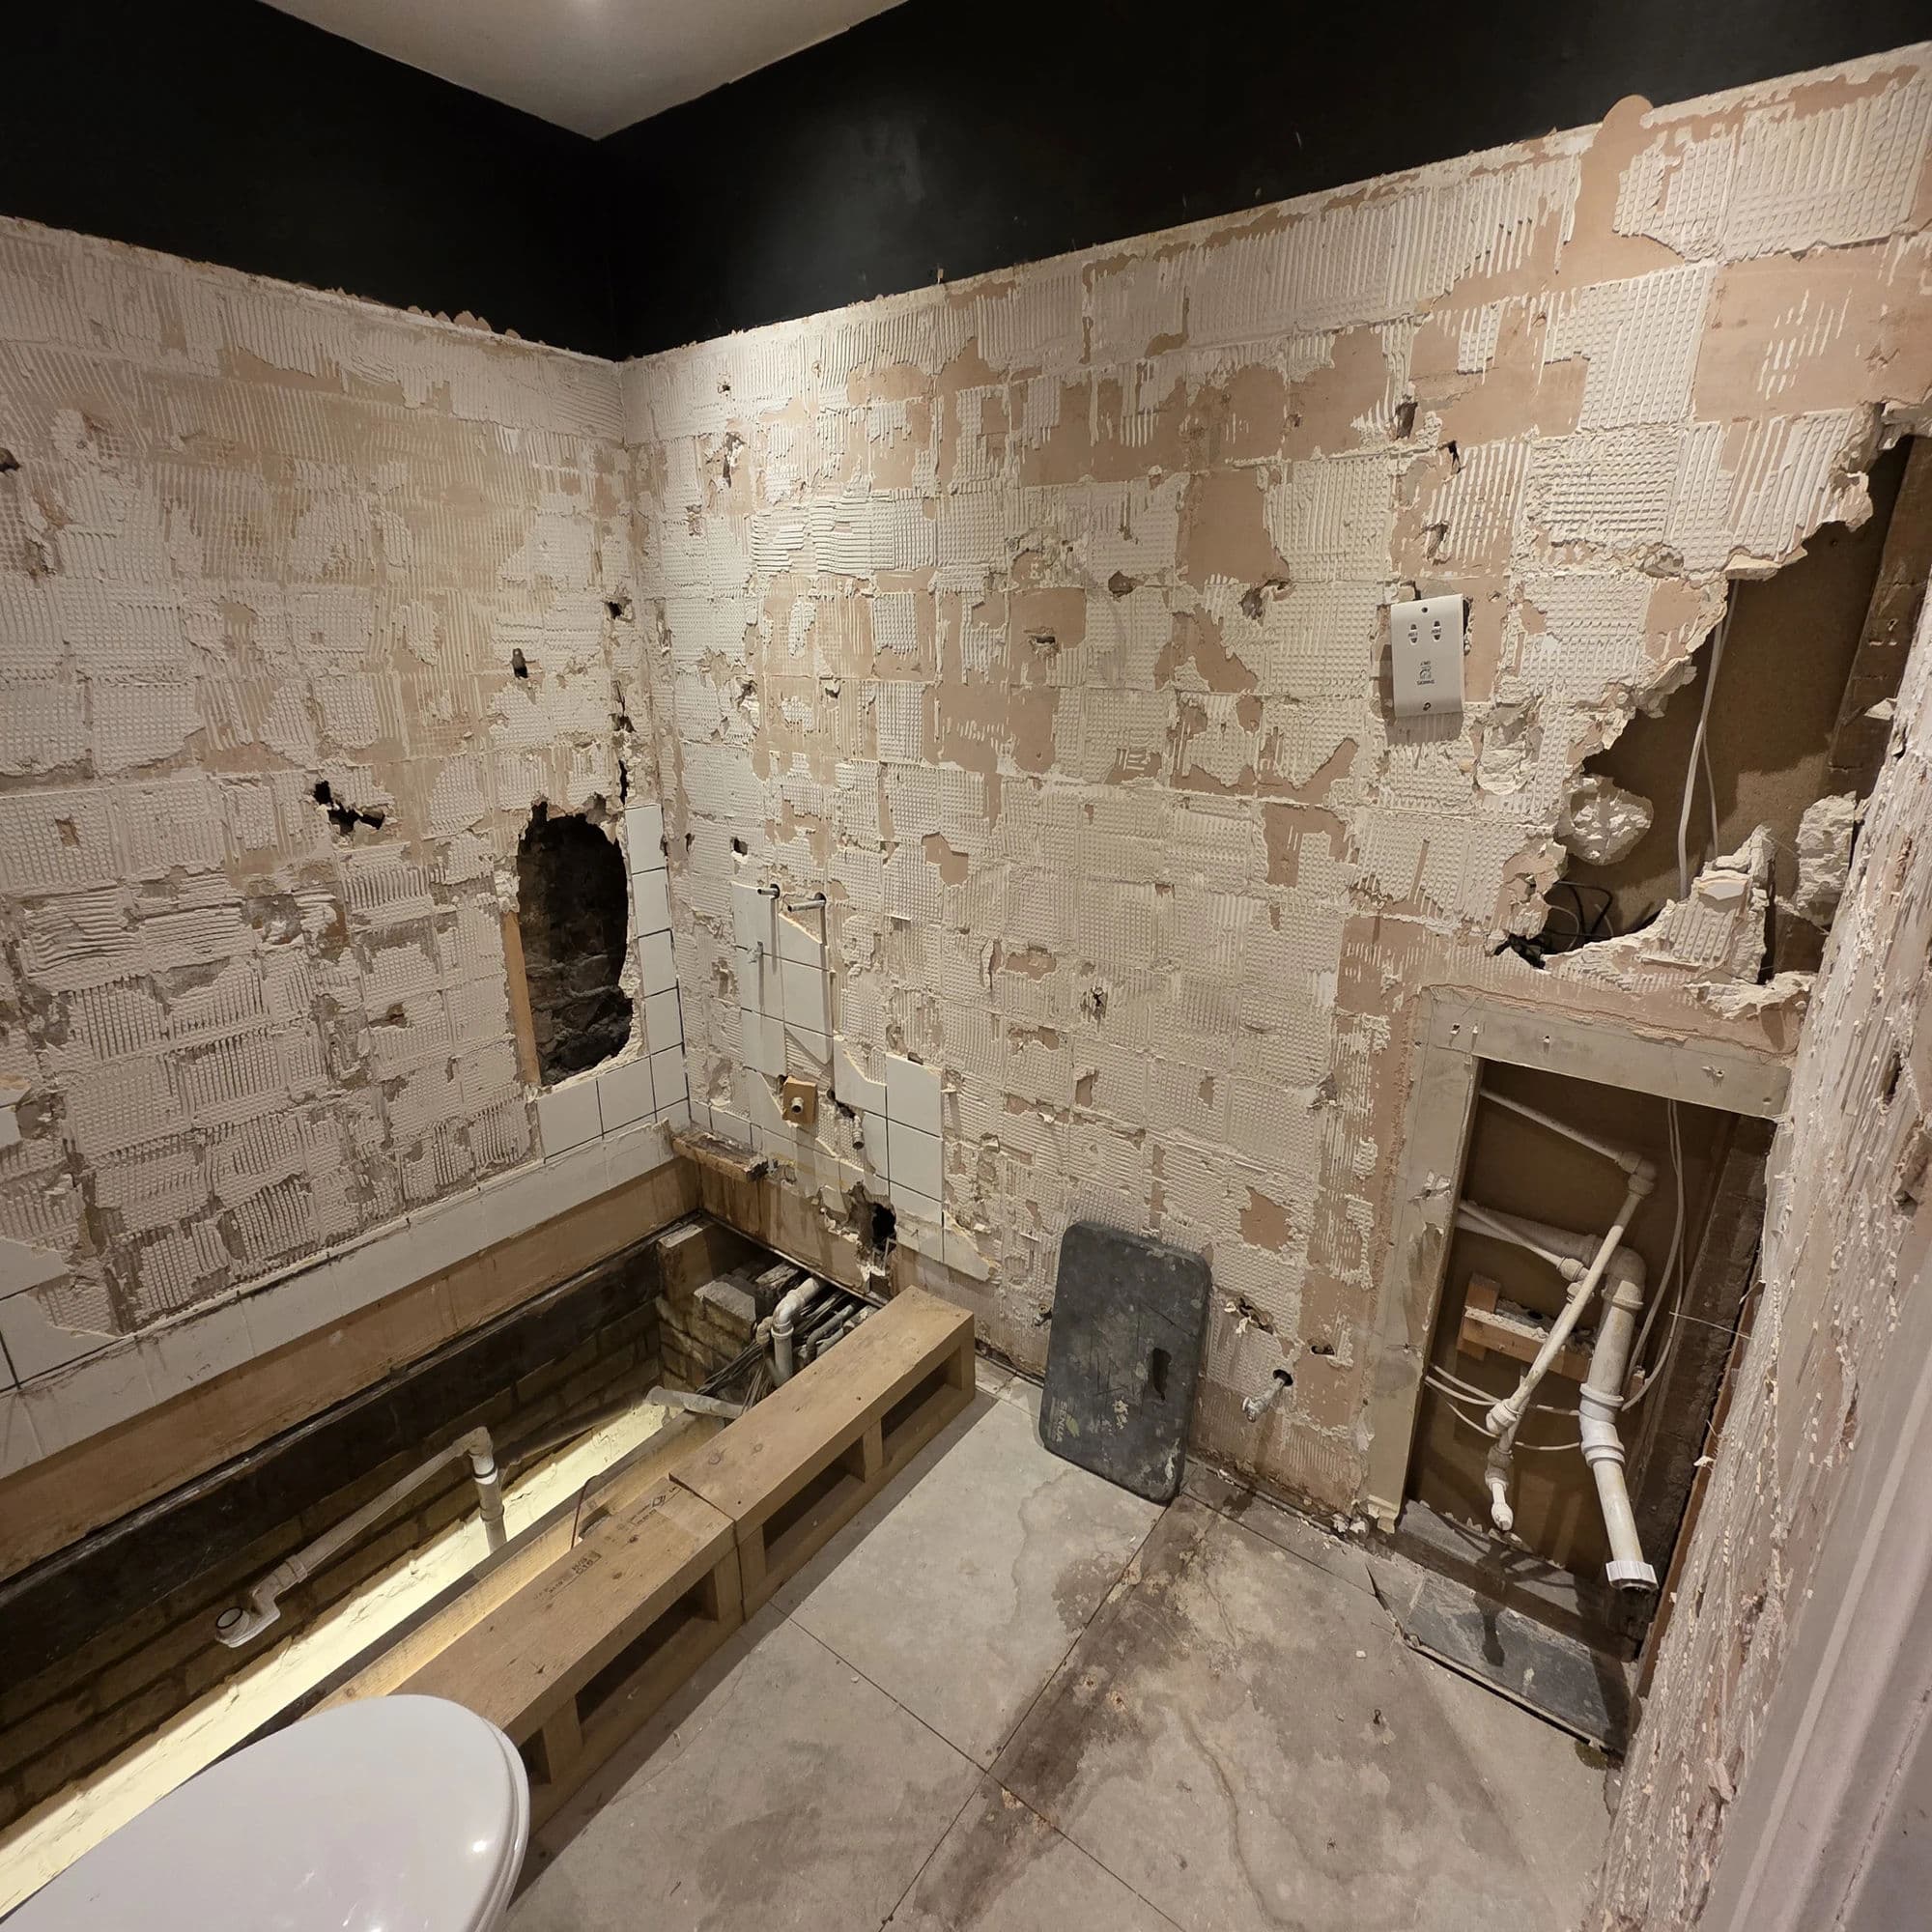
The existing bathroom was stripped out and the incorrectly installed bath removed completely.
The cracked silicone was not the underlying fault. The real problem was movement in the bath itself.
Simply resealing the old installation would therefore have treated the symptom rather than the cause. If the bath continued to move, a replacement silicone joint could fail again.
Removing it allowed us to start again with a rigid purpose-built structure for the new shower tray.
The existing WC and basin locations were retained, allowing almost the full available length of the bathroom to be dedicated to the new shower.
1800 × 800 mm Stone-Resin Shower Installation
The bath was replaced with a large 1800 × 800 mm stone-resin shower tray.
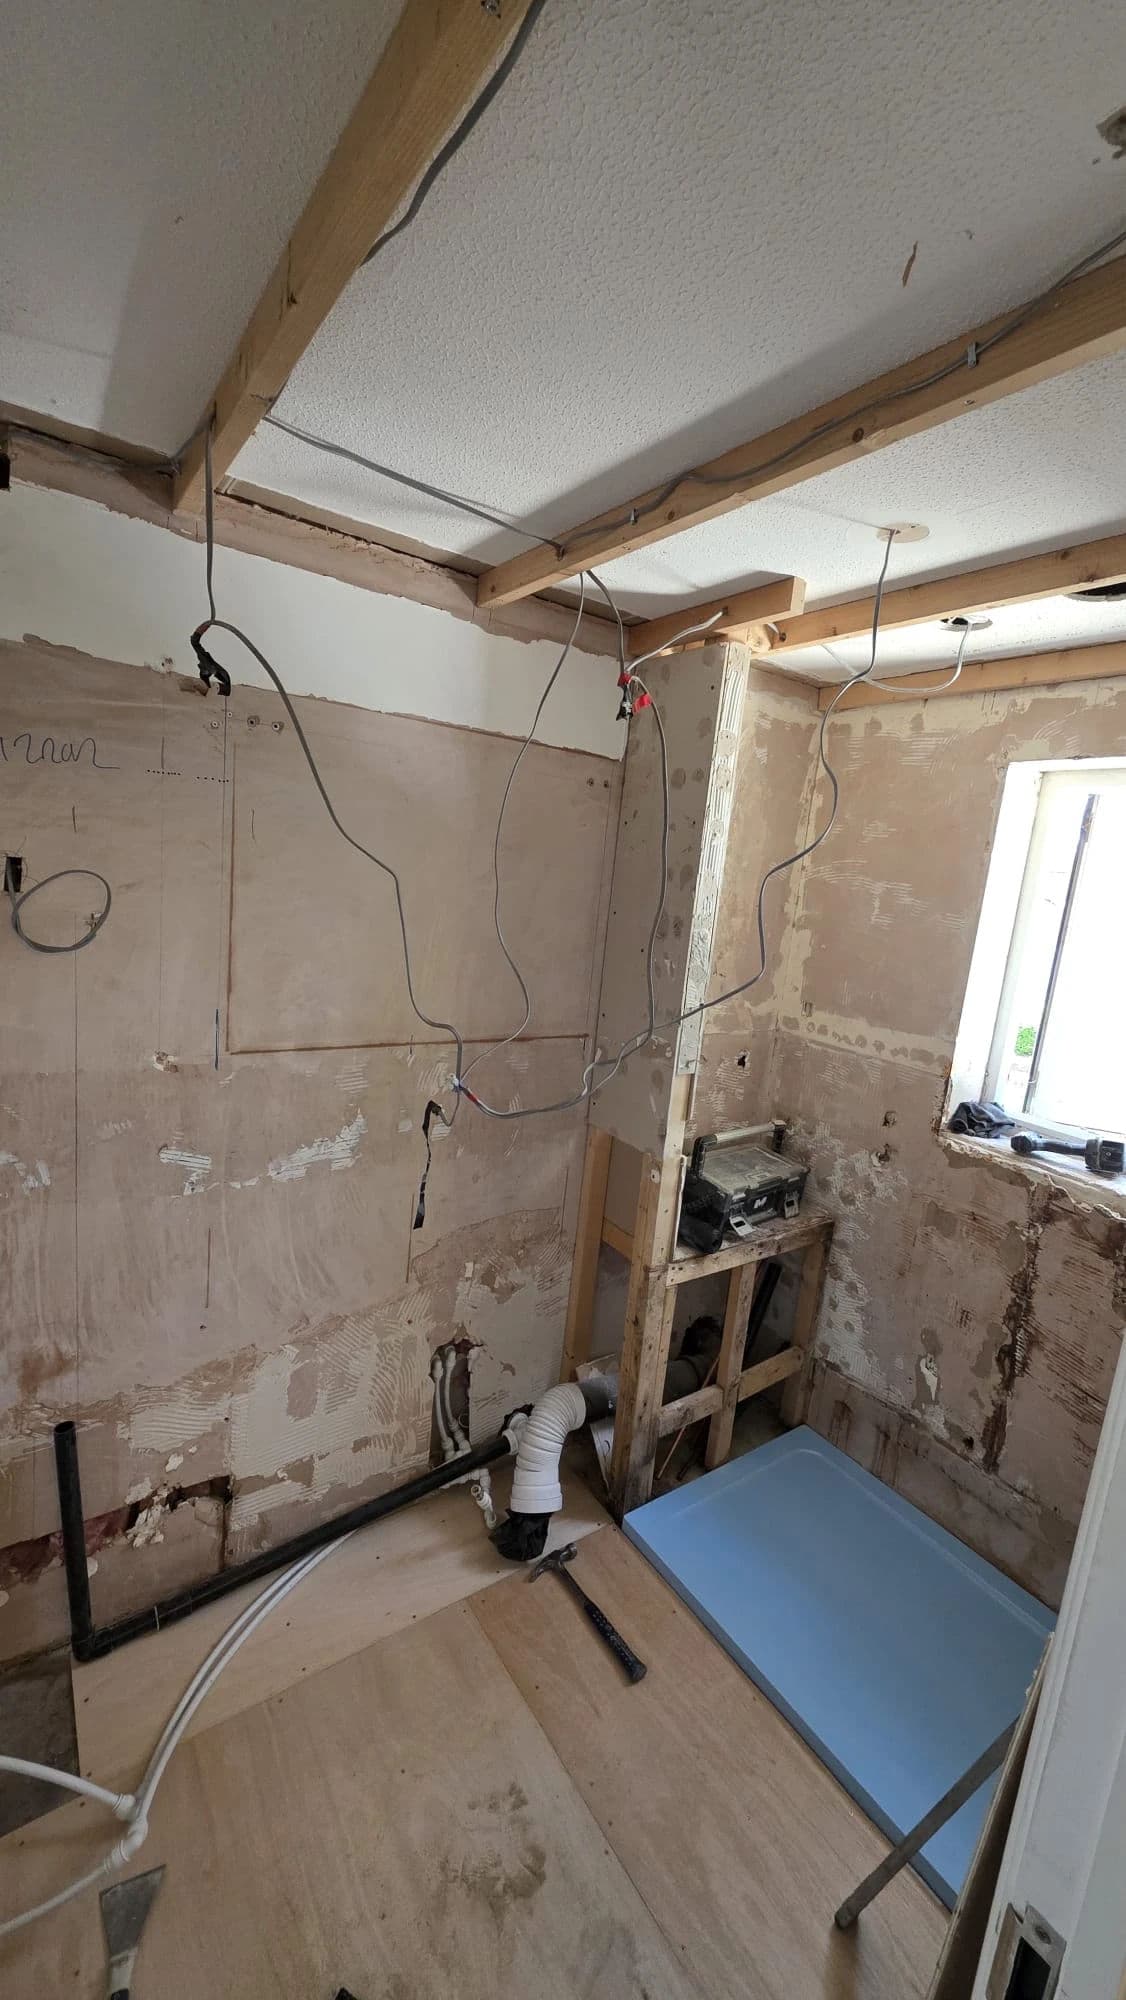
Because of the tray size and the room configuration, we constructed a purpose-built support platform using 4 × 2 timber with a plywood deck.
The platform was prepared to create a solid base before the stone-resin tray was securely installed and bedded in position.
This was particularly important on this renovation because movement in the previous installation had caused the original seal failure and leak.
The 1800 mm tray now occupies almost the full usable length of the room, creating a substantially larger dedicated showering area than the previous bath arrangement.
A new electric shower was installed as part of the shower installation.
New Partition and 1800 mm Roman Sliding Shower Enclosure
The room dimensions were adjusted specifically around the new shower.
A new partition was constructed beside the tray so the finished shower opening matched the required dimensions accurately.
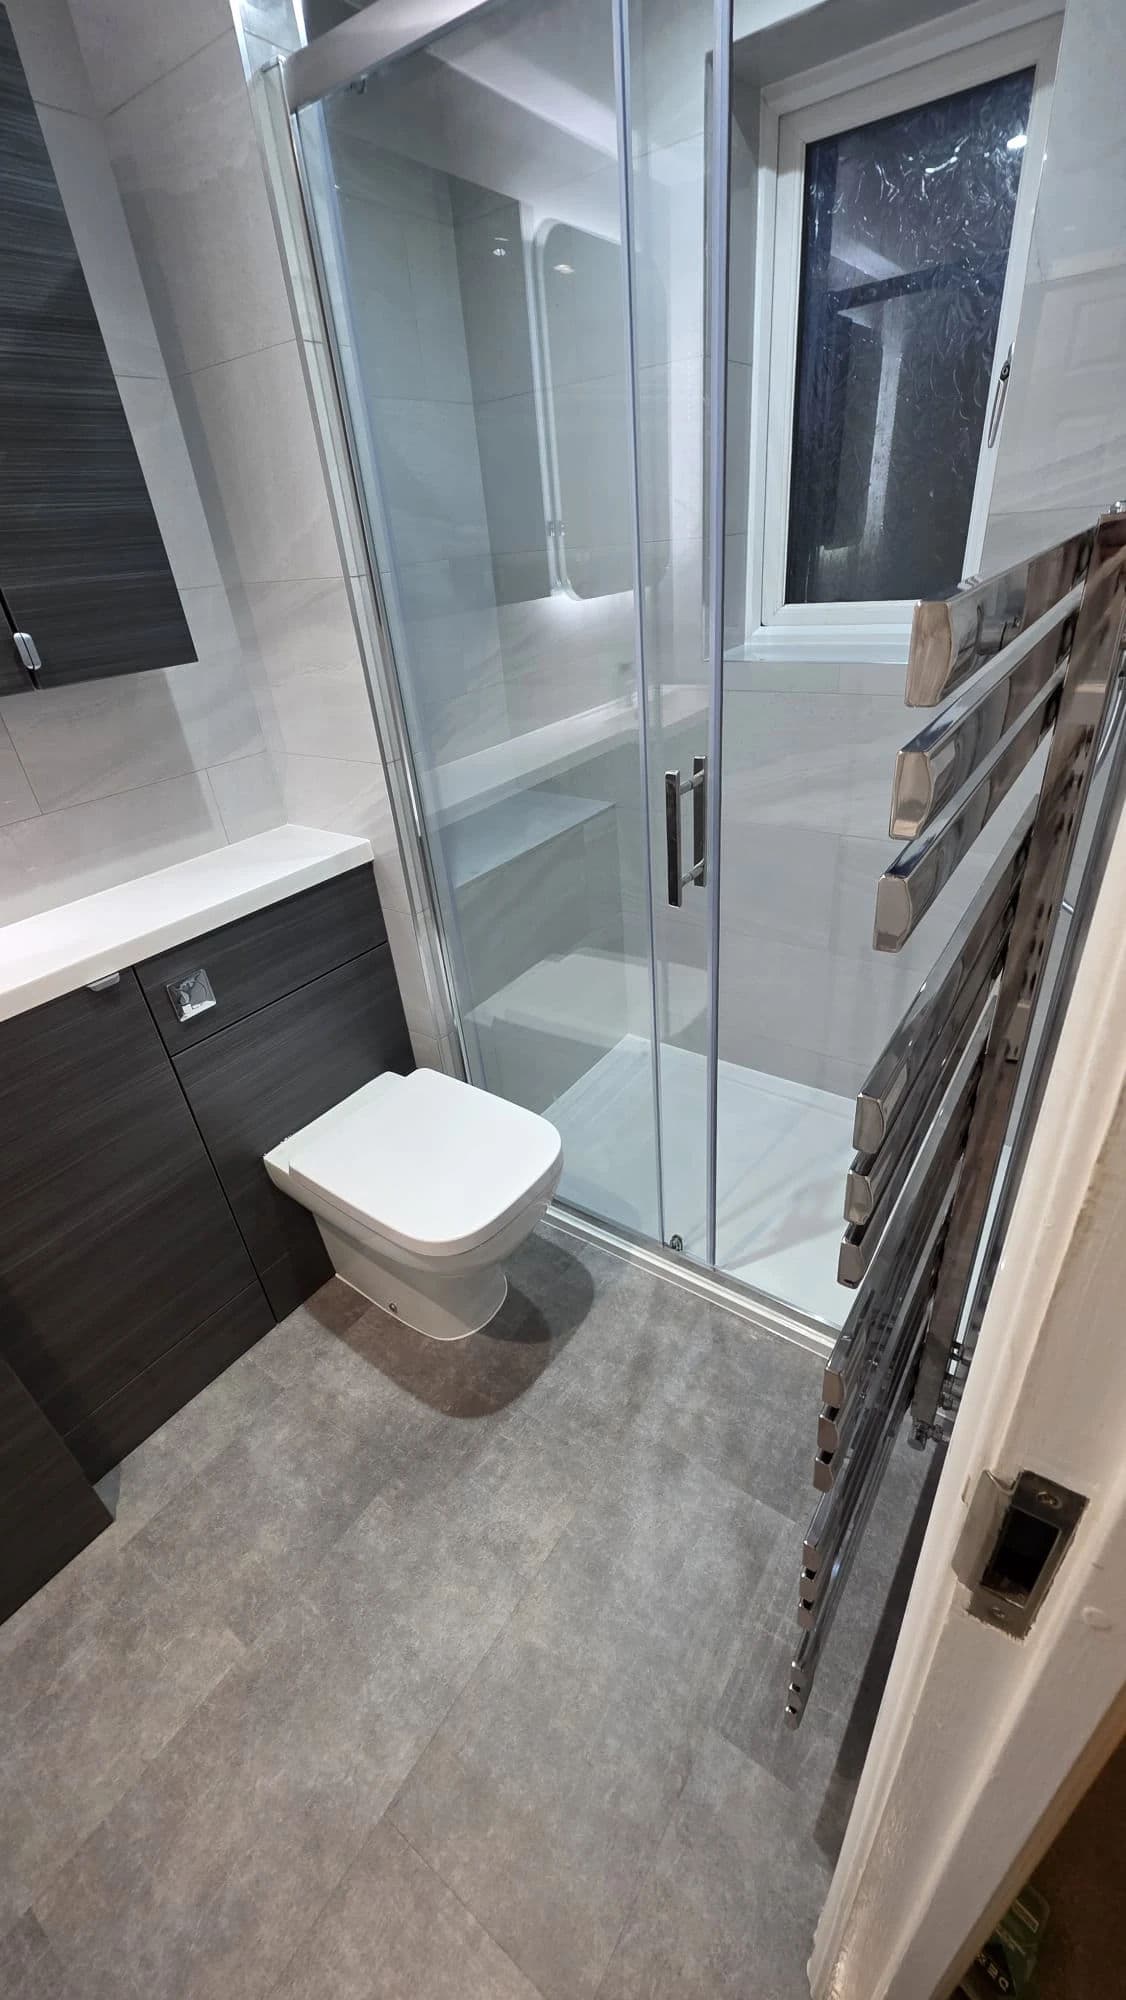
This allowed us to install an 1800 mm Roman sliding shower enclosure across the full-length tray.
A sliding arrangement works particularly well in a compact bathroom because the shower door does not need additional floor space to swing outwards.
The result is a large enclosed shower while still retaining practical access to the WC and basin.
Preparation Before the New Finishes
Once the original bathroom had been removed, the relevant backgrounds were prepared for the new finishes.
Mapei Primer G was used on appropriate prepared surfaces before subsequent installation stages.
The ceiling and the exposed untiled wall were plastered to provide smooth surfaces ready for decoration.
Painting and decorating were not included in the Tees Valley Refurbishments scope of work on this project.
The bathroom window was also replaced by a separate contractor and was not part of our work.
200 × 100 mm Metro-Tile Bathroom Tiling
The bathroom tiling is one of the strongest features of the finished room.
The walls were tiled using 200 × 100 mm ceramic metro tiles laid in a traditional brick-bond pattern.
White metro tiles form the main finish, keeping the compact bathroom bright.
To prevent the room becoming completely white, contrasting 200 × 100 mm black ceramic metro tiles were incorporated as horizontal feature bands at both upper and lower levels.
The black bands add definition to the walls and connect directly with the black detailing in the mosaic floor.
The metro tiles were installed using 2 mm spacers to maintain consistent joints throughout the brick-bond pattern.
Small-format metro tiles do not require the type of levelling-clip system commonly used with larger-format tiles, so careful setting-out and consistent spacing were the important factors here.
Excel Bond Slow Set Flexible Grey S1 Adhesive
The tiling was installed using Excel Bond Slow Set Flexible Grey S1 Adhesive 20kg.
The S1 flexible specification was used as part of the prepared wall and floor tiling system, while the slow-setting working time allowed the detailed brick-bond pattern, contrasting feature rows and numerous cuts within the compact room to be set out accurately.
Using a slow-set adhesive was also useful for the more detailed work involved in the small-format floor mosaic, where careful positioning was more important than rapid setting.
Traditional Black-and-White Mosaic Floor
The floor provides the strongest traditional element in the finished bathroom.
Small white mosaic tiles with contrasting black square inserts create a classic monochrome pattern that works naturally with the black metro-tile bands on the walls.
Before tiling, the existing boarded floor was prepared through the following build-up:
- the existing floor was primed;
- flexible tile adhesive was applied;
- HardieBacker cement backer board was installed;
- the HardieBacker was mechanically screw-fixed;
- Excel Bond Slow Set Flexible Grey S1 Adhesive was applied;
- the mosaic tiles were carefully set out and installed;
- and the completed floor was grouted.
No tile-levelling clips were required for the small mosaic format.
Instead, the finish depended on a properly prepared background, consistent adhesive coverage and careful alignment of the mosaic pattern across the room.
White BAL Grout and Colour-Matched Bostik Silicone
The wall and floor tiling was finished using white BAL grout.
The white grout keeps the overall finish bright and traditional while allowing the black feature tiles and black mosaic inserts to provide the contrast.
Final sanitary and perimeter joints were sealed using colour-matched Bostik sanitary silicone with a matt, low-sheen finish, avoiding an unnecessarily glossy line against the surrounding grout.
The shower-tray perimeter received particular attention.
On the previous installation, movement in the bath had repeatedly broken the silicone joint. The replacement seal was now being formed around a solidly supported stone-resin shower tray rather than a moving bath.
New WC and Pedestal Basin
The WC and basin remained in their existing locations because those positions already made good use of the compact layout.
New sanitaryware was installed, including:
- a close-coupled WC;
- a compact pedestal washbasin;
- a new chrome basin tap;
- and the associated plumbing connections.
Retaining these locations avoided unnecessary plumbing alterations and allowed the major layout improvement to concentrate on the shower.
New Timer and Humidistat Extractor Fan
Ventilation was upgraded as part of the renovation.
Tees Valley Refurbishments core-drilled a new opening through the external wall for the extractor fan.
A new bathroom extractor with timer and humidistat control was installed, allowing the fan to respond automatically when humidity rises and continue extracting moisture after the bathroom has been used.
This was particularly useful after changing the room from a bath-based layout to a large enclosed shower.
Our electrical contractor completed the fan connection together with the required fan isolator and switching arrangement.
Four New Bathroom Spotlights
The bathroom lighting was upgraded at the same time.
Four new recessed bathroom-rated spotlights were installed across the ceiling to provide more even illumination throughout the narrow room.
The existing pull-cord arrangement was altered as part of the electrical work.
Our electrical contractor completed the electrical work associated with the new spotlights, extractor fan, fan isolator and switching.
The recessed fittings keep the ceiling visually clean while providing useful light across the shower, basin and WC areas.
No Radiator by Customer Choice
No radiator or heated towel rail was installed in this bathroom.
This was a deliberate decision by the homeowners, who considered the house warm enough without an additional bathroom heat source.
Interestingly, despite choosing not to install a radiator, the customer later commented in their Checkatrade review that the completed bathroom felt significantly warmer than before.
Bathroom Products Supplied by Tees Valley Refurbishments
Tees Valley Refurbishments managed the product ordering for the complete renovation.
The bathroom products were sourced and ordered by us through Victorian Plumbing, including the sanitaryware, shower tray, shower enclosure, electric shower, taps and tiles required for the agreed design.
We also supplied the installation and building materials required to complete the work, including the shower-platform materials, HardieBacker, primer, Excel Bond adhesive, BAL grout, Bostik silicone, plumbing materials and fixings.
Coordinating the product supply alongside the bathroom fitting meant the dimensions and installation sequence could be planned as one complete project rather than relying on separate customer-supplied deliveries.
Exactly Two Working Weeks
The complete bathroom renovation took exactly 10 working days.
Work was carried out Monday to Friday during the first week and Monday to Friday during the second week, with no weekend working.
Across those two weeks the project included the strip-out, removal of the leaking bath installation, shower-platform construction, new partition, plumbing, floor preparation, plastering, wall and floor tiling, shower installation, sanitaryware fitting, ventilation, lighting, grouting, silicone and final fitting.
The bathroom was completed in December 2024.
Customer Feedback
The completed renovation received a verified 10/10 Checkatrade review dated 18 December 2024.
The customer praised the communication and progress updates throughout the job and described the finished bathroom as “better than I ever thought possible”. They also commented that the room felt significantly warmer and said they would recommend Tees Valley Refurbishments and use us again for future work.
Other Bathroom Projects in Norton
This December 2024 renovation adds a third distinct completed bathroom to our growing Norton portfolio.
Our January 2026 Bathroom Installation Norton with Large Shower and Tiled Bench takes a contemporary approach, with a large shower area, bespoke tiled seating and dark fitted bathroom furniture.
Our August 2026 Bathroom Refurbishment Norton with Walk-In Shower and Patterned Floor uses a different mix of traditional and modern details, including a large walk-in shower and patterned flooring.
This December 2024 project has its own identity: bathroom renovation, traditional metro tiling, black feature bands, a detailed monochrome mosaic floor and a full-length sliding shower enclosure.
Together, the three completed projects show three different approaches to bathroom installation, bathroom refurbishment and bathroom renovation in Norton, within the wider Stockton-on-Tees area.
Completed Bathroom Renovation
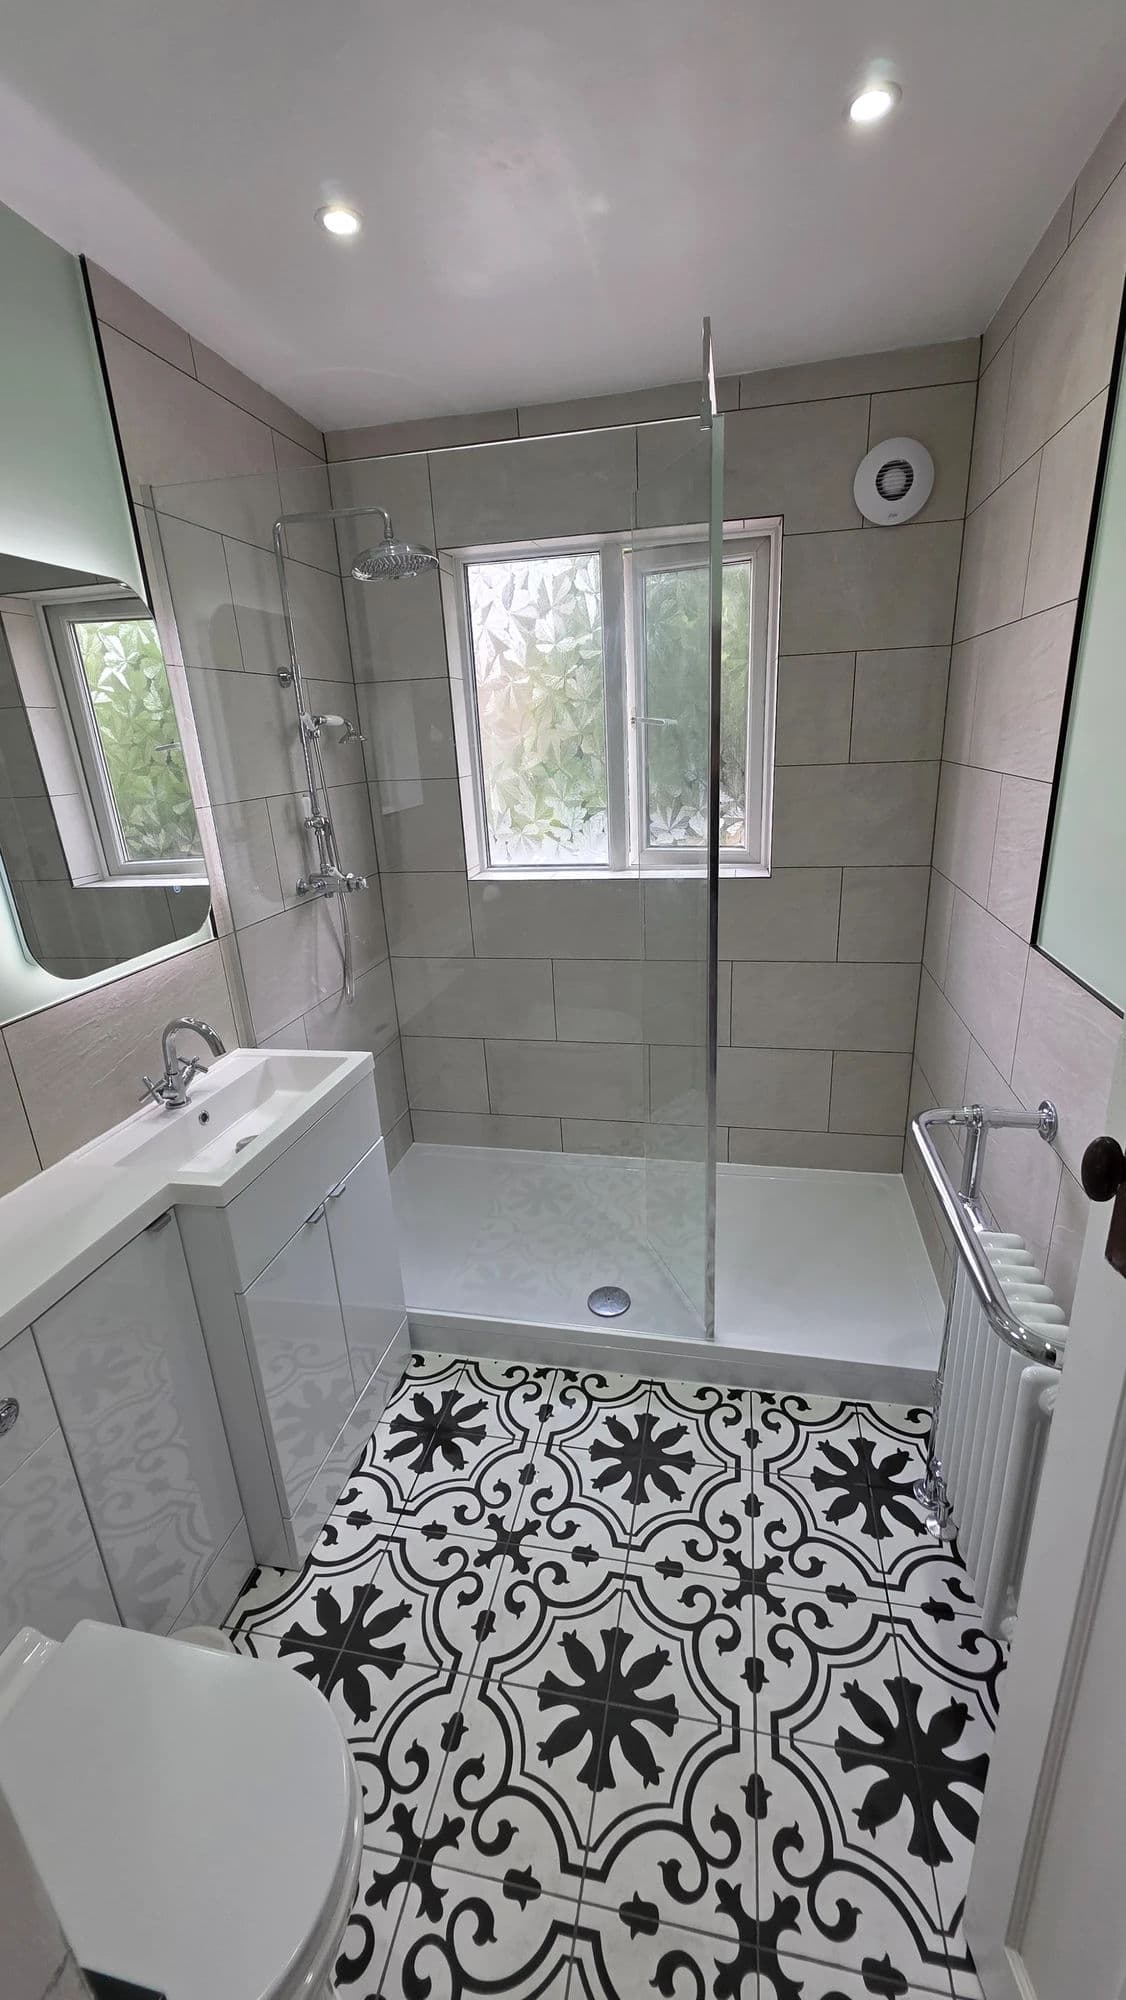
The finished bathroom retains the practical WC and basin positions while completely changing the way the room is used.
The incorrectly installed moving bath has been removed and replaced with a properly supported 1800 × 800 mm stone-resin shower tray, purpose-built partition, 1800 mm Roman sliding enclosure and new electric shower.
The completed renovation includes:
- 1800 × 800 mm stone-resin shower tray;
- purpose-built 4 × 2 timber and plywood shower platform;
- new partition forming the shower opening;
- 1800 mm Roman sliding shower enclosure;
- new electric shower;
- new close-coupled WC;
- compact pedestal washbasin;
- chrome basin tap;
- 200 × 100 mm white ceramic metro tiles;
- 200 × 100 mm black ceramic feature tiles;
- traditional brick-bond wall tiling;
- 2 mm tile spacing;
- black-and-white mosaic floor tiling;
- HardieBacker floor preparation;
- Mapei Primer G;
- Excel Bond Slow Set Flexible Grey S1 Adhesive 20kg;
- white BAL grout;
- colour-matched Bostik matt sanitary silicone;
- four recessed bathroom-rated spotlights;
- new timer-and-humidistat extractor fan;
- fan isolator and new switching;
- ceiling and exposed-wall plastering;
- and complete final bathroom fitting.
The result is a distinctive bathroom renovation in Norton, Stockton-on-Tees, combining a traditional black-and-white finish with a much larger and more practical showering area.
Most importantly, the renovation removed the unstable installation that had been causing the leak into the kitchen and replaced it with a solid, purpose-built shower arrangement designed for reliable everyday use.