Google
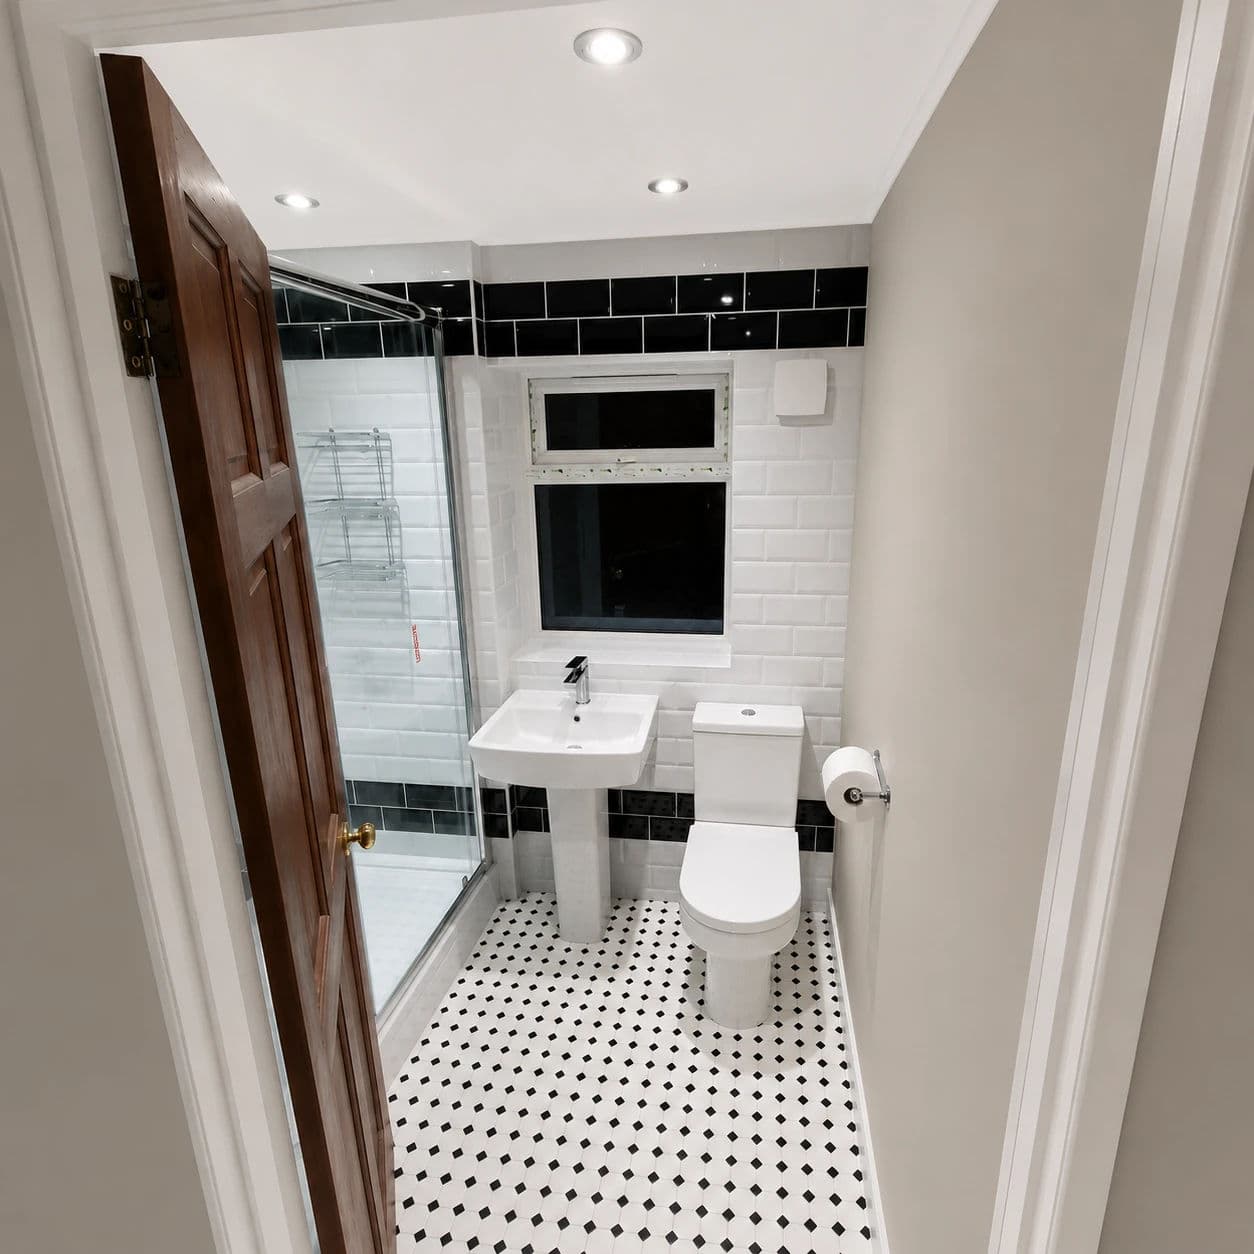
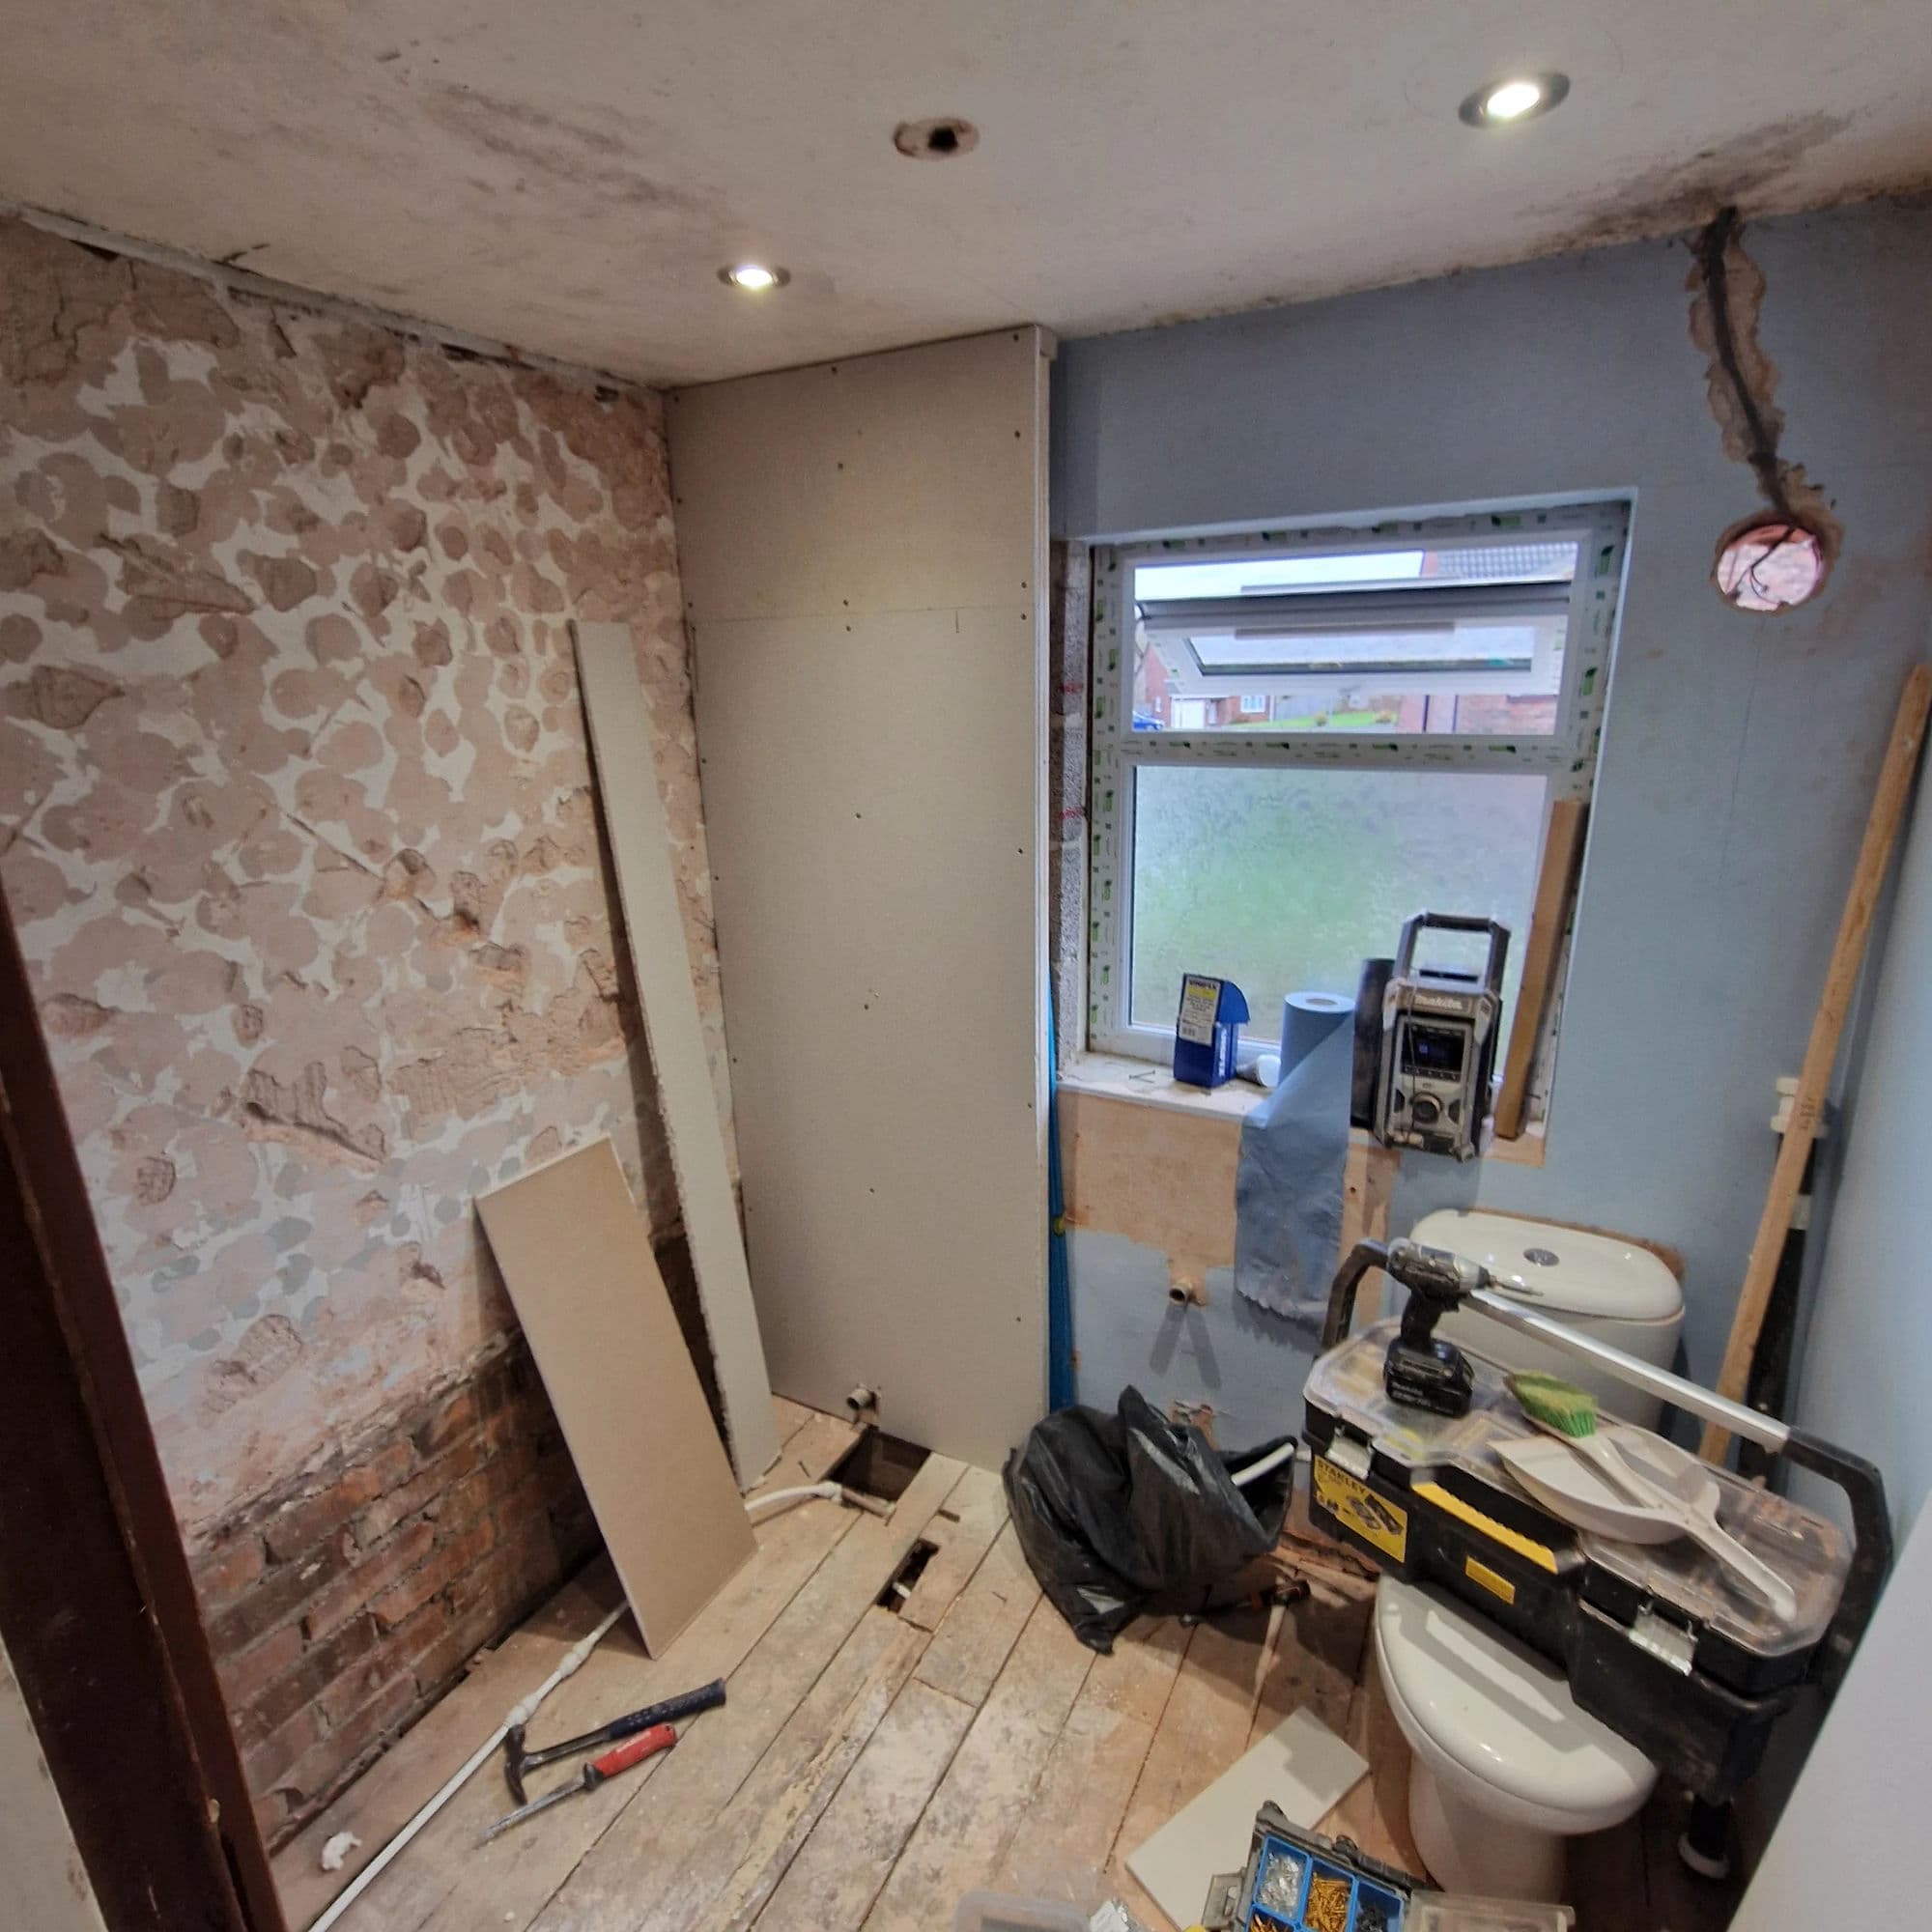
“We had our bathroom refurbished by Deyan quite a while ago now and we're still really pleased with how it's turned out.”
Transcribed word-for-word from our public profiles
“We had our bathroom refurbished by Deyan quite a while ago now and we're still really pleased with how it's turned out.”
Completed in January 2026, this technically demanding bathroom installation in Portrack, Stockton-on-Tees, required substantial structural floor reconstruction before the new bathroom could be installed.
The existing bathroom contained an unusual whirlpool bath recessed approximately 400–500 mm through the bathroom floor into a cupboard below. Removing it exposed major alterations to the original timber floor structure, including joists that had been completely cut back to create the opening.
The floor was structurally reconstructed before the installation continued with a conventional 1700 × 800 mm bath, matt-black rainfall shower, wall-hung vanity, concealed plumbing, vertical wood-effect wall tiling, patterned floor tiles, new lighting and improved ventilation.
The complete bathroom fitting was delivered over ten working days and completed on schedule.
The original room contained:
The whirlpool bath projected well below the normal bathroom floor level. Its pumps, motors and electrical supply occupied the space beneath it, while the floor structure had been altered significantly to accommodate the installation.
Although visually unusual, the recessed bath made everyday bathing awkward and left the customers without the practical overhead shower they wanted.
The customers wanted the room rebuilt around a conventional bath and proper shower, with improved lighting, easier-to-maintain fittings and a cleaner overall layout.
A qualified electrician attended at the beginning of the project to disconnect the whirlpool bath safely from its electrical supply.
The motors and associated equipment were removed from underneath the bath, allowing the main bath body to be lifted back into the bathroom and removed from the property in one piece.
The remaining strip-out included:
All waste was transferred to an 8-yard skip positioned outside the property.
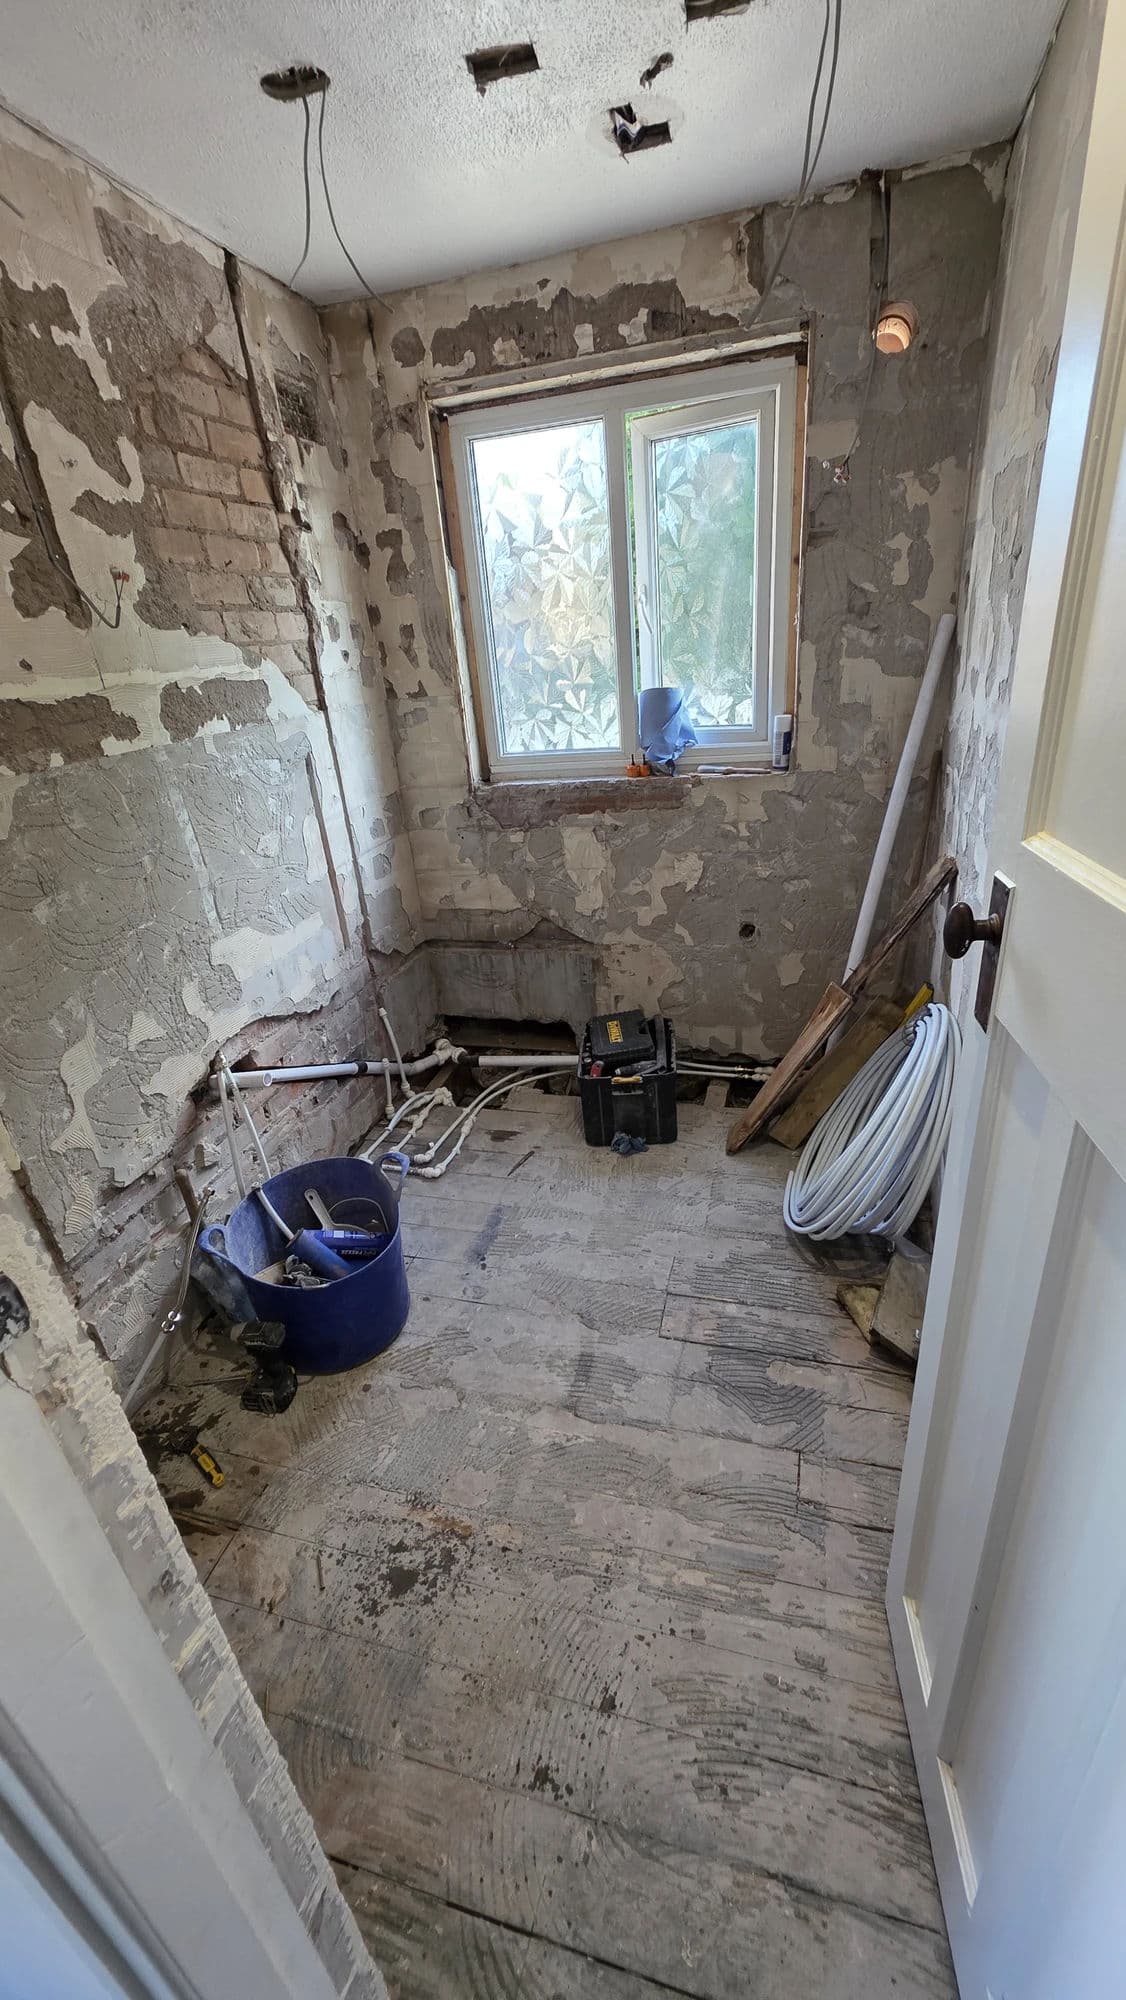
Once the bath had been removed, the full extent of the floor opening and previous structural alterations became visible.
The original timber floor joists had been cut back completely to create the opening for the recessed whirlpool bath.
Restoring a full, level and properly supported bathroom floor required substantial structural reconstruction before the new bathroom installation could continue.
New 8 × 2 structural timbers were used to extend the remaining joists.
Each extension overlapped the existing timber by approximately 600 mm and was secured using substantial through-bolted fixings, washers and locking washers.
A new supporting timber was installed against the masonry wall. It was wrapped in a protective polythene membrane to separate the timber from direct contact with the masonry.
The supporting timber was secured into the brickwork using metal fixings and chemical resin anchoring.
The extended floor joists were then connected to the supporting timber using joist hangers.
Additional noggins were installed throughout the reconstructed area to strengthen the floor and reduce movement.
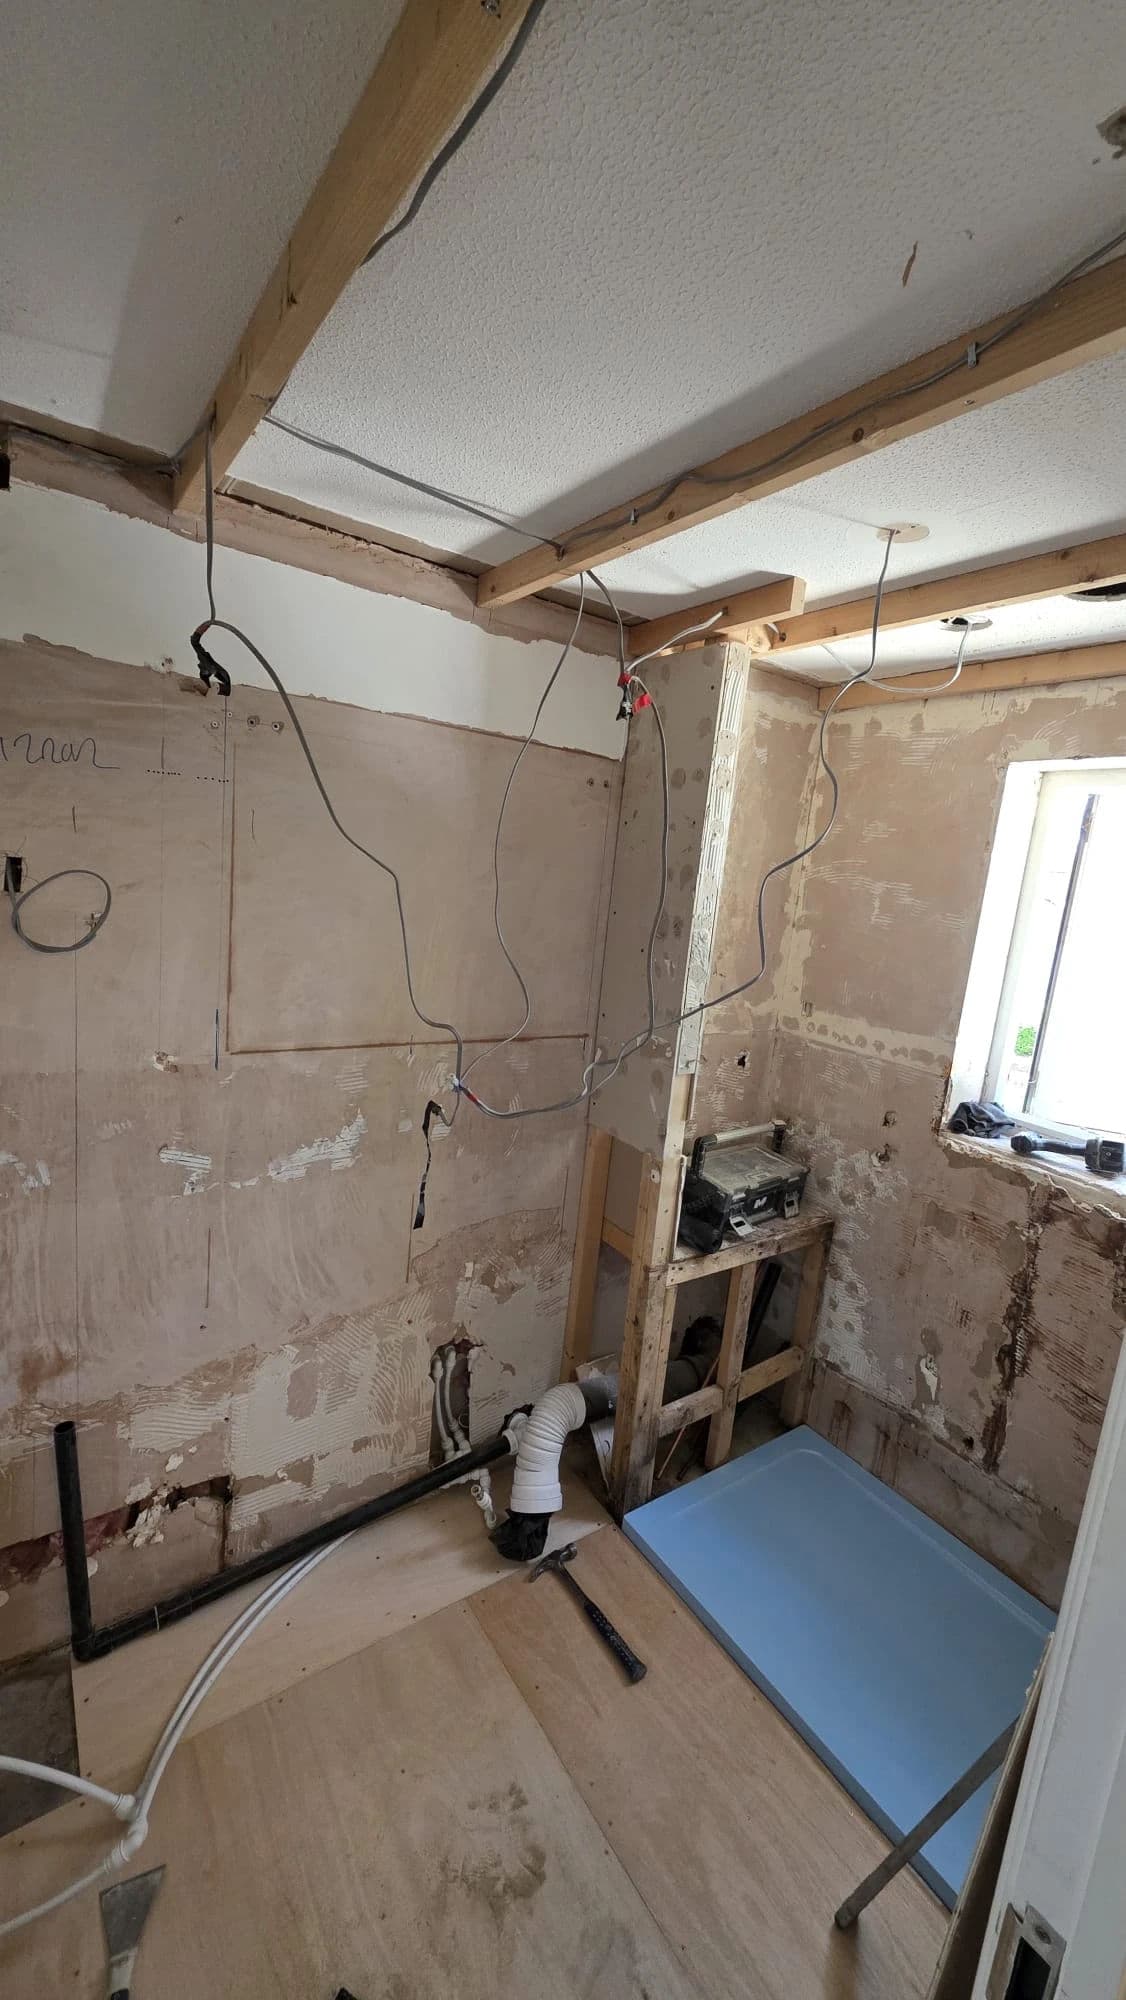
Once the new structure had been completed and levelled with the remaining joists, the full bathroom floor was covered with green moisture-resistant chipboard flooring.
This reconstruction converted the large opening left by the former whirlpool bath into a complete, level and securely supported bathroom floor.
The reconstructed chipboard floor was prepared for bathroom tiling using flexible tile adhesive.
HardieBacker cement boards were bedded into the adhesive and mechanically secured through to the chipboard, creating a rigid and stable tiling background over the reconstructed timber floor.
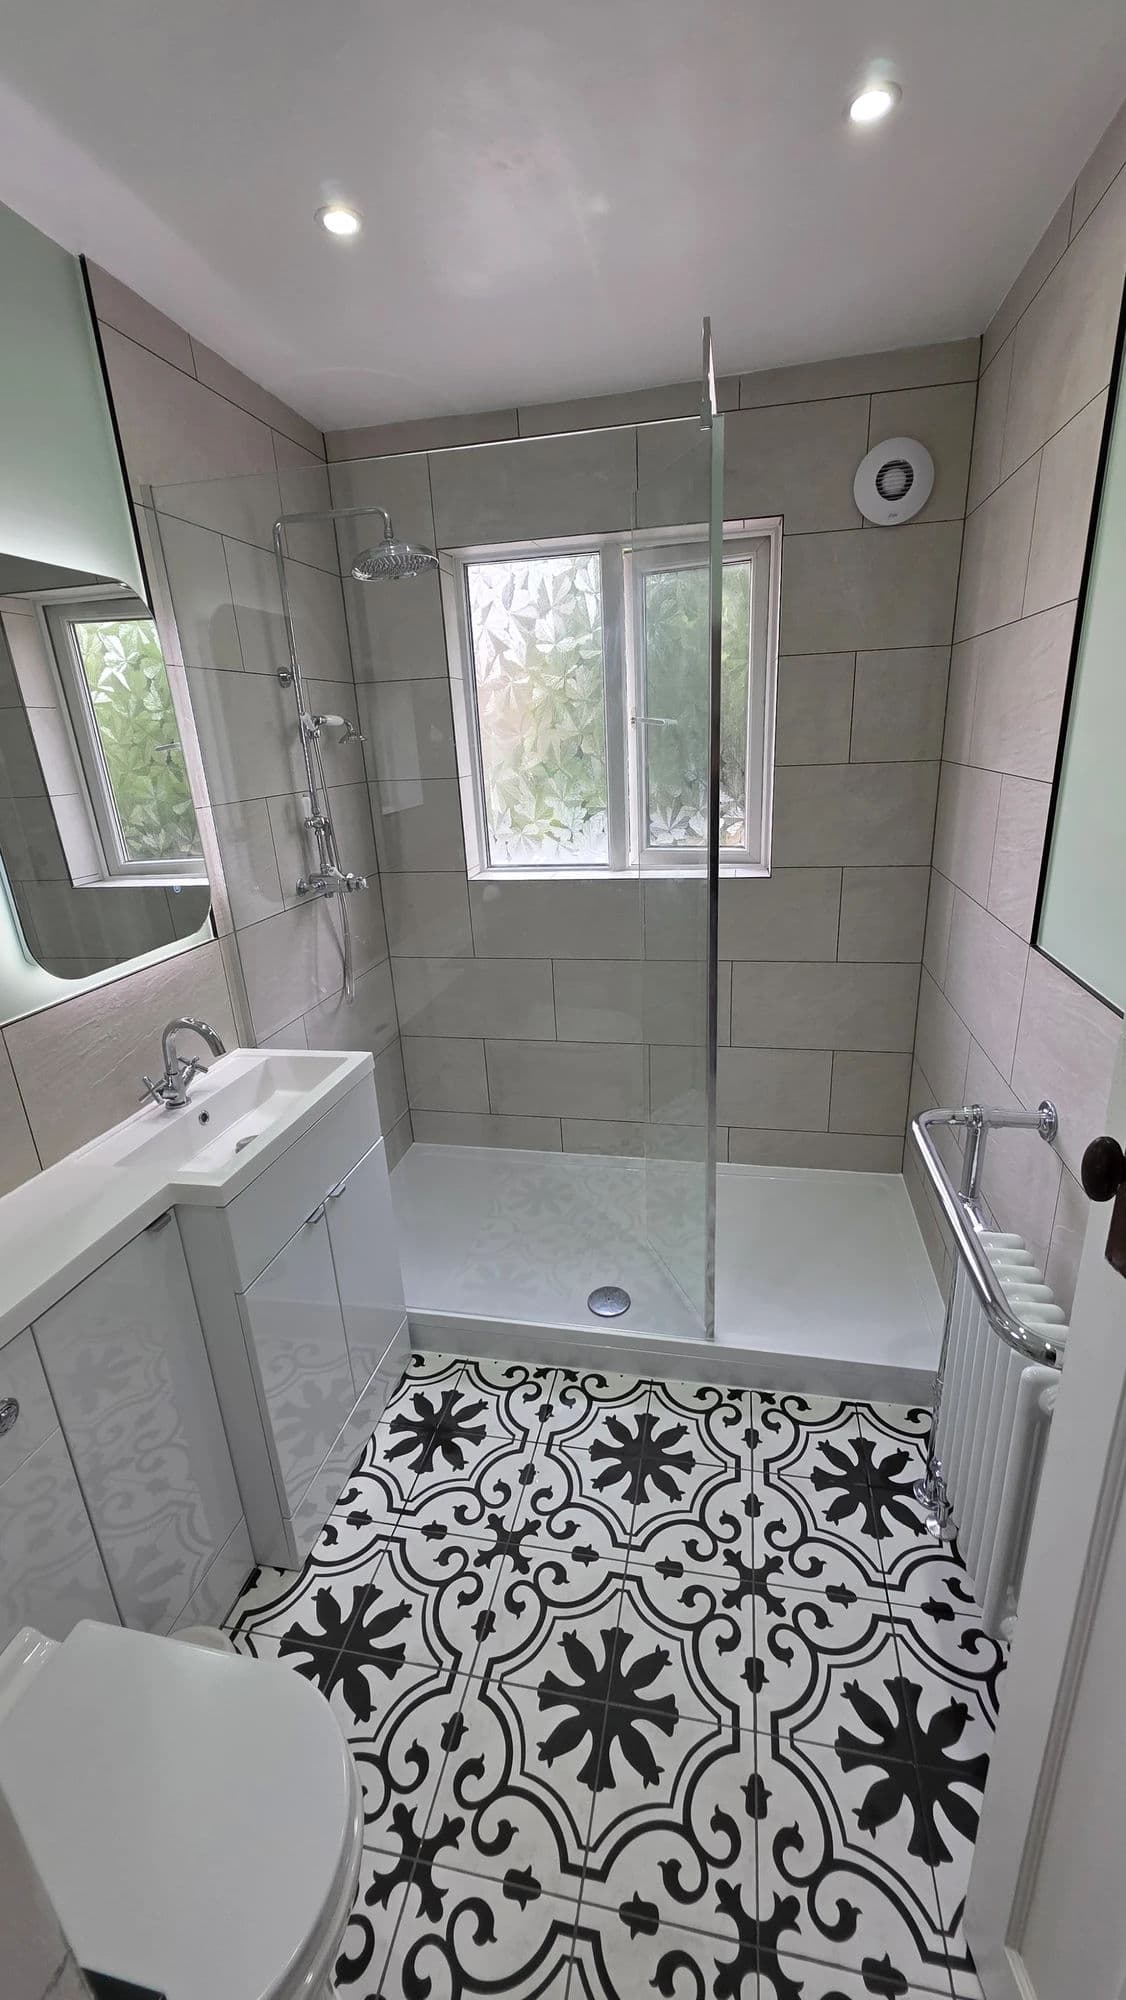
The finished floor features distinctive decorative tiles with a botanical leaf and woodland-inspired pattern.
Installed in a straight layout, the patterned tiles form a statement feature and provide a strong contrast against the vertical wood-effect wall tiling.
No underfloor heating formed part of this project.
The new 1700 × 800 mm bath was installed in approximately the same part of the room as the original whirlpool bath, but at a practical conventional floor level.
The WC remained in its established position.
The basin was moved closer towards the bath, while the heated towel rail was relocated to the wall beside the bathroom door.
Most of the original bathroom plumbing was removed and rerouted.
New hot and cold supplies were installed for:
The heating pipes were redirected to the towel rail's new position.
The bath waste route also required alteration because the former whirlpool-bath waste had been positioned considerably lower than the new conventional bath connection.
Pipework was concealed beneath the floor and within the walls wherever possible, supporting the cleaner appearance of the completed bathroom.
A 1700 × 800 mm acrylic bath was installed using our established bathroom fitting method.
Timber battens were fixed along the supporting walls beneath the bath edges. These provide continuous support and help minimise movement around the sealed bath perimeter.
The adjustable bath legs were positioned over 4 × 2 timber supports rather than standing directly on the floor.
The legs were secured to the supporting timbers to prevent movement and distribute the bath's weight across a larger area.
This reduces the risk of individual bath feet pressing into the floor over time.
A separate timber framework was constructed along the exposed side of the bath to support the customer-supplied flexible bath panel.
Before the panel was fitted, the complete area beneath the bath was thoroughly vacuumed and cleaned rather than being left with construction dust and debris.
A new bath filler, waste and trap were installed.
The customers chose not to fit a glass shower screen because they intended to use a shower curtain.
A new exposed matt-black dual shower was installed above the bath, including a large rainfall shower head.
This provided the practical showering arrangement the customers had previously been missing.
A new boxed service section was formed beside the bath to accommodate the shower pipework and create a clean, accurately aligned surface for the full-height tiling.
The matt-black shower, bath fittings, tile trims, heated towel rail and accessories were coordinated to create a consistent contemporary finish throughout the room.
Following the strip-out, damaged sections of plasterboard were removed and replaced where required.
Other wall areas were repaired using bonding and patching materials.
A high-quality deep-penetrating primer was then applied to seal and prepare the relevant surfaces.
The sections receiving tiles were prepared as suitable tiling backgrounds rather than being unnecessarily covered with finishing plaster.
The upper wall areas above the tiling, together with the ceiling, were plastered to create smooth surfaces ready for decoration.
Painting was not included because the customers planned to arrange their own decorator after the bathroom installation was completed.
The bathroom walls were finished with 900 × 300 mm vertical wood-effect tiles.
The bath and shower area, including the newly constructed shower boxing, was tiled fully to the ceiling.
The vertical layout emphasises the height of the room and introduces warmth and natural texture against the patterned floor and matt-black fittings.
The wall behind the basin was tiled to approximately 1200 mm high after the customers decided during the project that they wanted additional protection around the washbasin.
They supplied the additional tiles, and the extra tiling was completed without any further labour charge.
Matt-black 10 mm tile trims were installed to complement the shower, bath fittings, heated towel rail and other coordinated details.
A wall-hung vanity unit with a white basin was installed beside the bath.
The suspended design keeps the patterned floor visible beneath the furniture, helping the room feel more open while making the surrounding area easier to clean.
The hot, cold and waste connections were concealed within the wall to avoid exposed pipework beneath the vanity.
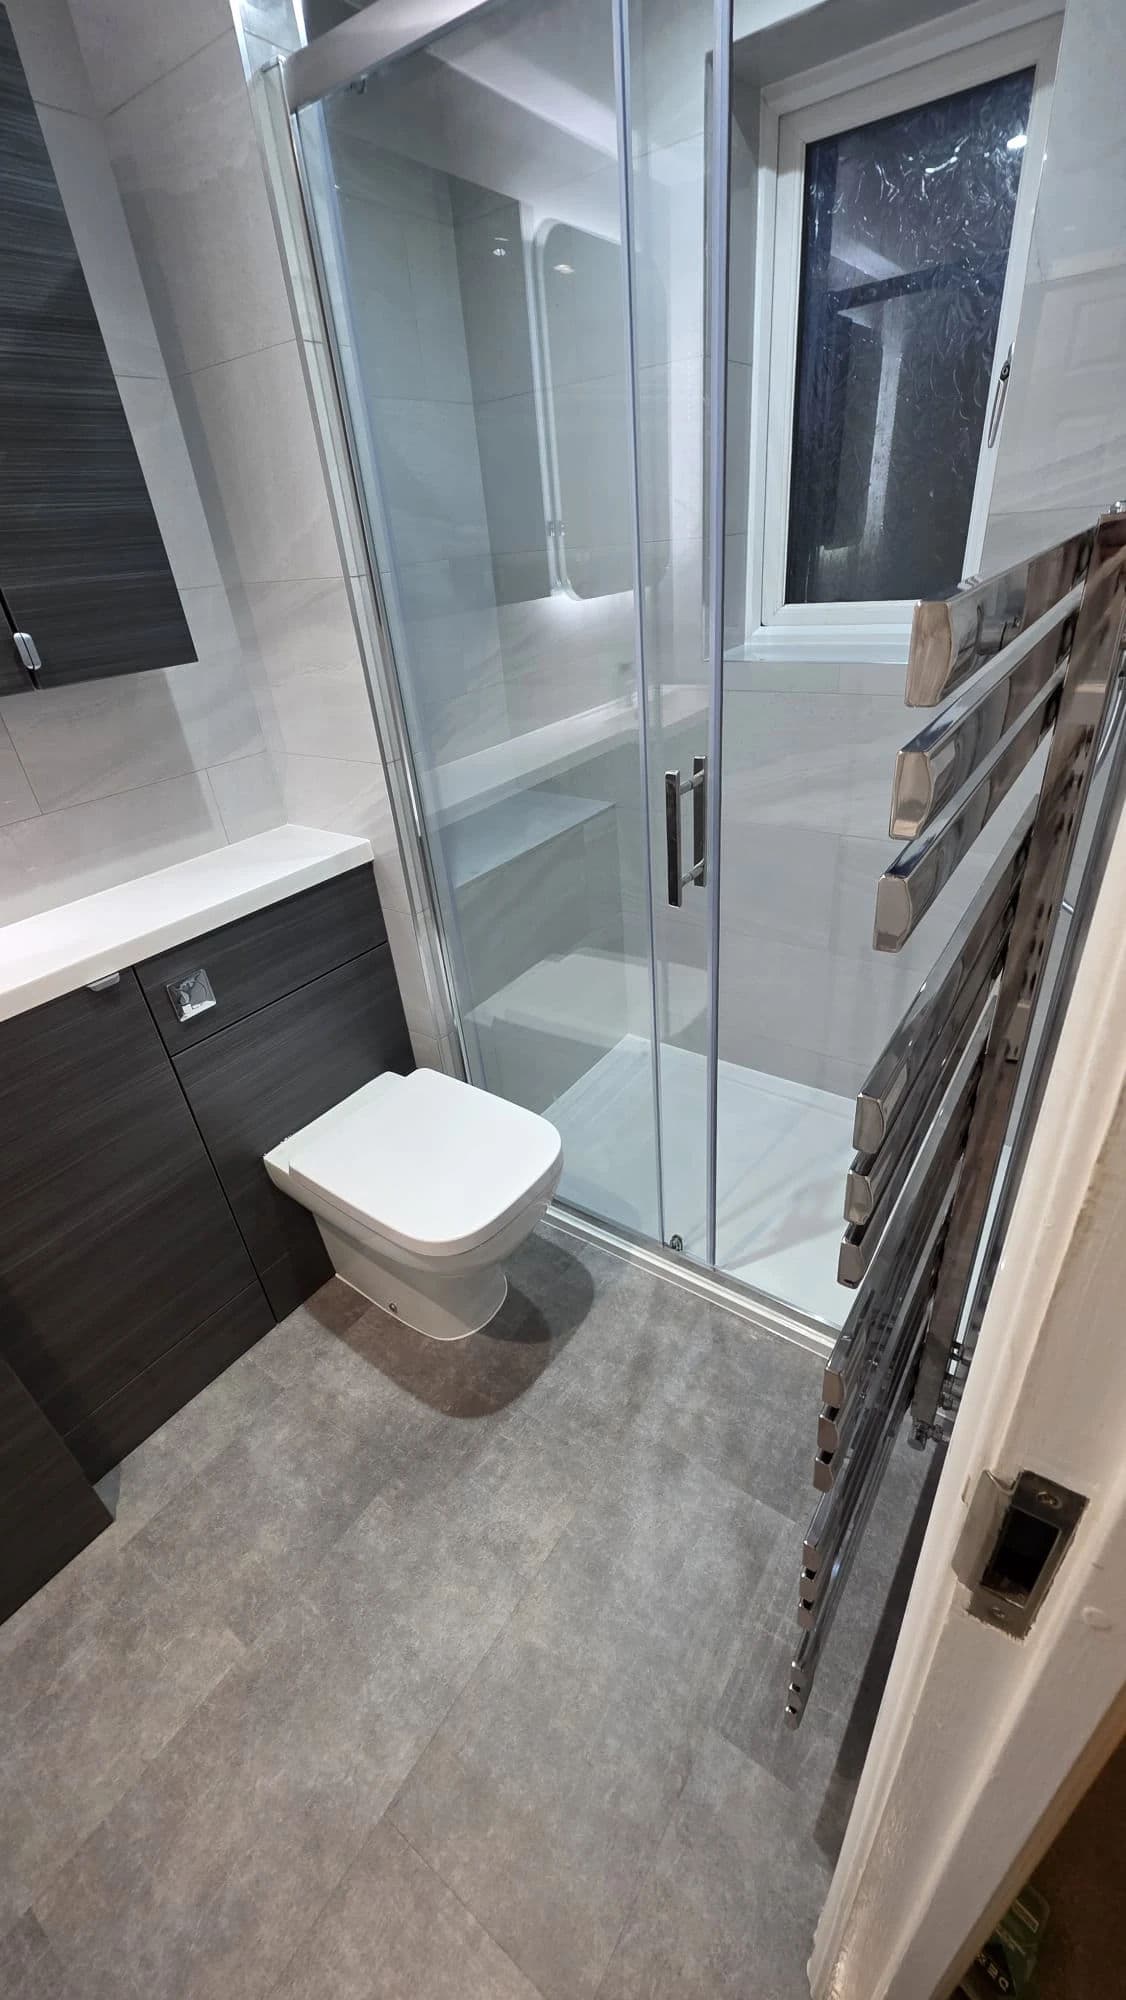
A modern close-coupled open-back WC was installed in approximately the same position as the previous toilet.
The simple sanitaryware arrangement allows the patterned floor, vertical wall tiles and matt-black fittings to remain the main visual features.
A matt-black heated towel rail measuring approximately 1000 × 500 mm was installed on the wall beside the bathroom door.
The heating pipes were concealed beneath the floor and brought through the wall behind the radiator.
Matt-black corner valves were used so that no visible pipework obstructs the finished floor.
This creates a cleaner appearance, makes the surrounding area easier to maintain and reduces the possibility of exposed pipes being struck during routine cleaning.
The electrician who disconnected the old whirlpool installation also completed the new bathroom electrical work.
New recessed ceiling spotlights were installed, together with two separate wall lights positioned on either side of an arched mirror.
The mirror itself was not illuminated.
Instead, the matching wall lights provide balanced lighting around the vanity and create a strong finished feature above the basin.
Separate switching was provided for:
A fan isolator was also installed above the bathroom door.
The existing electrical installation had previously been altered, so additional time was required to trace and understand the circuits before the new first-fix and second-fix work could be completed correctly.
All electrical work was completed by a certificated electrician.
The original extractor fan was replaced in the same position with a new axial fan incorporating timer and humidity-sensing functions.
The humidity sensor allows the fan to continue operating while elevated moisture remains within the room, even after the normal timed period has ended.
This provides more effective ventilation after bathing or showering and supports the long-term condition of the newly completed bathroom.
The previous whirlpool installation had been accessed through a large removable plywood section in the adjoining bedroom wall.
This section had previously been removed during emergency plumbing work and had been left looking unfinished.
The necessary service access was retained, the plywood section was refitted and a proper push-to-open PVC access hatch was installed.
The new hatch provides a considerably neater way to reach the bath plumbing without requiring a large section of the bedroom wall to be removed again.
This additional improvement was completed without an extra labour charge.
The customers remained in the property throughout the bathroom installation.
The complete access route was therefore protected every working day.
Protection began at the entrance, including the internal doormat where required, and continued through the stairs and landing to the bathroom.
At the end of each working day, the protective sheets were lifted and the route was thoroughly vacuumed and cleaned.
This allowed the customers to continue using their occupied home safely and comfortably throughout the two-week programme.
The complete bathroom installation was completed on schedule over ten working days.
Work took place:
The programme included:
The completed Portrack bathroom replaced an awkward recessed whirlpool installation with a practical conventional bath, proper rainfall shower and securely reconstructed floor.
The finished room now includes:
The combination of warm wood-effect wall tiles, distinctive patterned flooring and coordinated matt-black fittings gives the bathroom a contemporary appearance with considerable character.
More importantly, the visible finish is supported by extensive preparation beneath the surface, including substantial joist reconstruction, floor strengthening, carefully rerouted services and stable tiling backgrounds.
The customers were pleased with the completed result and later confirmed through their Google review that they remained very happy with how the bathroom had turned out.
Homeowners can learn more about our local work on the dedicated Portrack bathroom fitting and installation page, or explore our wider Stockton-on-Tees bathroom fitting page.
You can also browse our other completed bathroom projects and read further customer reviews from completed projects across Teesside.
For a similar bathroom installation in Portrack, Stockton-on-Tees or the surrounding Teesside area, request a free bathroom survey to discuss the existing room, practical options and required scope of work.
Book a free bathroom survey — we'll visit, measure up and give you a detailed, fixed-price written quotation clearly setting out the agreed scope of work.
Book a Free Bathroom Survey