Project in 30 seconds
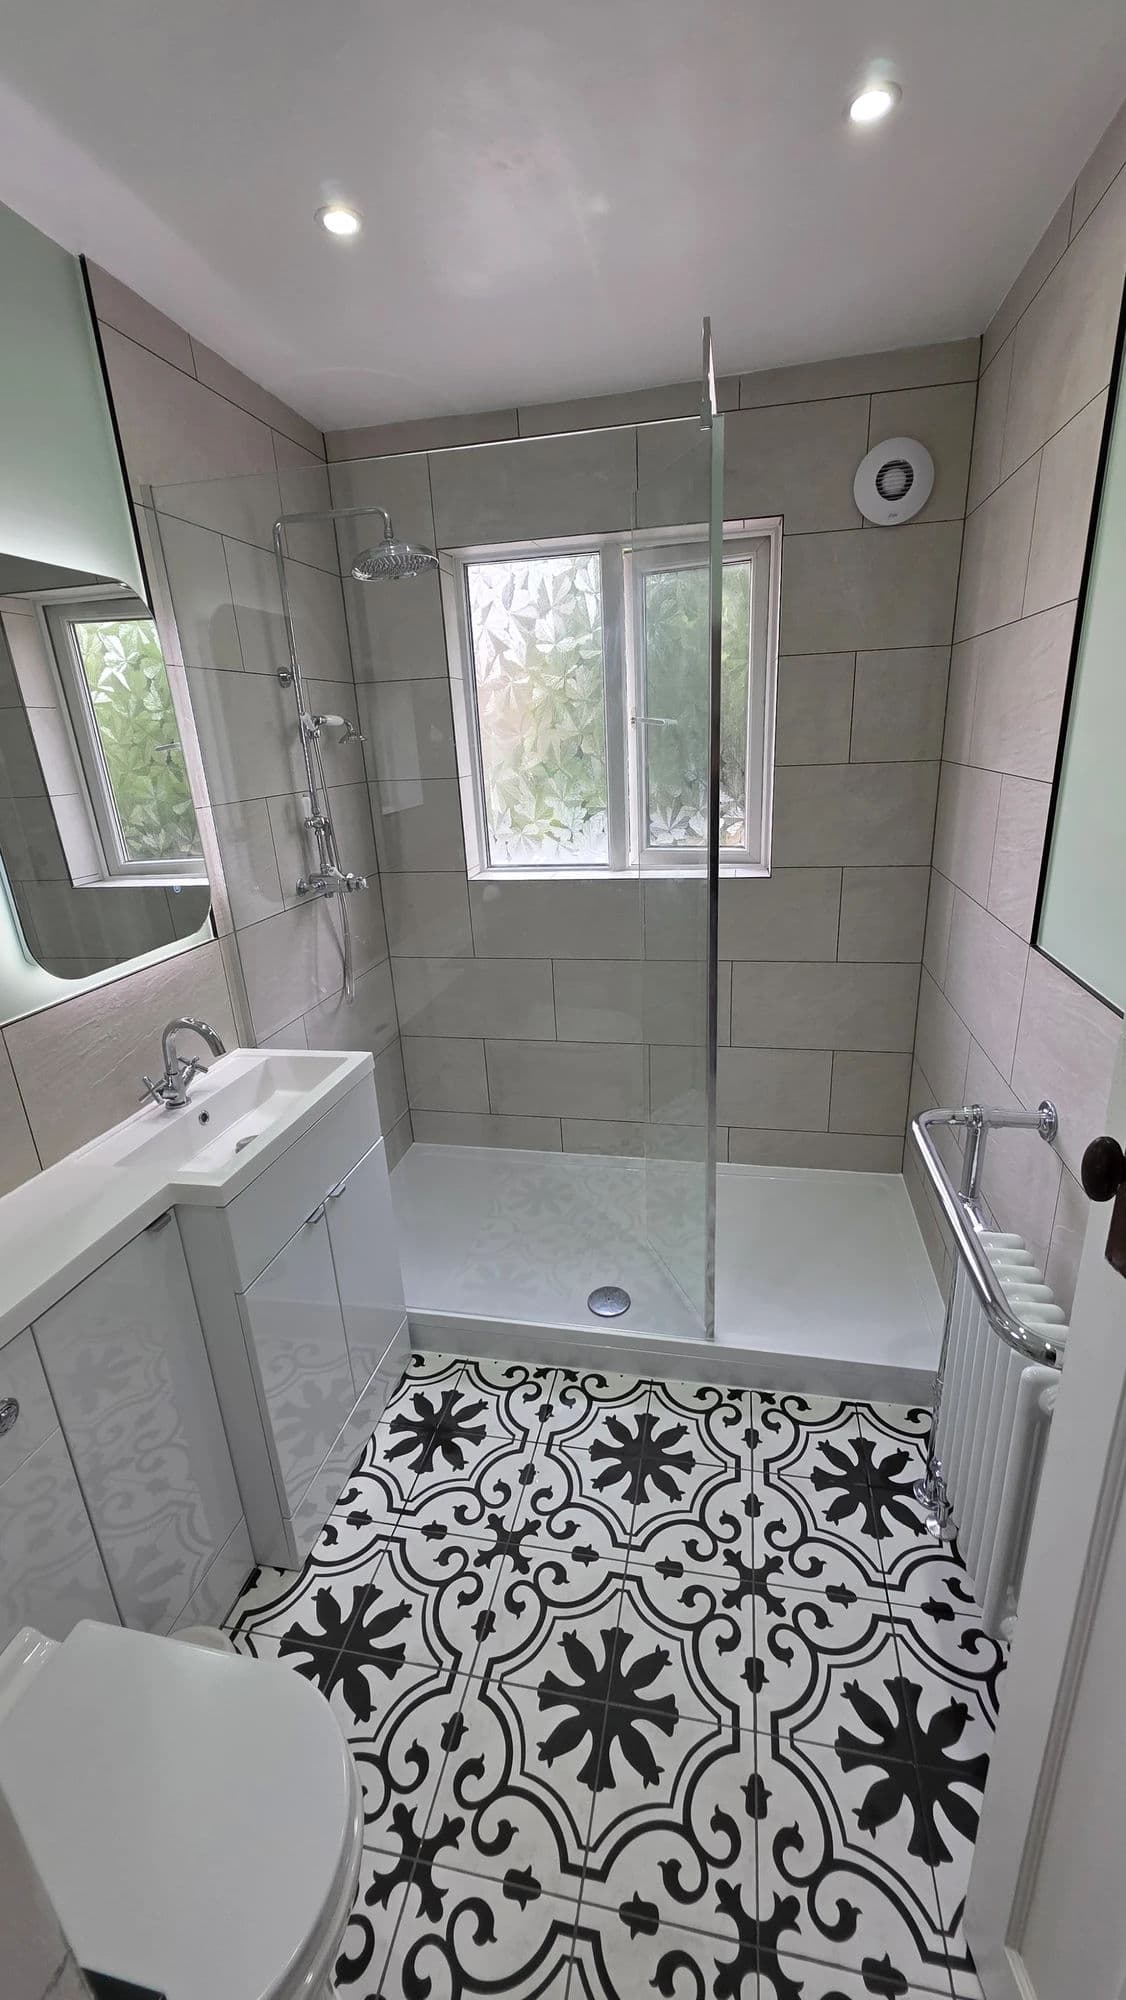
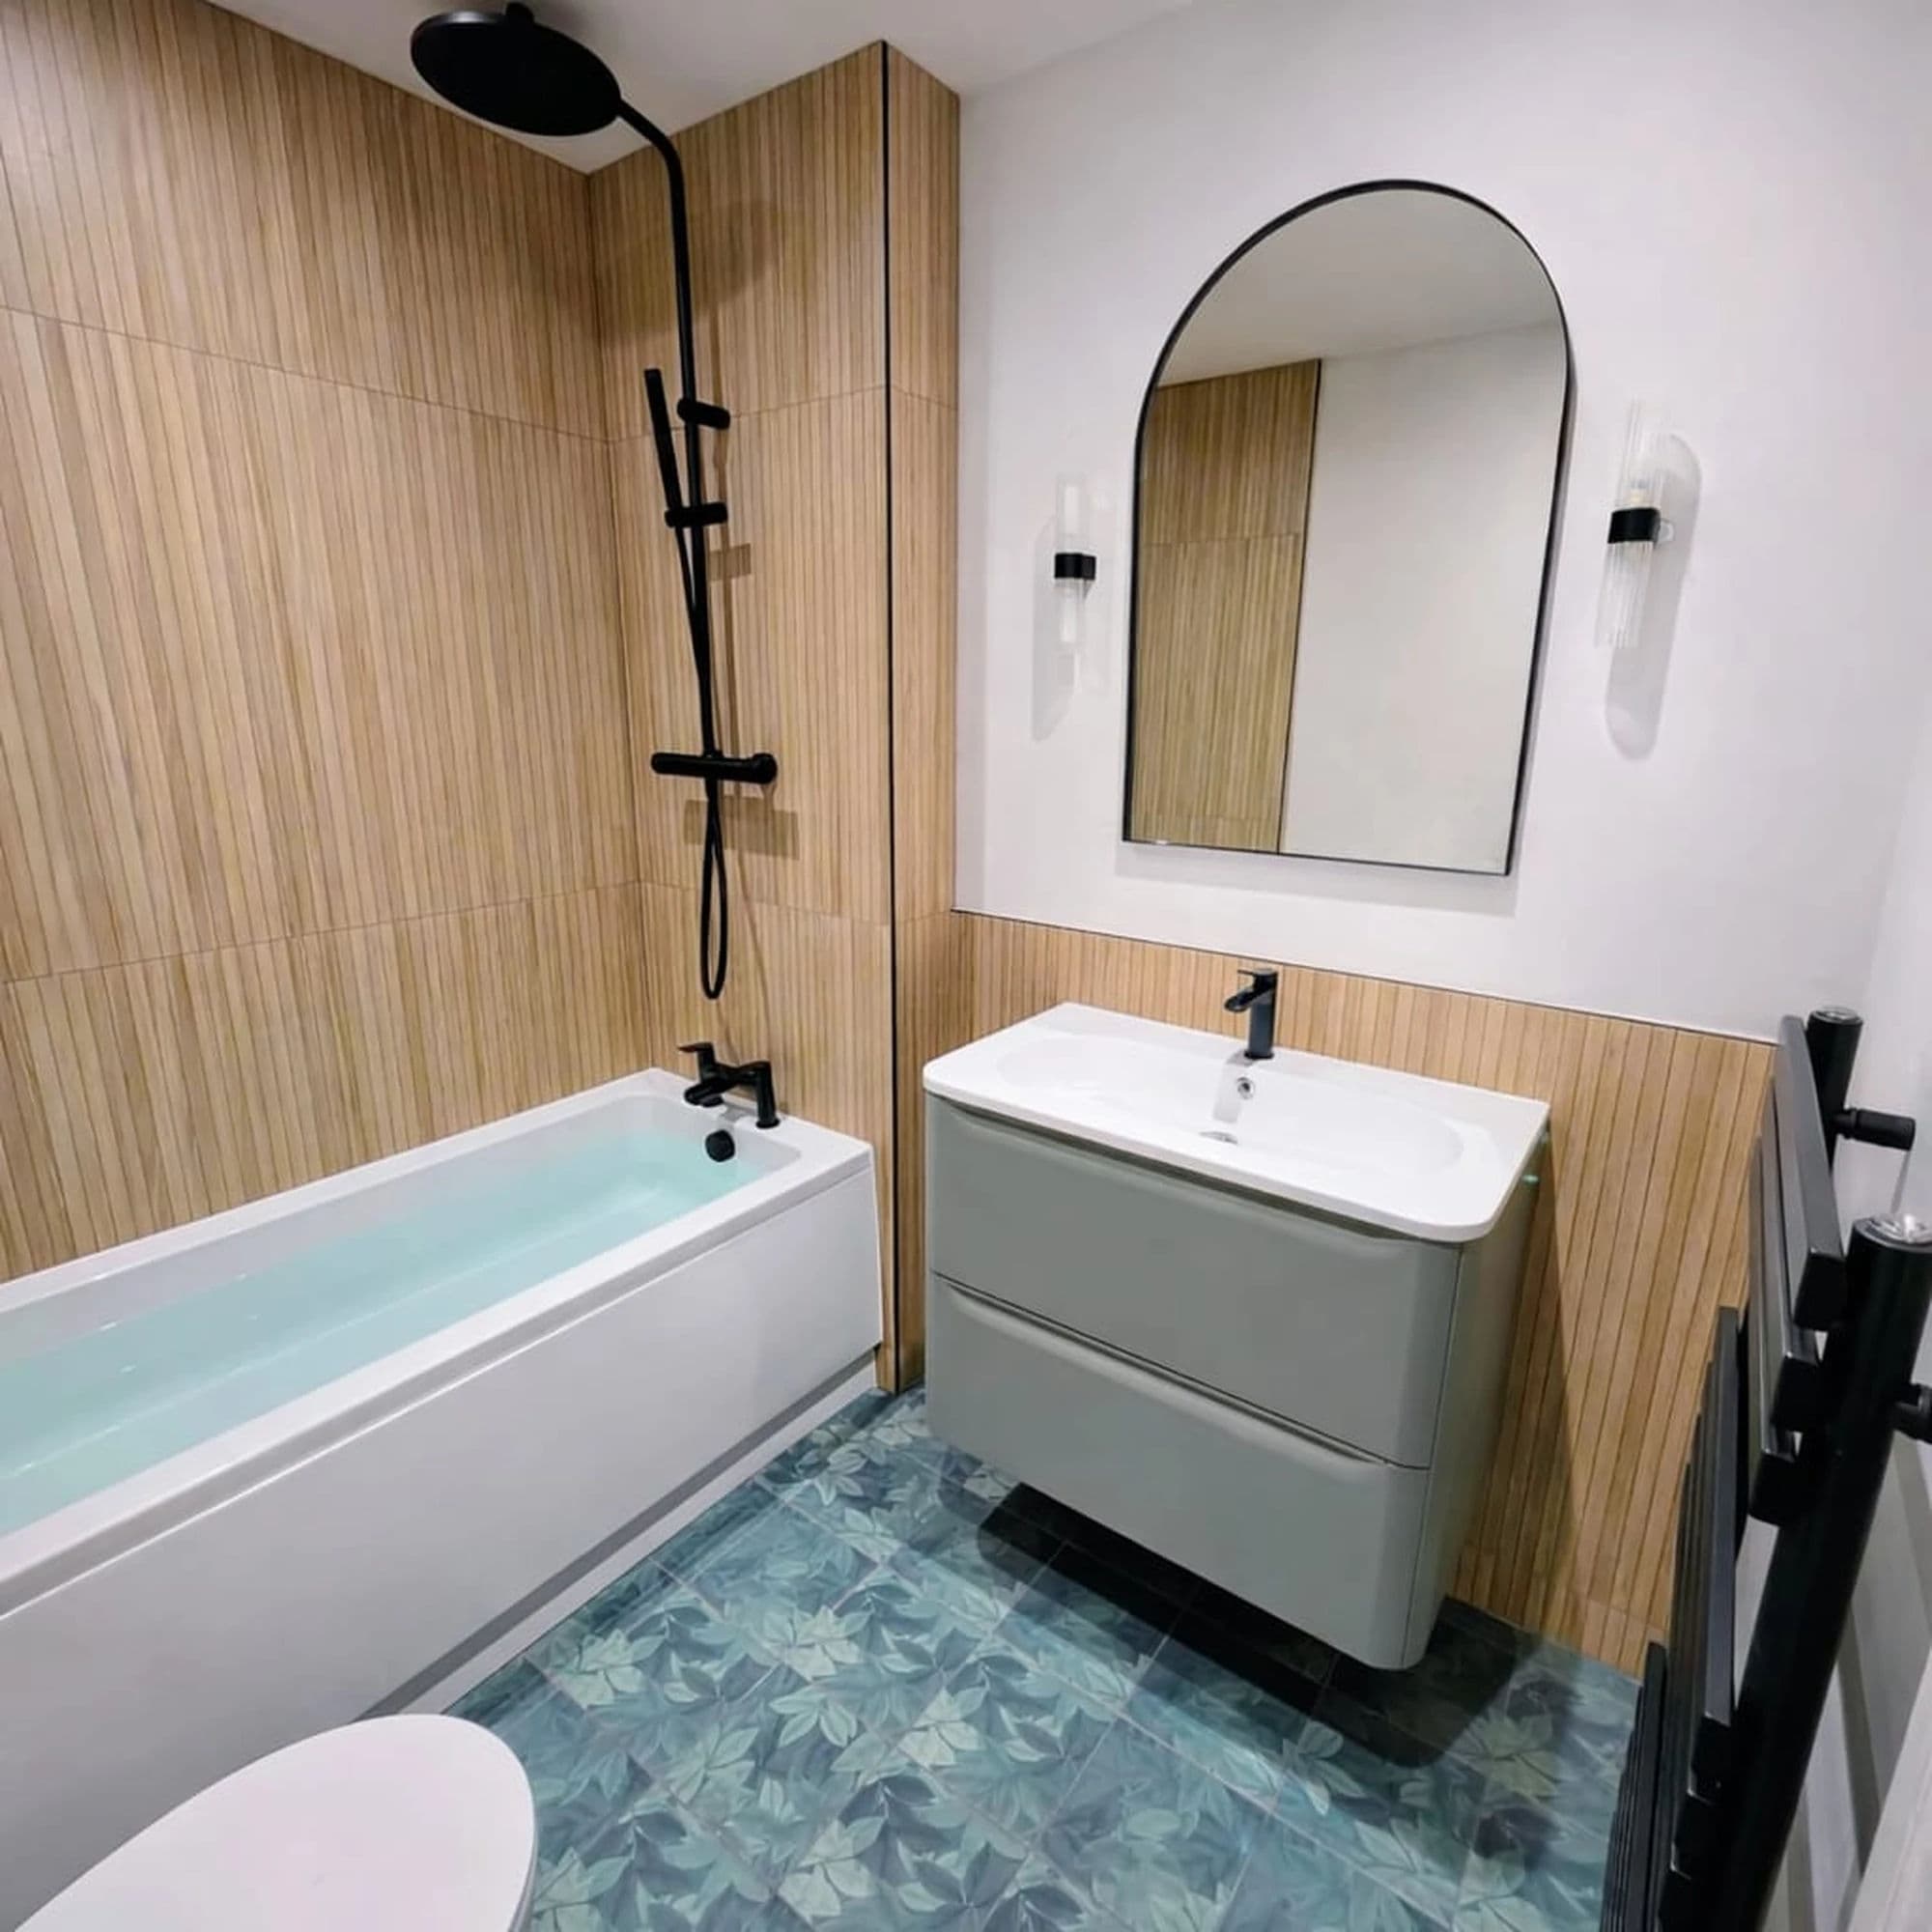
Completed in January 2026, this complete bathroom installation in Norton, Stockton-on-Tees, transformed a dated shower room into a considerably more practical contemporary bathroom with a large low-level shower, purpose-built tiled bench and fitted bathroom furniture.
The customer's main priority was to replace an awkward shower tray raised approximately ten inches above the floor. Rather than rebuilding another high platform, a completely new independent 40 mm shower waste was routed beneath the timber floor and connected directly to the external soil pipe. This allowed a new 1200 × 800 mm stone-resin tray to be installed only approximately 35–40 mm above the finished floor.
The complete bathroom refurbishment also included extensive wall preparation, a bespoke tiled shower seat, full-height porcelain bathroom tiling, fitted vanity and WC furniture, concealed plumbing, LVT flooring, a rebuilt clad ceiling, upgraded lighting and humidity-controlled ventilation.
The complete bathroom fitting was delivered over ten working days and finished on the agreed schedule.
The Customer’s Brief
The bathroom was used mainly as the customer’s en-suite, so the new room needed to be practical for regular everyday use rather than designed only for appearance.
The customer wanted:
- a much lower entrance into the shower;
- a large showering area;
- a fixed seat inside the enclosure;
- rainfall and handheld showering options;
- fitted furniture with concealed services and additional storage;
- a modern dark vanity arrangement;
- better bathroom lighting;
- improved humidity-controlled extraction;
- a heated towel radiator positioned within easy reach of the shower.
The general positions of the WC, basin and doorway remained suitable. The principal technical change was therefore lowering the shower and creating a completely new drainage route beneath the floor.
Why the Original Shower Was So High
The old shower tray had been installed on a platform approximately ten inches above the finished bathroom floor.
This height was not required by the shower tray itself. The previous installer had taken the easiest available waste route by passing the shower waste through the dividing wall and connecting it to the bath waste serving the adjoining main bathroom.
Because the old pipe had been run between the two rooms rather than beneath the floor, the shower tray had to be raised high enough to create drainage fall above floor level.
That arrangement created:
- an unnecessarily large step into the shower;
- dependence on the adjoining bathroom’s bath waste;
- a less direct drainage route;
- an awkward and dated raised platform.
Correcting this properly required more than simply replacing the shower tray. A new independent 40 mm waste route had to be created beneath the floor and connected directly to the external soil pipe.
Complete Strip-Out
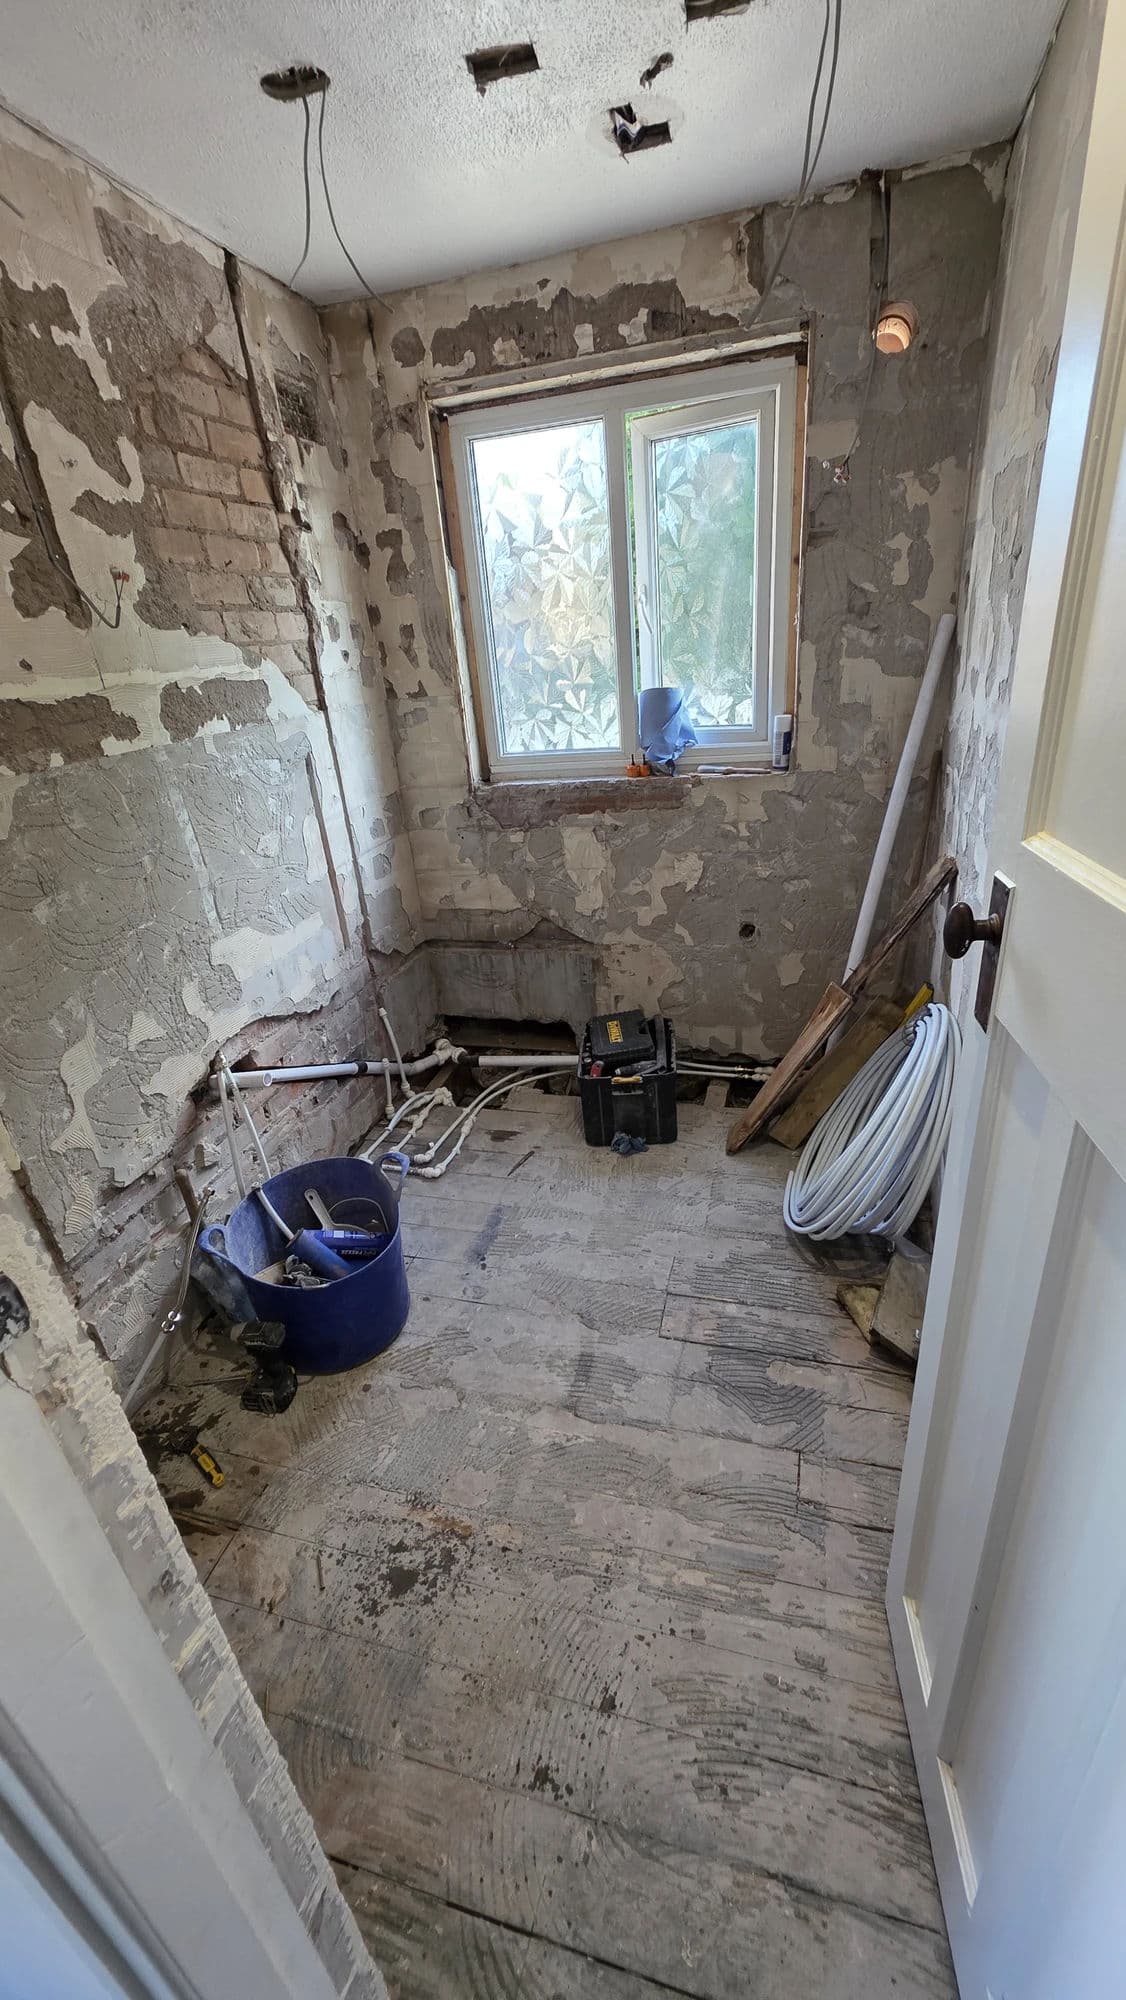
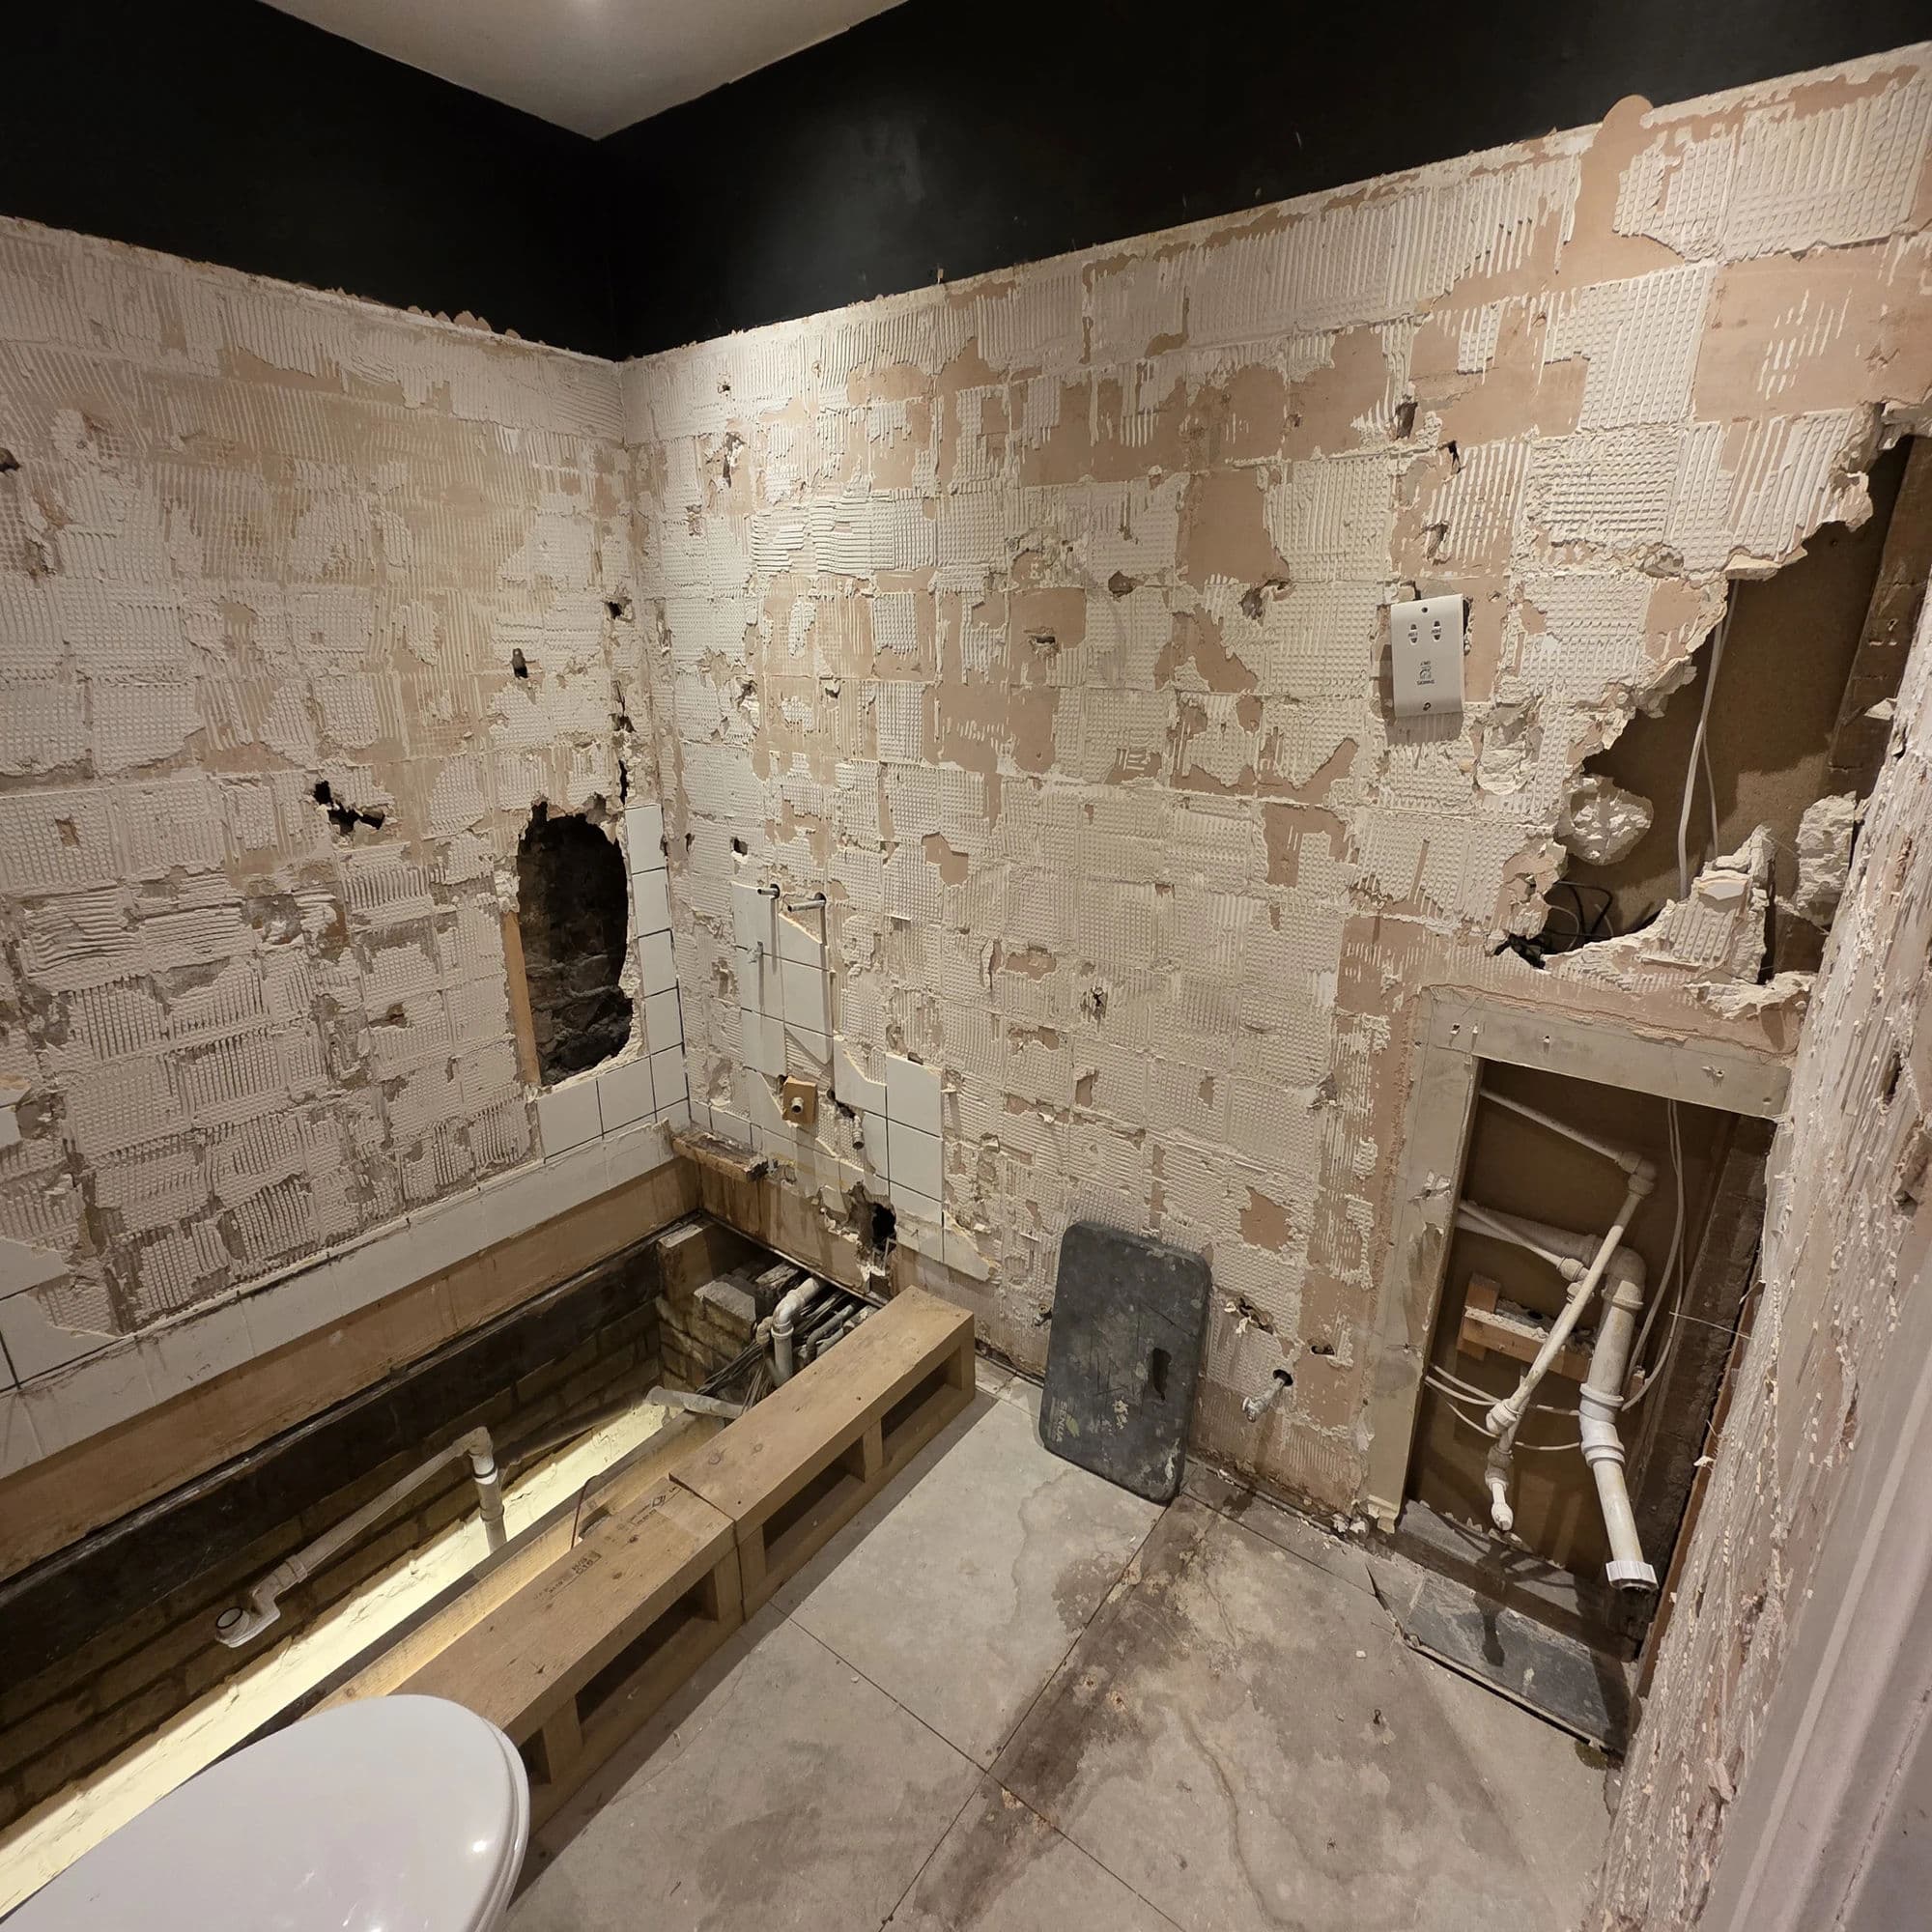
The old bathroom suite, raised shower installation, enclosure, wall tiles, flooring and loose ceiling cladding were removed as part of the complete bathroom refurbishment.
The bathroom was stripped back to its underlying plaster, plasterboard, timber floor and wall structure so that the existing backgrounds and services could be inspected properly.
The strip-out exposed:
- damaged and unsuitable sections of plasterboard;
- the old above-floor shower waste arrangement;
- floorboards that required lifting for the new drainage route;
- loose ceiling cladding previously held using adhesive or silicone;
- areas around the window that required rebuilding before tiling;
- unusual straw-based material within parts of the wall construction.
Removing the previous finishes allowed the new bathroom to be rebuilt from stable, properly prepared backgrounds rather than installing new products over hidden weaknesses.
Protecting the Occupied Property
The customer remained in the property while the refurbishment was completed.
Protective coverings and dust sheets were installed across the access route and surrounding floors before strip-out began.
Particular attention was given to protecting the adjoining bedroom and the customer’s bed. Bathroom demolition, drilling through the floor structure and cutting boards can create fine dust, so the bedroom needed to remain isolated and covered while the work was underway.
The access route and working area were cleaned regularly throughout the project to control dust and disruption inside the occupied home.
Rebuilding the Wall Backgrounds
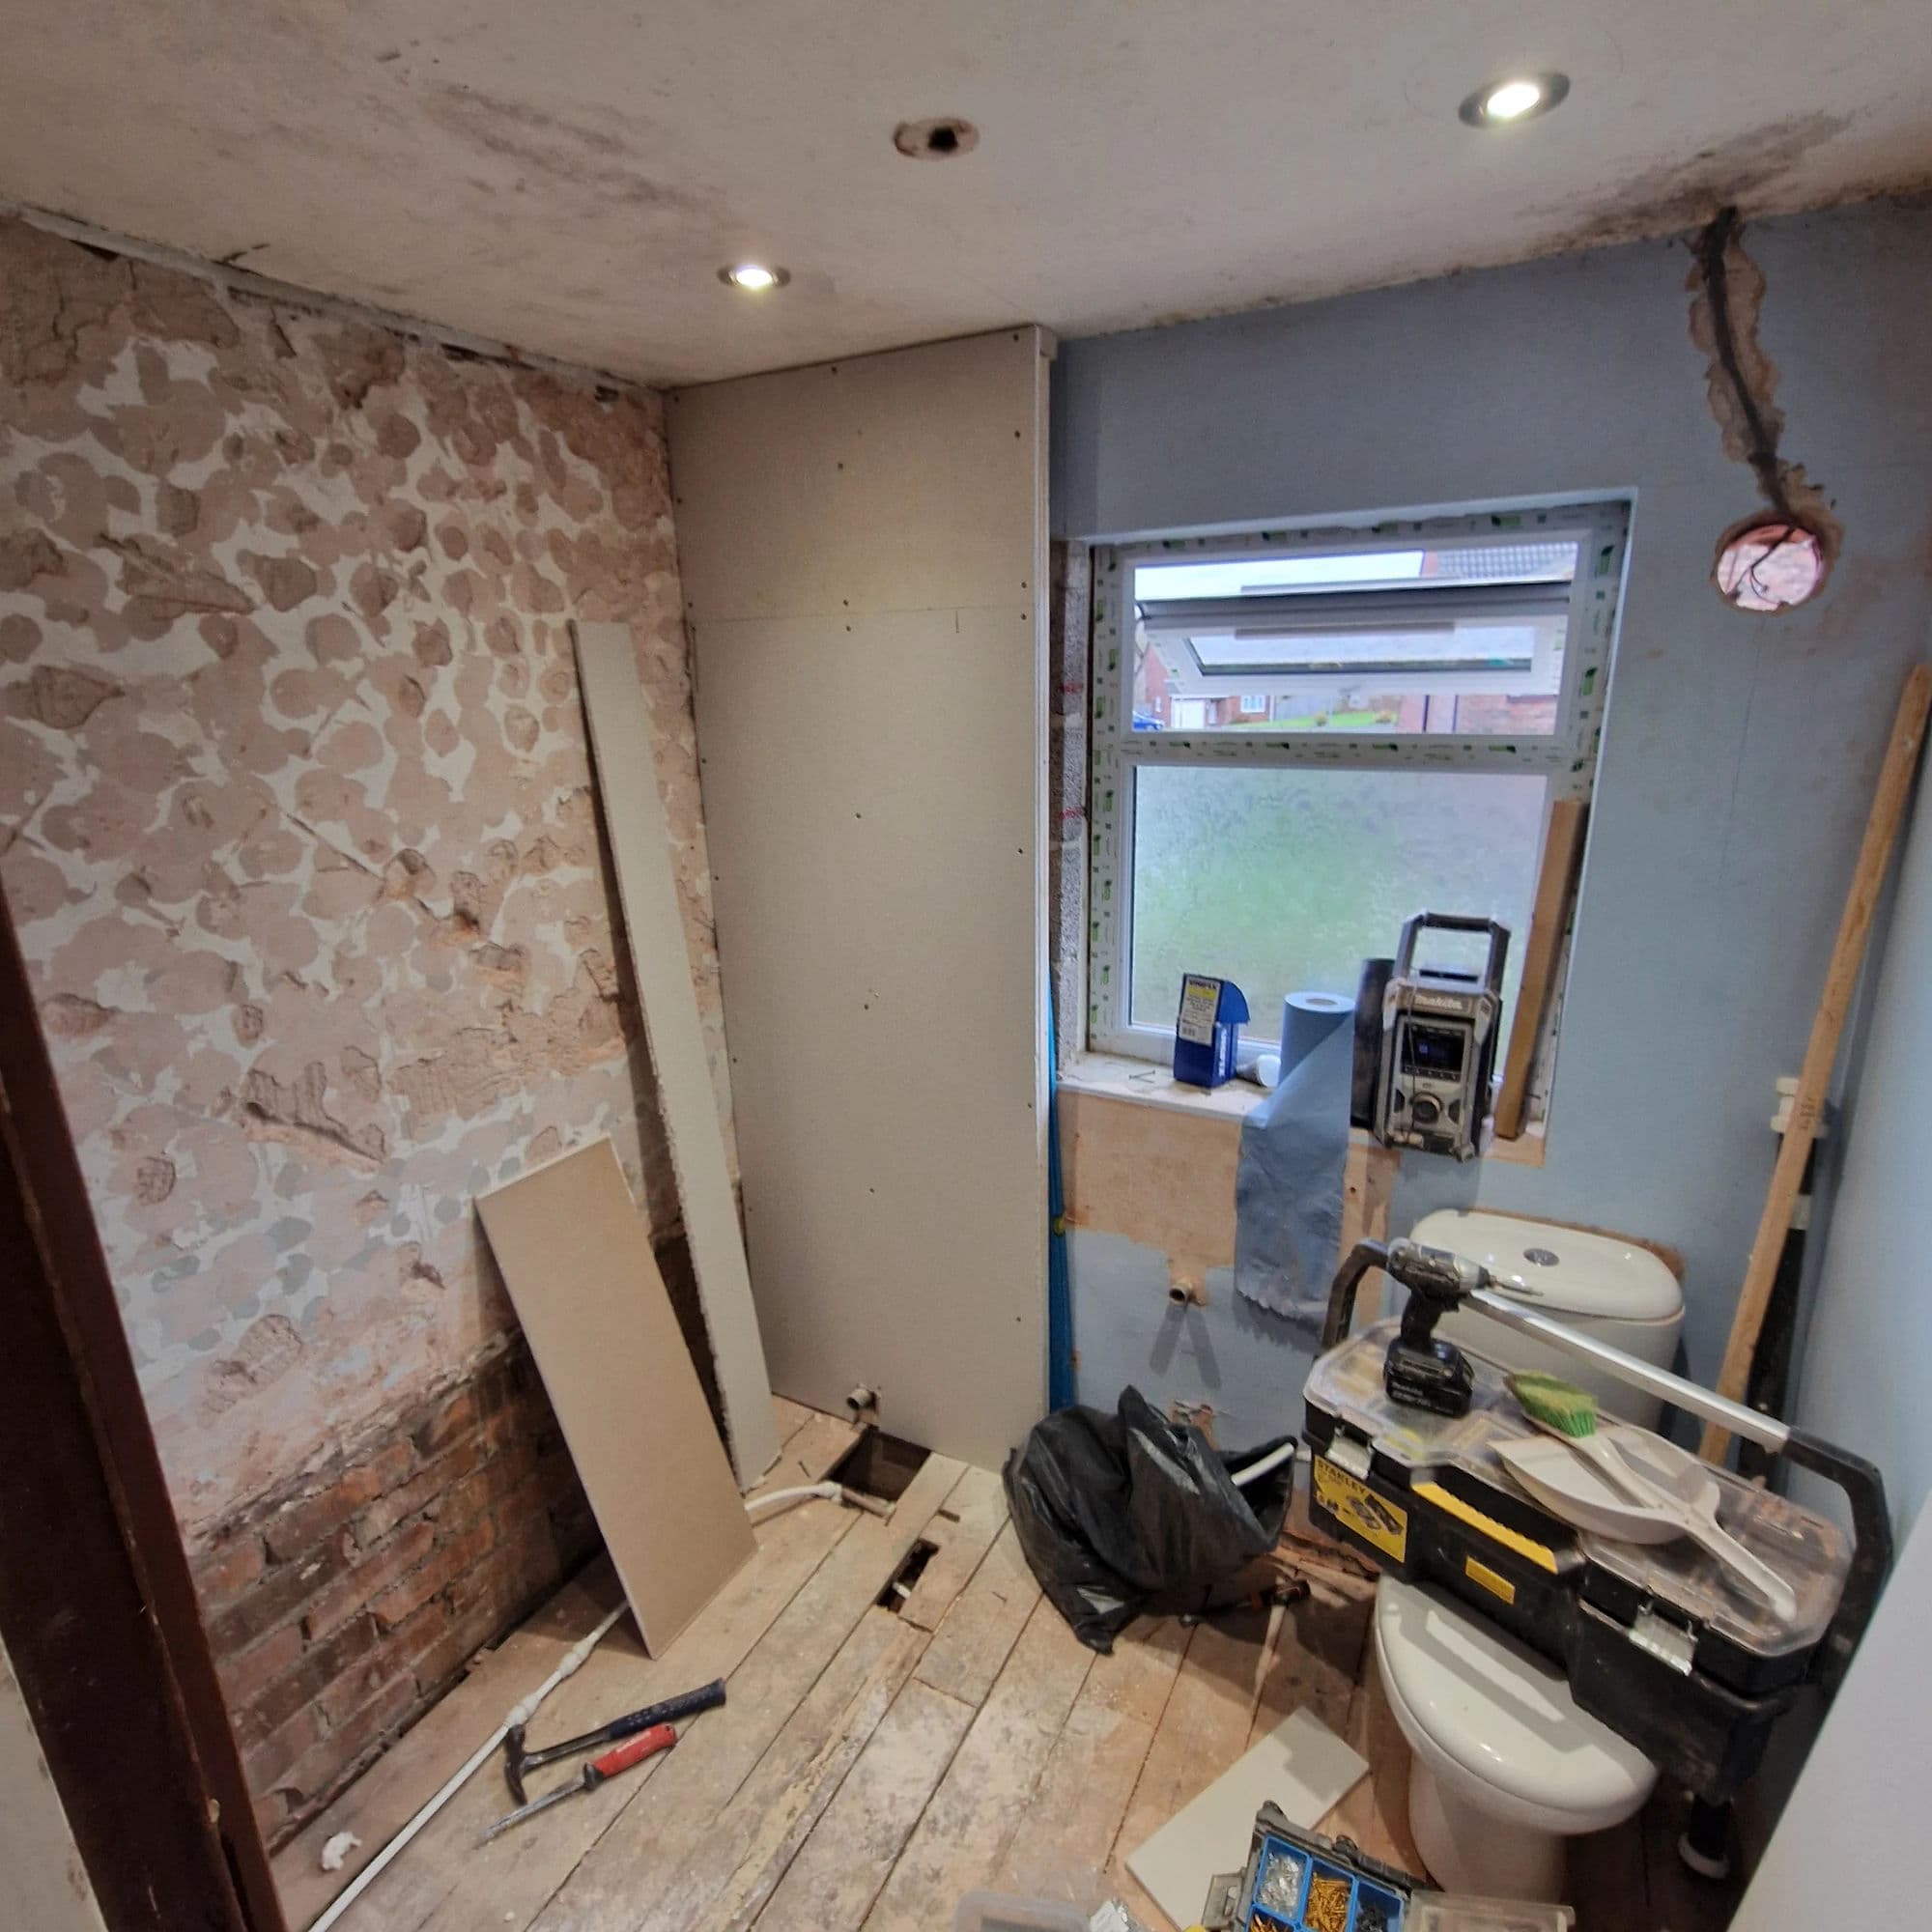
Damaged wall sections were removed and rebuilt using CLS timber framing and moisture-resistant green plasterboard.
Moisture-resistant plasterboard provides a more appropriate bathroom background than standard plasterboard because its core and facing are designed to resist the effects of humid conditions. It is not treated as a decorative finish; its purpose is to create a straight, securely fixed and dimensionally stable surface for the tile installation.
The window reveals were also repaired, boarded and straightened before tiling.
Accurate window preparation was important because poorly formed reveals would have produced:
- uneven tile cuts;
- inconsistent trim lines;
- out-of-square corners;
- visible changes in grout-joint width.
Preparing these backgrounds before tiling allowed the finished window detail to remain balanced and consistent with the surrounding brick-bond layout.
Working Around the Existing Wall Construction
Parts of the property contained straw-based material within the wall construction.
This required more careful service planning than a conventional empty stud wall. Unnecessary chasing or uncontrolled cutting into the wall could have disturbed the existing material and made the final installation more difficult to secure.
The new basin services were therefore routed discreetly behind the fitted furniture.
This allowed the hot, cold and waste connections to be renewed while:
- avoiding unnecessary damage to the existing wall;
- keeping pipework concealed;
- retaining access through the furniture where required;
- producing a clean finished appearance around the basin and WC.
Creating the New Shower Waste Route
Lowering the shower tray was the most technically demanding part of this bathroom installation.
The original waste connection through the adjoining bathroom was removed from use. A new 40 mm waste pipe was then routed beneath the en-suite floor and taken directly towards the external soil pipe.
Appropriately sized circular holes were formed through the timber floor structure using hole cutters. Drilling controlled circular penetrations avoided the broad removal of timber that would have resulted from cutting large open notches.
The new waste route was planned around:
- the direction and position of the floor joists;
- the outlet position beneath the shower tray;
- the required continuous drainage fall;
- the 40 mm waste-pipe diameter;
- the route towards the outside wall;
- the position of the external soil pipe.
Outside the property, the new shower waste was connected directly into the principal soil pipe using a new boss connection.
This created an independent and considerably more direct discharge route than the previous connection into the adjoining bath waste.
Why the Direct Waste Connection Matters
A shower waste must remove water continuously while the shower is operating.
A direct, correctly graded pipe route helps reduce the likelihood of:
- slow drainage;
- water remaining in the tray;
- dependence on another bathroom fitting’s waste connection;
- unnecessary changes in direction;
- difficult-to-maintain hidden junctions between rooms.
The new route also made it possible to position the shower tray close to floor level instead of rebuilding another high platform.
The work beneath the floor is not visible in the completed photographs, but it is the principal technical alteration that transformed how the bathroom functions.
Large Low-Level Stone-Resin Shower Tray
A 1200 × 800 mm rectangular stone-resin shower tray was installed.
Stone-resin trays are substantially rigid and dense compared with lightweight hollow trays. When installed on a properly prepared and continuously supported base, they provide a stable surface with minimal flex under normal use.
Reducing flex is important because movement at tray level can place repeated strain on:
- the tray-to-wall silicone joint;
- the enclosure seals;
- the shower waste connection;
- the lowest course of wall tiles.
The replacement tray itself was approximately 45 mm thick.
Once the 9 mm plywood preparation and finished LVT flooring were accounted for, the completed step into the shower was approximately 35–40 mm above the surrounding bathroom floor.
This was a considerable improvement over the original platform, which stood approximately ten inches high.
The customer gained a large showering area with a low and comfortable entrance without the room needing to be converted into a full wet room.
Roman Sliding Shower Enclosure
The shower tray was completed with a Roman sliding enclosure incorporating 8 mm toughened safety glass.
The sliding configuration was particularly suitable for the available room because the door operates within the enclosure footprint. It does not require the clear floor space that would be needed for a hinged door opening into the bathroom.
The 8 mm glass gives the enclosure a solid, substantial appearance and provides greater rigidity than thinner lightweight panels.
The enclosure also keeps water contained within the stone-resin tray while allowing the customer to enter through a practical opening beside the vanity area.
Nuie Dual Rainfall Shower
An exposed Nuie dual shower was installed to suit the property’s combi-boiler hot-water system.
The shower includes:
- a fixed rainfall shower head;
- a separate handheld shower attachment;
- exposed polished-chrome controls;
- individually practical showering options.
The rainfall head provides broad overhead water coverage, while the handset is useful for:
- seated showering;
- targeted rinsing;
- cleaning the enclosure;
- washing without using the overhead head.
New hot and cold supplies were installed for the shower.
The controls were positioned at a practical operating height of approximately 1100–1200 mm. This made them comfortable to reach from both the standing area and the tiled bench without placing them unnecessarily high on the wall.
Isolation valves were installed on the relevant supplies, allowing future maintenance without requiring the entire property’s water supply to remain isolated.
Purpose-Built Tiled Shower Bench
A permanent seating bench was constructed inside the shower enclosure.
The bench was formed from treated timber and covered using 12 mm plywood to create a rigid base for the tiled finish.
Treated timber was selected because it provides improved resistance to moisture-related deterioration compared with untreated internal timber. The plywood covering created a continuous surface rather than attempting to tile directly onto separate timber members.
The top of the bench was constructed with a slight fall towards the shower tray.
That fall is technically important. A completely level or backward-sloping seat would allow water to remain on the tiled surface and collect against the wall junction. Forming a controlled fall directs water back towards the tray after use.
The bench was tiled using the same Verona porcelain tiles as the surrounding walls, making it appear as an integrated architectural feature rather than an added freestanding seat.
Its position was coordinated with:
- the rainfall shower;
- the handheld attachment;
- the shower controls;
- the sliding enclosure;
- the available standing area.
The customer can therefore sit when required without losing the practical use of the remaining shower space.
Full-Height Verona Porcelain Tiling
The bathroom tiling was completed from floor to ceiling using Verona 600 × 300 mm light-grey gloss porcelain tiles.
The same tile was installed:
- around the fitted furniture;
- behind the basin and WC;
- around the window;
- throughout the shower enclosure;
- across the purpose-built shower bench.
Porcelain is a dense, low-absorption tile material, making it well suited to a regularly used bathroom. Its density also makes it more demanding to cut and drill than standard ceramic tile, so accurate setting-out and the correct cutting equipment are important.
Using one tile throughout creates continuity across the compact room and prevents the walls from becoming visually fragmented.
The light-grey gloss surface reflects the new lighting, while the dark furniture and floor provide contrast.
Brick-Bond Tile Layout
The 600 × 300 mm tiles were installed in a brick-bond pattern.
Brick bond staggers each horizontal row rather than aligning every vertical joint. This creates more movement across the walls while maintaining a clean and familiar appearance.
The setting-out had to be coordinated around:
- the window reveals;
- the vanity worktop;
- the WC furniture;
- the shower tray;
- the shower bench;
- the enclosure profiles;
- the ceiling line.
Careful setting-out reduced narrow tile cuts and prevented the brick-bond pattern from drifting out of alignment across adjoining walls.
BAL S1 Flexible Tile Adhesive
The porcelain tiles were installed using grey BAL slow-setting S1 flexible adhesive.
The S1 classification means the cured adhesive is deformable rather than completely rigid. Under the recognised tile-adhesive classification, S1 products accommodate transverse deformation of approximately 2.5–5 mm.
This does not mean that the tile installation is designed to move freely. It means the adhesive has greater capacity to tolerate limited background movement and vibration without immediately transferring all of that stress into the porcelain tile or bond line.
That flexibility was appropriate because the bathroom included:
- traditionally constructed walls;
- repaired plasterboard backgrounds;
- timber elements;
- a tiled shower bench;
- areas adjoining the timber floor structure.
A slow or standard-setting adhesive also provides a longer practical working time than a rapid-setting product.
That additional working time helped with:
- accurate brick-bond alignment;
- full adhesive coverage;
- adjustment around the window;
- detailed cuts around the shower bench;
- keeping grout joints consistent across full-height walls.
The adhesive was selected specifically for porcelain tile and correctly prepared bathroom backgrounds rather than using a basic ready-mixed wall-tile adhesive.
The tiled walls were completed using BAL flexible mould-resistant grout in Gunmetal.
The darker Gunmetal tone defines the brick-bond pattern and coordinates with:
- the dark-grey fitted furniture;
- the black slate-effect floor;
- the shower details;
- the brushed-metal trim.
A flexible premium grout is better suited to a bathroom than a basic rigid cement grout because it is formulated to tolerate limited background movement and regular wetting.
Its mould-resistant properties are particularly relevant around:
- the shower enclosure;
- the tiled bench;
- the window;
- the basin;
- other areas exposed to repeated condensation.
The darker colour also avoids the maintenance difficulties associated with bright white grout in a frequently used shower room.
Colour-Matched Flexible Sealant
BAL colour-matched grout-effect sealant was used where movement needed to be accommodated while retaining the appearance of the Gunmetal grout.
Flexible sealant is required at changes of plane and movement-sensitive junctions because two adjoining surfaces can expand or move independently.
Using rigid grout at these locations can lead to cracking.
Flexible sealant was therefore used where appropriate around:
- internal wall corners;
- the tiled shower bench;
- changes in background;
- movement-sensitive tiled junctions.
White sanitary silicone was used where white sanitaryware met the tiled surfaces, including around the shower tray, basin and WC.
This produced a cleaner visual junction while maintaining a flexible waterproof seal around the sanitary fittings.
Ten-Millimetre Brushed Tile Trim
Exposed tiled edges were completed with 10 mm brushed-metal trim.
The trim protects the vulnerable edge of the porcelain tile and creates a straight finished line around external corners and window reveals.
A brushed finish was deliberately selected instead of highly polished trim.
Polished metal can look excellent when newly installed, but it tends to show:
- fine scratches;
- cleaning marks;
- fingerprints;
- small surface imperfections.
The brushed surface is more forgiving over the longer term while still coordinating with the bathroom’s polished-chrome fittings.
Dark-Grey Nuie Fitted Furniture
The strongest visual feature of the finished room is the coordinated dark vanity, basin and WC arrangement.
Approximately 1100 mm of Nuie fitted bathroom furniture was installed in a dark-grey matt textured finish.
The furniture includes:
- five doors in total;
- three lower furniture doors;
- two doors around the concealed-cistern section;
- a coordinated worktop;
- a semi-recessed basin;
- a back-to-wall WC;
- a concealed cistern;
- concealed basin services;
- practical enclosed storage.
The matt textured surface creates depth without the fingerprints and strong reflections associated with high-gloss furniture.
It also provides a strong contrast against the light-grey gloss porcelain tiles.
Bringing the basin, toilet and storage together as one fitted run creates a more structured installation than separate freestanding items.
Semi-Recessed Basin
A Nuie semi-recessed basin, approximately 600 mm wide, was installed within the worktop and fitted furniture.
A semi-recessed basin projects forward sufficiently for comfortable everyday use while allowing the furniture beneath and beside it to retain useful storage depth.
New hot, cold and waste connections were installed for the basin.
The pipework was routed behind the furniture because of the existing wall construction, leaving the finished services concealed from normal view.
The five-door furniture arrangement retains access to the cistern and internal services while keeping the visible bathroom appearance clean.
Back-to-Wall WC and Concealed Cistern
A Nuie back-to-wall WC was installed in the original toilet position.
The cistern is concealed inside the fitted furniture, leaving the WC pan and flush control visible.
This arrangement provides several practical and visual benefits:
- pipework is concealed;
- the cistern does not interrupt the furniture line;
- the WC is easier to integrate with the vanity worktop;
- service access remains available through the furniture;
- the finished room appears less cluttered.
Keeping the WC in its original position also avoided unnecessary alterations to the principal soil connection.
LED Mirror with Demister
A 600 mm LED mirror was installed above the semi-recessed basin.
The mirror includes:
- integrated LED illumination;
- a demister pad;
- touch control;
- a clean contemporary profile.
The demister pad gently warms the mirror surface, reducing condensation in the central viewing area after the shower has been used.
This is particularly useful in an en-suite where the mirror may be needed immediately after showering.
The integrated touch control keeps the front of the mirror uncluttered, and no shaver socket was included.
Repositioned Chrome Towel Radiator
The original radiator was positioned on the left-hand side of the bathroom.
During the refurbishment, the radiator and its pipework were moved beside the shower enclosure.
A polished-chrome towel radiator was installed in the new location.
This was a practical layout decision rather than simply a decorative change. The customer can now:
- warm towels while showering;
- reach the towel immediately after opening the enclosure;
- avoid crossing the bathroom while wet;
- keep the vanity wall visually balanced.
The polished-chrome finish coordinates with the shower, enclosure and other metal fittings.
Floorboard Repairs
Floorboards had to be lifted to install the new shower waste and plumbing routes.
Once the services had been completed and tested, the lifted boards were repaired and securely refixed.
Securing the existing boards before overboarding was important because loose floorboards can:
- squeak;
- move independently;
- create localised flex;
- transfer joints through the finished flooring;
- weaken the bond between the subfloor and LVT.
The floor preparation therefore began with stabilising the original timber structure rather than simply covering it.
Nine-Millimetre Plywood Floor Preparation
The repaired timber floor was overboarded using 9 mm plywood.
The plywood created a smoother and more uniform surface for the LVT installation.
It also helped:
- distribute localised movement across the floor;
- bridge minor differences between individual boards;
- reduce the risk of board joints becoming visible through the LVT;
- provide a consistent surface for the flooring adhesive;
- create a more stable finished floor.
The plywood was installed only after the new pipework and shower waste had been completed beneath the floor.
Black Slate-Effect LVT Flooring
Black slate-effect LVT was installed across the prepared floor.
The dark slate appearance grounds the room visually and connects with the Gunmetal grout and dark-grey furniture.
LVT was suitable for this en-suite because it provides:
- a warm surface compared with stone or porcelain;
- straightforward cleaning;
- resistance to normal bathroom splashes;
- a thin finished build-up;
- a detailed slate appearance without deep grout joints.
The finished floor build-up was also considered when calculating the final shower-tray threshold. Once the LVT and plywood were installed, the shower entrance remained approximately 35–40 mm above the floor.
Rebuilt Ceiling Background
The original ceiling cladding had become loose because it had been fixed using adhesive or silicone without a consistent supporting background.
The old panels were removed and the ceiling structure was rebuilt.
A timber framework was prepared, followed by 9 mm plasterboard.
The plasterboard was not being used as a plastered decorative ceiling. It was installed to create:
- a flat continuous plane;
- a lightweight supporting background;
- reliable fixing positions;
- consistent support for the new cladding.
Using 9 mm board kept the ceiling build-up lighter while still providing the necessary continuous background for the panels.
Matt-White Ceiling Cladding
Matt-white ceiling cladding supplied by local manufacturer Ceiling2Floor was installed over the prepared ceiling.
The matt-white finish:
- reflects light around the room;
- contrasts with the grey walls;
- avoids the stronger reflections of gloss panels;
- provides a low-maintenance bathroom surface;
- conceals the service space above.
Because the walls were tiled from floor to ceiling and the ceiling was fully clad, no decorative wall painting or ceiling plastering was required.
IP65 Bathroom Spotlights
Three IP65 recessed LED downlights were installed across the ceiling.
An IP65 fitting provides:
- complete protection against dust ingress;
- protection against directed water jets;
- a sealed fitting better suited to a humid bathroom environment.
Bathroom electrical zones generally require at least splash protection where fittings are exposed to water. Using IP65 downlights provides a more robust level of protection than the minimum IPX4 commonly required within bathroom zones.
The recessed arrangement distributes light more evenly than a single central fitting and reduces heavy shadows around the vanity and shower enclosure.
Modern Wall Switch
The previous bathroom lighting had been operated using a traditional pull cord.
This was replaced with a modern wall switch positioned outside the bathroom.
Locating the conventional switch outside the room keeps it away from the wet environment while providing a cleaner and more familiar control arrangement.
All lighting and electrical alterations were completed by a qualified electrician.
A new inline extractor-fan system was installed.
The main fan body was positioned above the bathroom ceiling rather than directly inside the visible ceiling grille.
Ducting connects:
- the illuminated bathroom ceiling inlet;
- the remote inline fan body;
- the existing external outlet and grille.
The ceiling inlet includes an additional integrated light, giving the room three recessed downlights plus the illuminated extractor grille.
The inlet was moved slightly to suit the new bathroom layout and to sit more neatly within the ceiling arrangement.
Timer and Humidistat Operation
The extractor fan includes both timer and humidistat control.
The humidistat monitors moisture levels and allows the fan to operate automatically when humidity rises.
This is valuable because condensation is not always removed effectively when extraction depends entirely on the customer remembering to operate a separate switch.
The timer allows the fan to continue running after the bathroom has been used, helping remove residual moisture from:
- the shower enclosure;
- tiled surfaces;
- the ceiling;
- the mirror;
- the room air.
The existing external outlet was reused, so no new outside wall grille was required.
Products Supplied Through Local Showrooms
All principal bathroom products were supplied by Tees Valley Refurbishments Ltd through established local bathroom showrooms.
The coordinated supply included:
- the Nuie fitted furniture;
- semi-recessed basin;
- back-to-wall WC;
- concealed cistern;
- worktop;
- Nuie dual shower;
- Roman sliding enclosure;
- stone-resin shower tray;
- LED mirror;
- towel radiator;
- Verona porcelain tiles;
- LVT flooring;
- lighting and extraction components.
Managing the product supply alongside the installation allowed the dimensions, finishes and service requirements to be coordinated before second fix.
Ten-Working-Day Programme
The complete bathroom installation was delivered over ten working days:
- Monday to Friday during the first week;
- no weekend working;
- Monday to Friday during the second week.
The programme included:
- property protection;
- complete strip-out;
- floor opening;
- installation of the new shower waste;
- external boss connection;
- hot and cold pipework alterations;
- wall repairs and boarding;
- window-reveal preparation;
- shower-bench construction;
- ceiling reconstruction;
- full-height porcelain tiling;
- furniture and sanitaryware installation;
- shower tray and enclosure installation;
- floorboard repairs;
- plywood and LVT installation;
- radiator relocation;
- lighting and extraction;
- final silicone, testing and cleaning.
The bathroom was completed on schedule in January 2026.
Completed Bathroom Installation
The completed Norton bathroom is considerably more practical, comfortable and visually coordinated than the original installation.
The old shower platform, which stood approximately ten inches high, has been replaced with a large 1200 × 800 mm stone-resin tray positioned approximately 35–40 mm above the finished floor.
The new direct waste route beneath the floor and into the external soil pipe made that reduction possible.
The fixed tiled bench provides a practical seating option, while the rainfall head and separate handset support both seated and standing showering.
The dark-grey Nuie fitted furniture forms the principal design feature of the room, combining:
- a semi-recessed basin;
- concealed basin services;
- useful storage;
- a back-to-wall WC;
- a concealed cistern;
- a coordinated worktop.
Full-height light-grey porcelain tiling, Gunmetal grout, brushed trim, black slate-effect LVT and polished-chrome fittings complete the contemporary finish.
The repositioned towel radiator is now within easy reach of the shower, while the LED mirror, IP65 lighting and humidity-controlled inline extraction improve everyday use.
The customer’s five-star Google review is displayed directly on the project page as independent confirmation of the completed work and service.
Homeowners can view more of our completed bathroom projects, read our customer reviews, or explore our dedicated Norton bathroom fitting page.
Norton forms part of our wider bathroom fitting and installation coverage across Stockton-on-Tees, including nearby Hartburn and Fairfield.
For a similar bathroom installation, refurbishment or shower-room project, request a free bathroom survey to discuss the existing room, preferred layout and required scope of work.