Project in 30 seconds
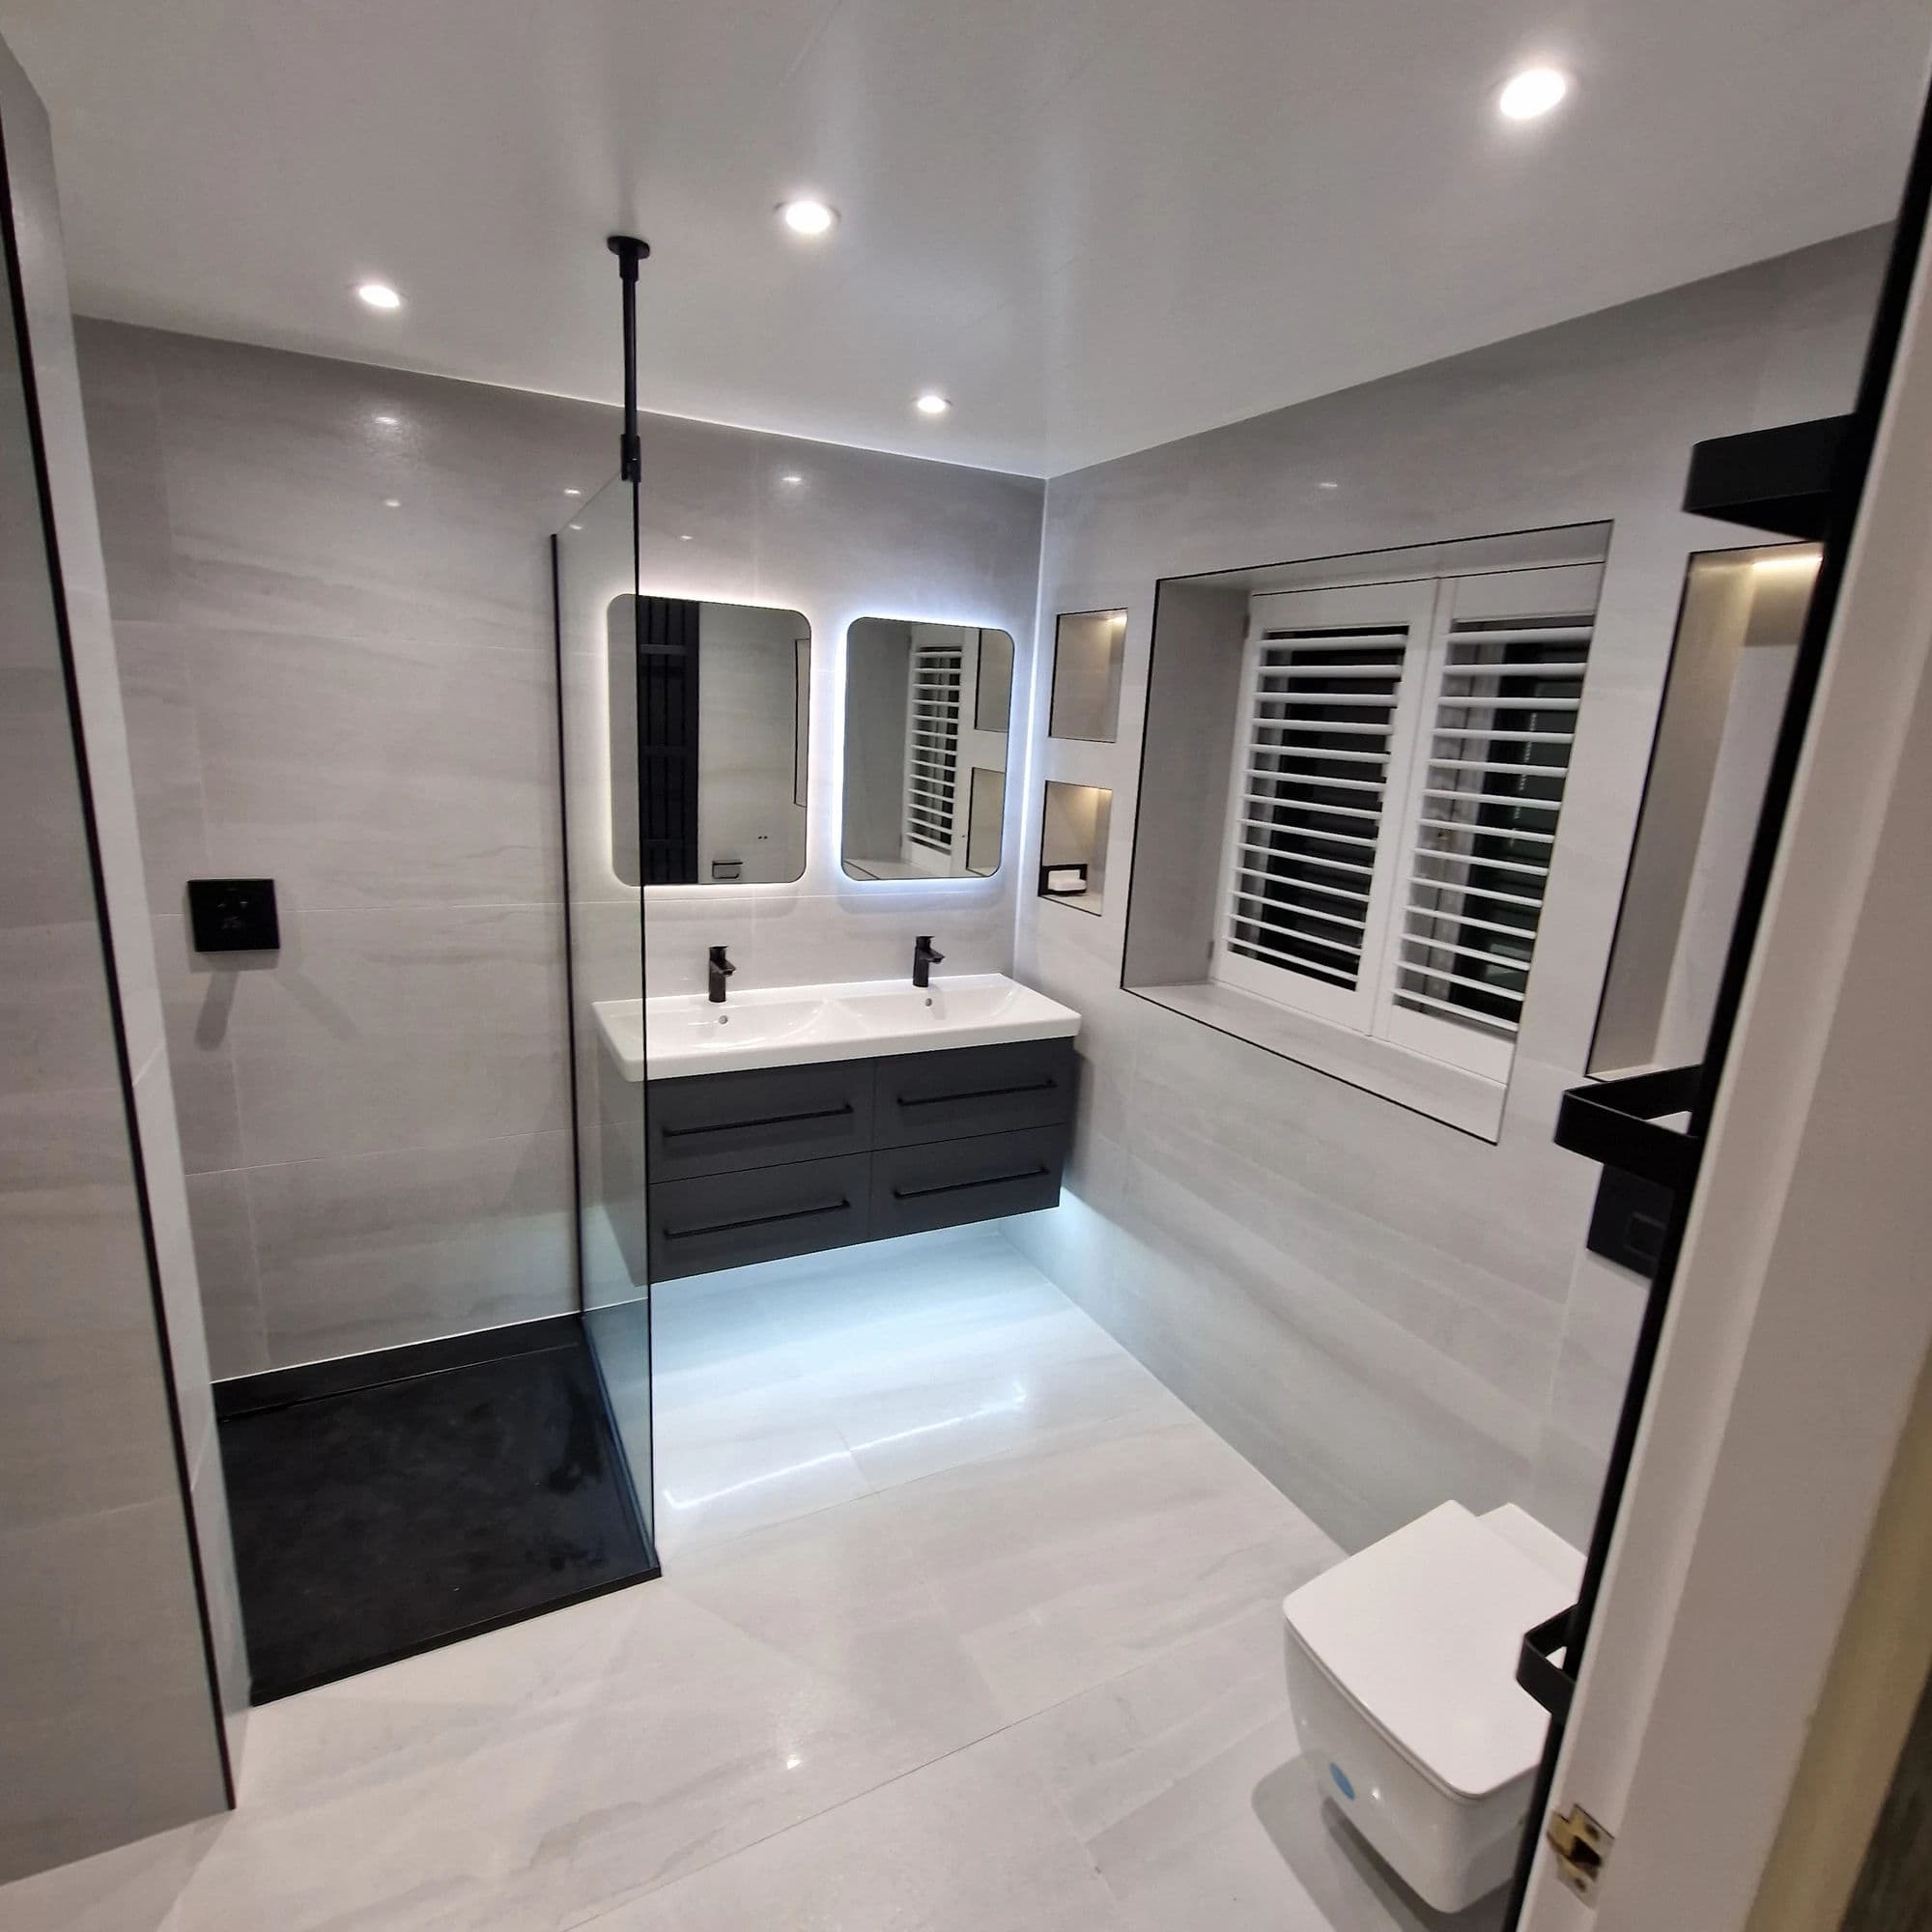
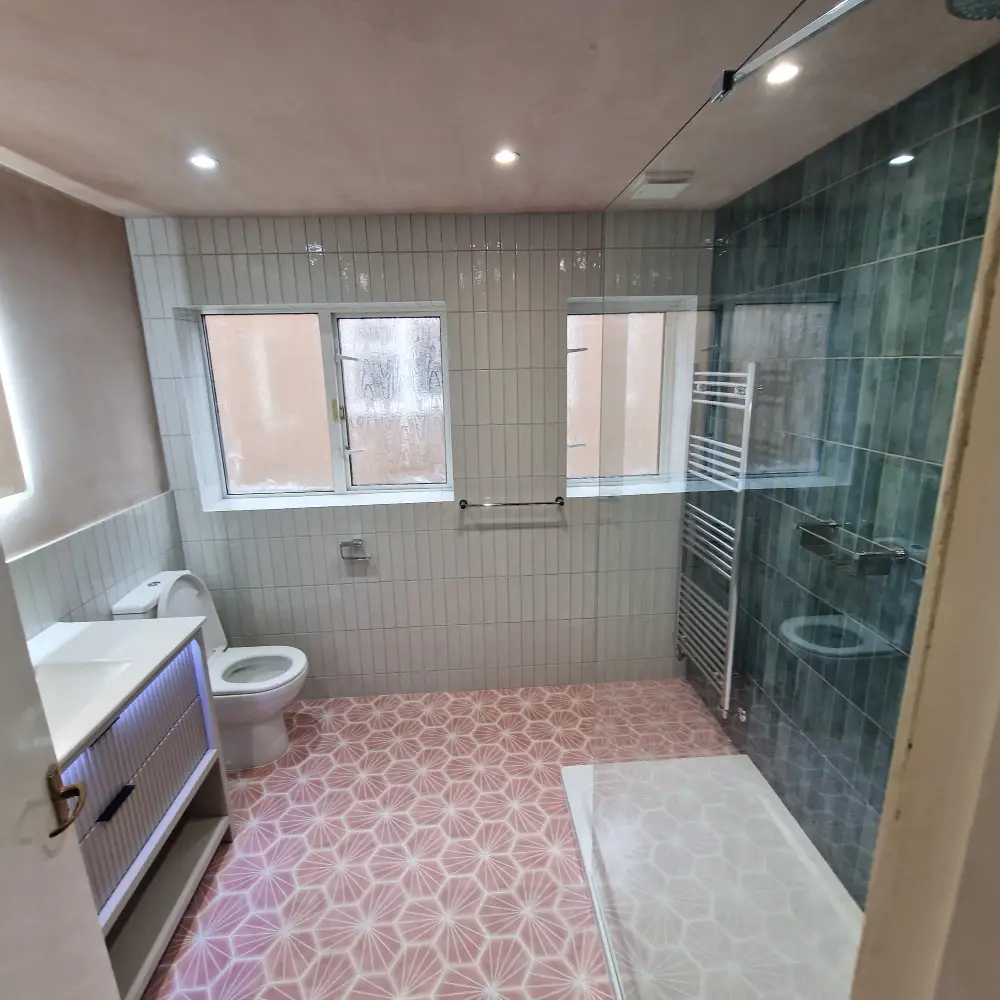
Completed in July 2025, this complete bathroom refurbishment in Yarm transformed a first-floor bathroom and adjoining storage cupboard into one substantially larger family bathroom.
The internal dividing wall was removed, the redundant cupboard doorway was closed and the main bathroom entrance was repositioned to create space for both a full-size 1700 × 800 mm Roca bath and a completely separate 800 × 800 mm shower. Extensive first-fix plumbing, floor strengthening, a new continuous ceiling and new electrical and ventilation work were completed as part of the bathroom installation.
The finished room combines Roca sanitaryware, GROHE chrome fittings, a Roman 8 mm glass shower enclosure, anthracite furniture, oak-effect LVT flooring and 600 × 300 mm RAK porcelain bathroom tiling.
The complete refurbishment was delivered by our bathroom fitters over ten working days and completed on schedule.
Original Bathroom and Adjoining Cupboard
Before the refurbishment, the main bathroom and the neighbouring storage cupboard were two separate rooms.
The original bathroom contained:
- a bath;
- a washbasin;
- a WC;
- a radiator;
- an internal wall separating it from the cupboard;
- separate door openings and ceiling areas.
The washbasin and WC were positioned beneath the window. The customer wanted to retain the WC in the same general position but completely redesign the remainder of the room.
The adjoining cupboard occupied valuable floor space that could be incorporated into the bathroom. Once combined, this additional area provided sufficient room for the new full-size bath without sacrificing the separate shower.
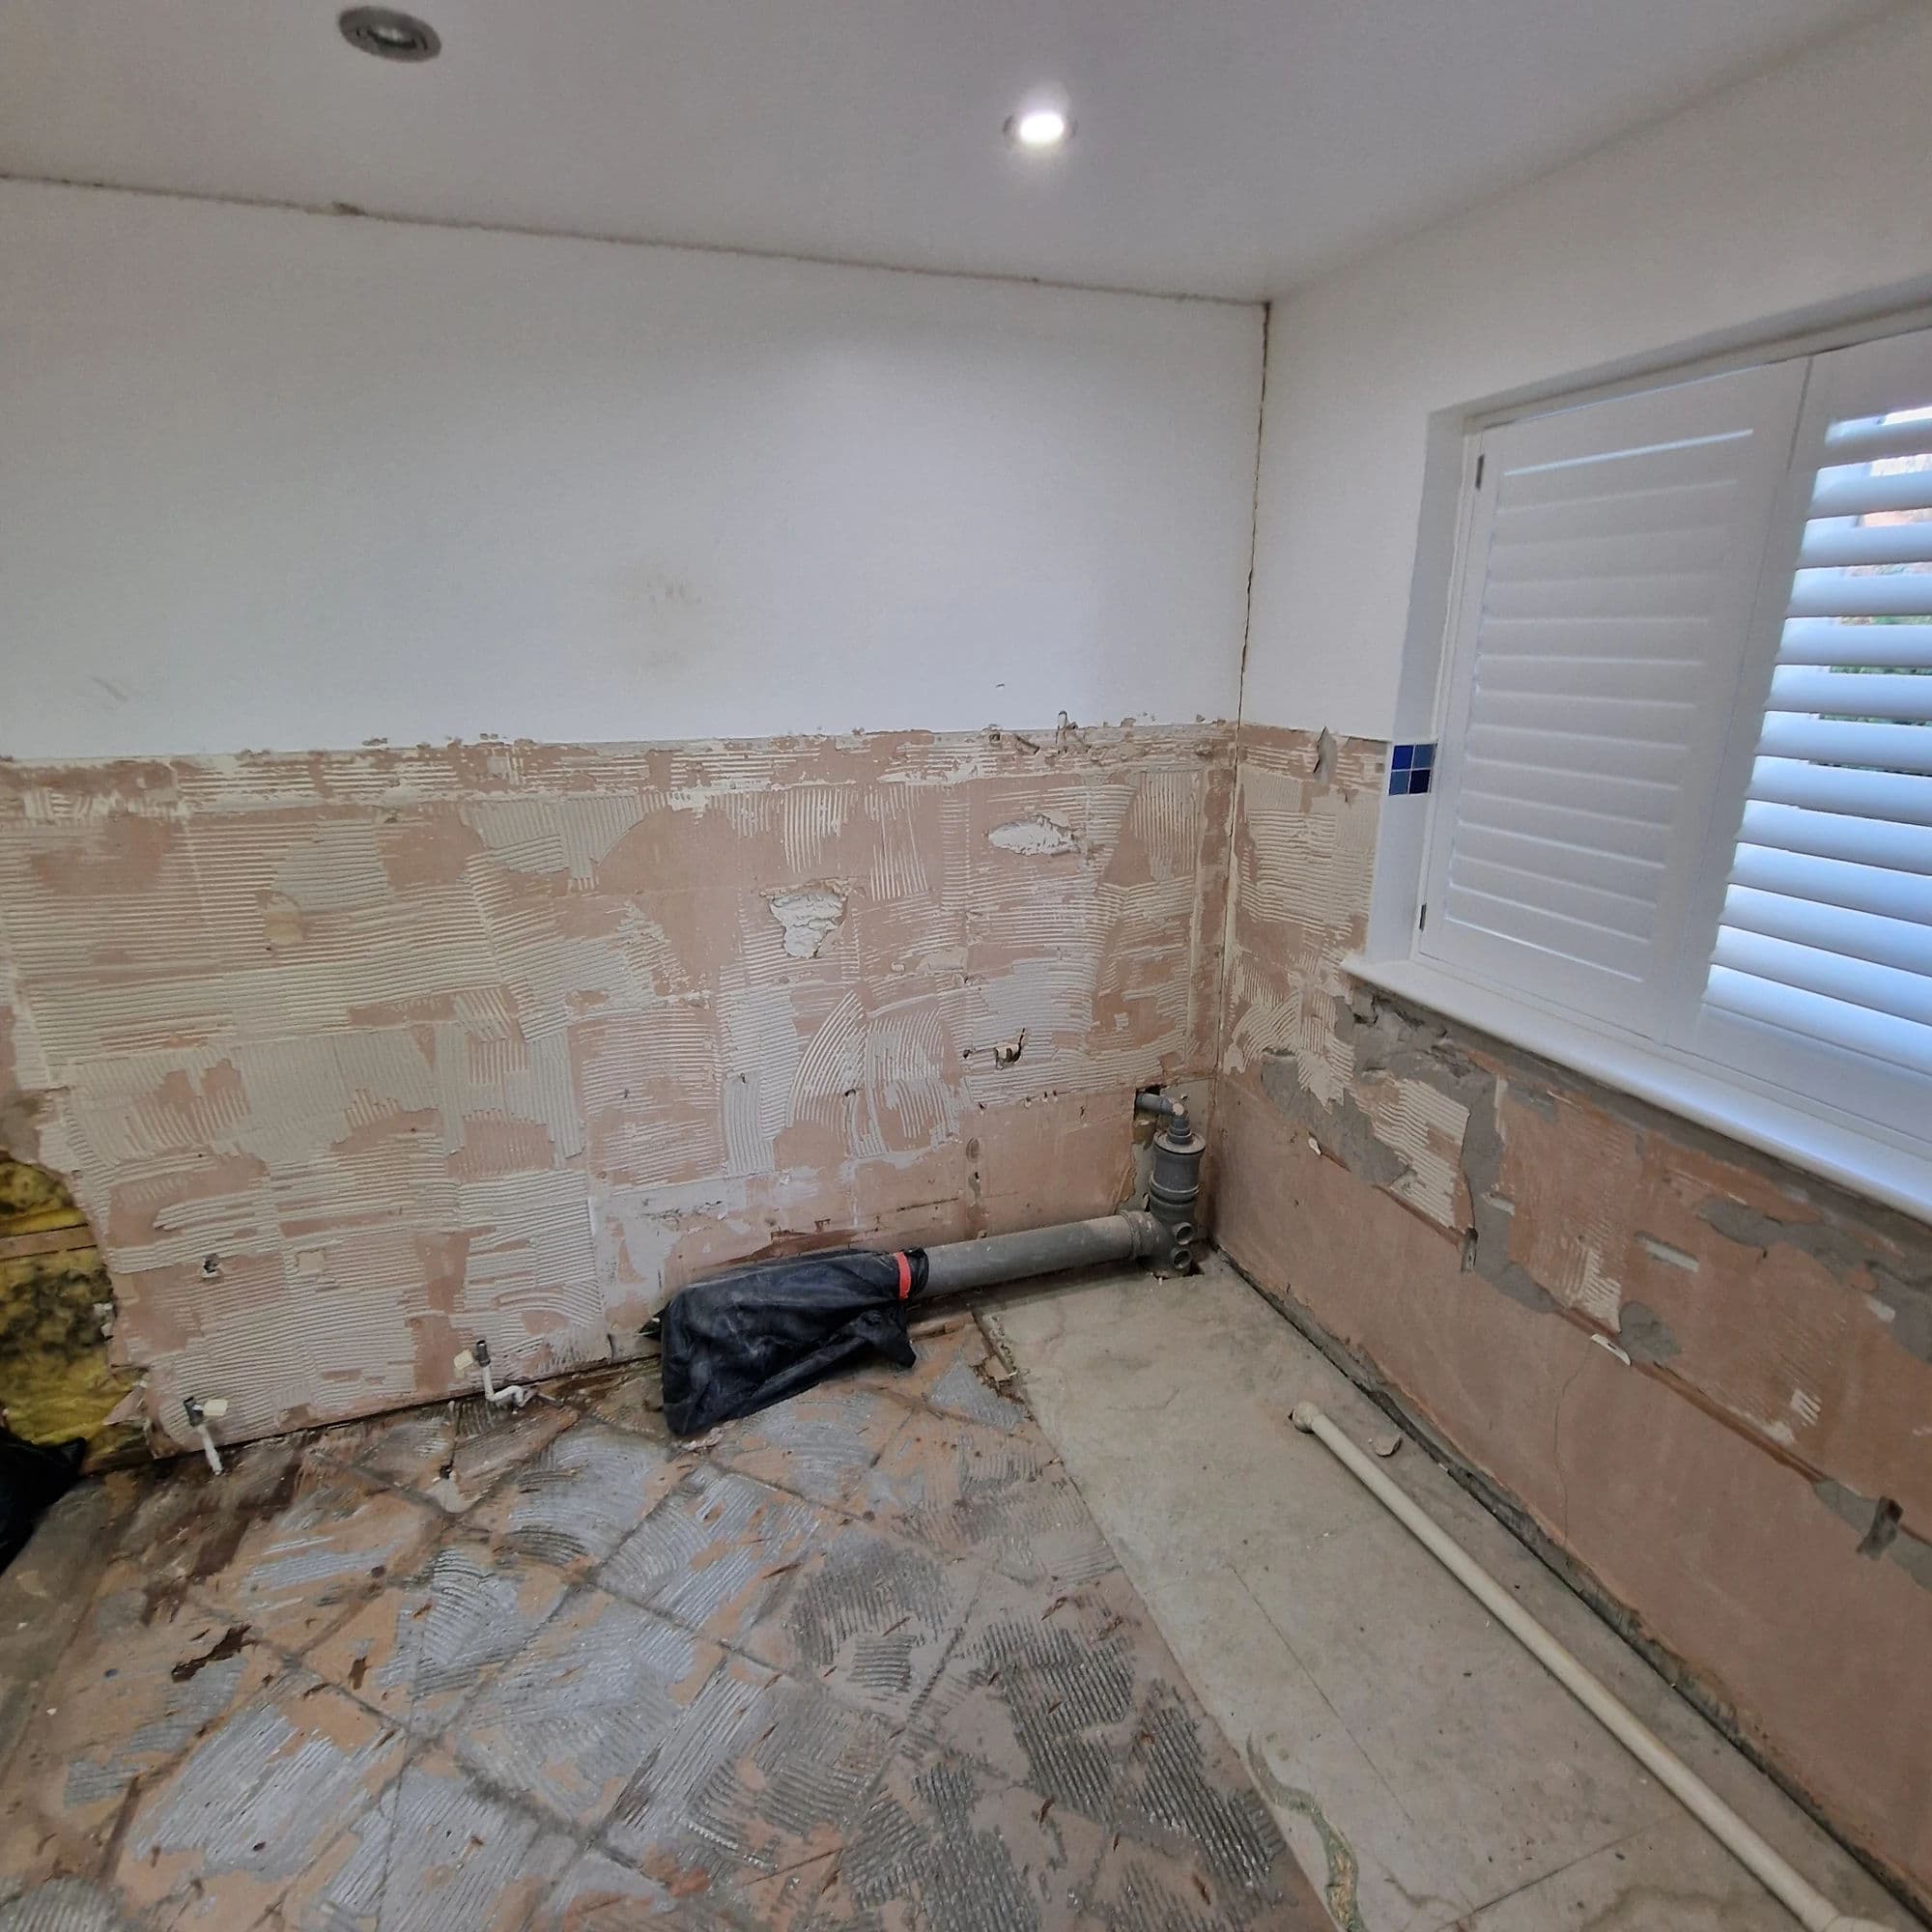
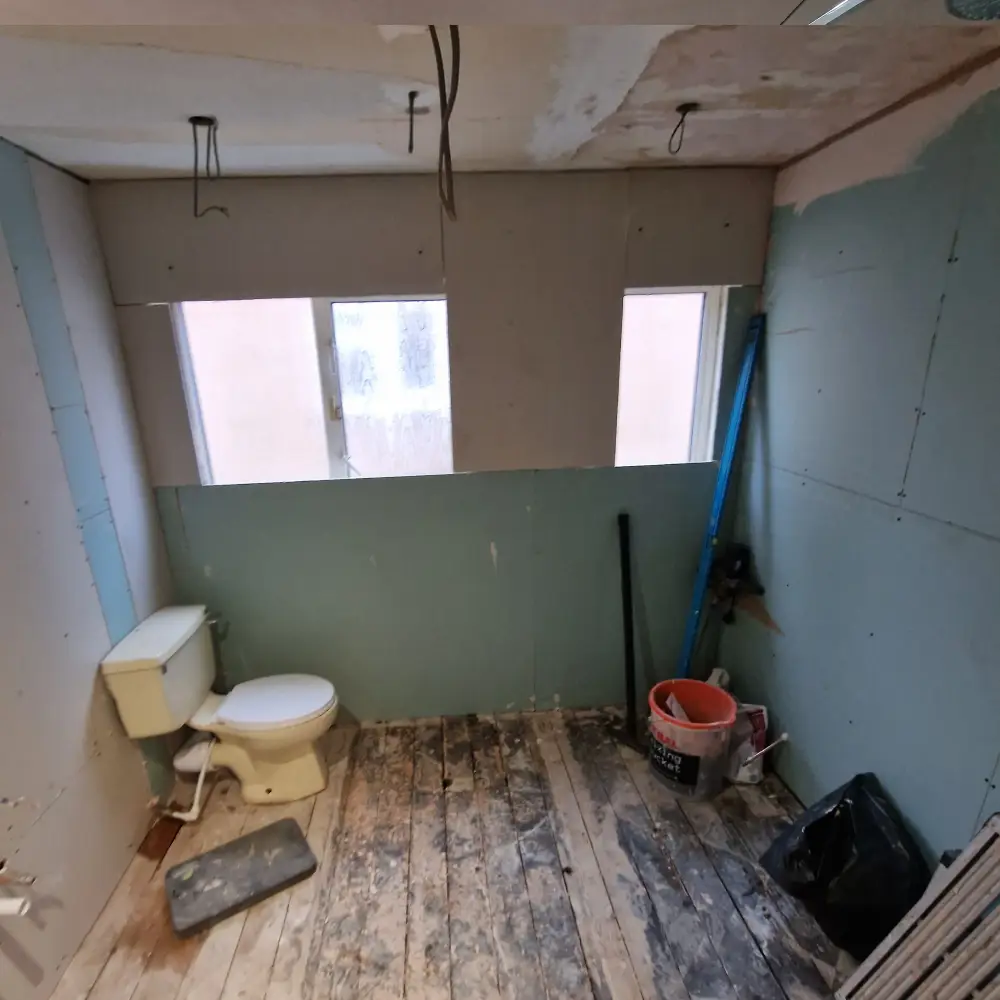
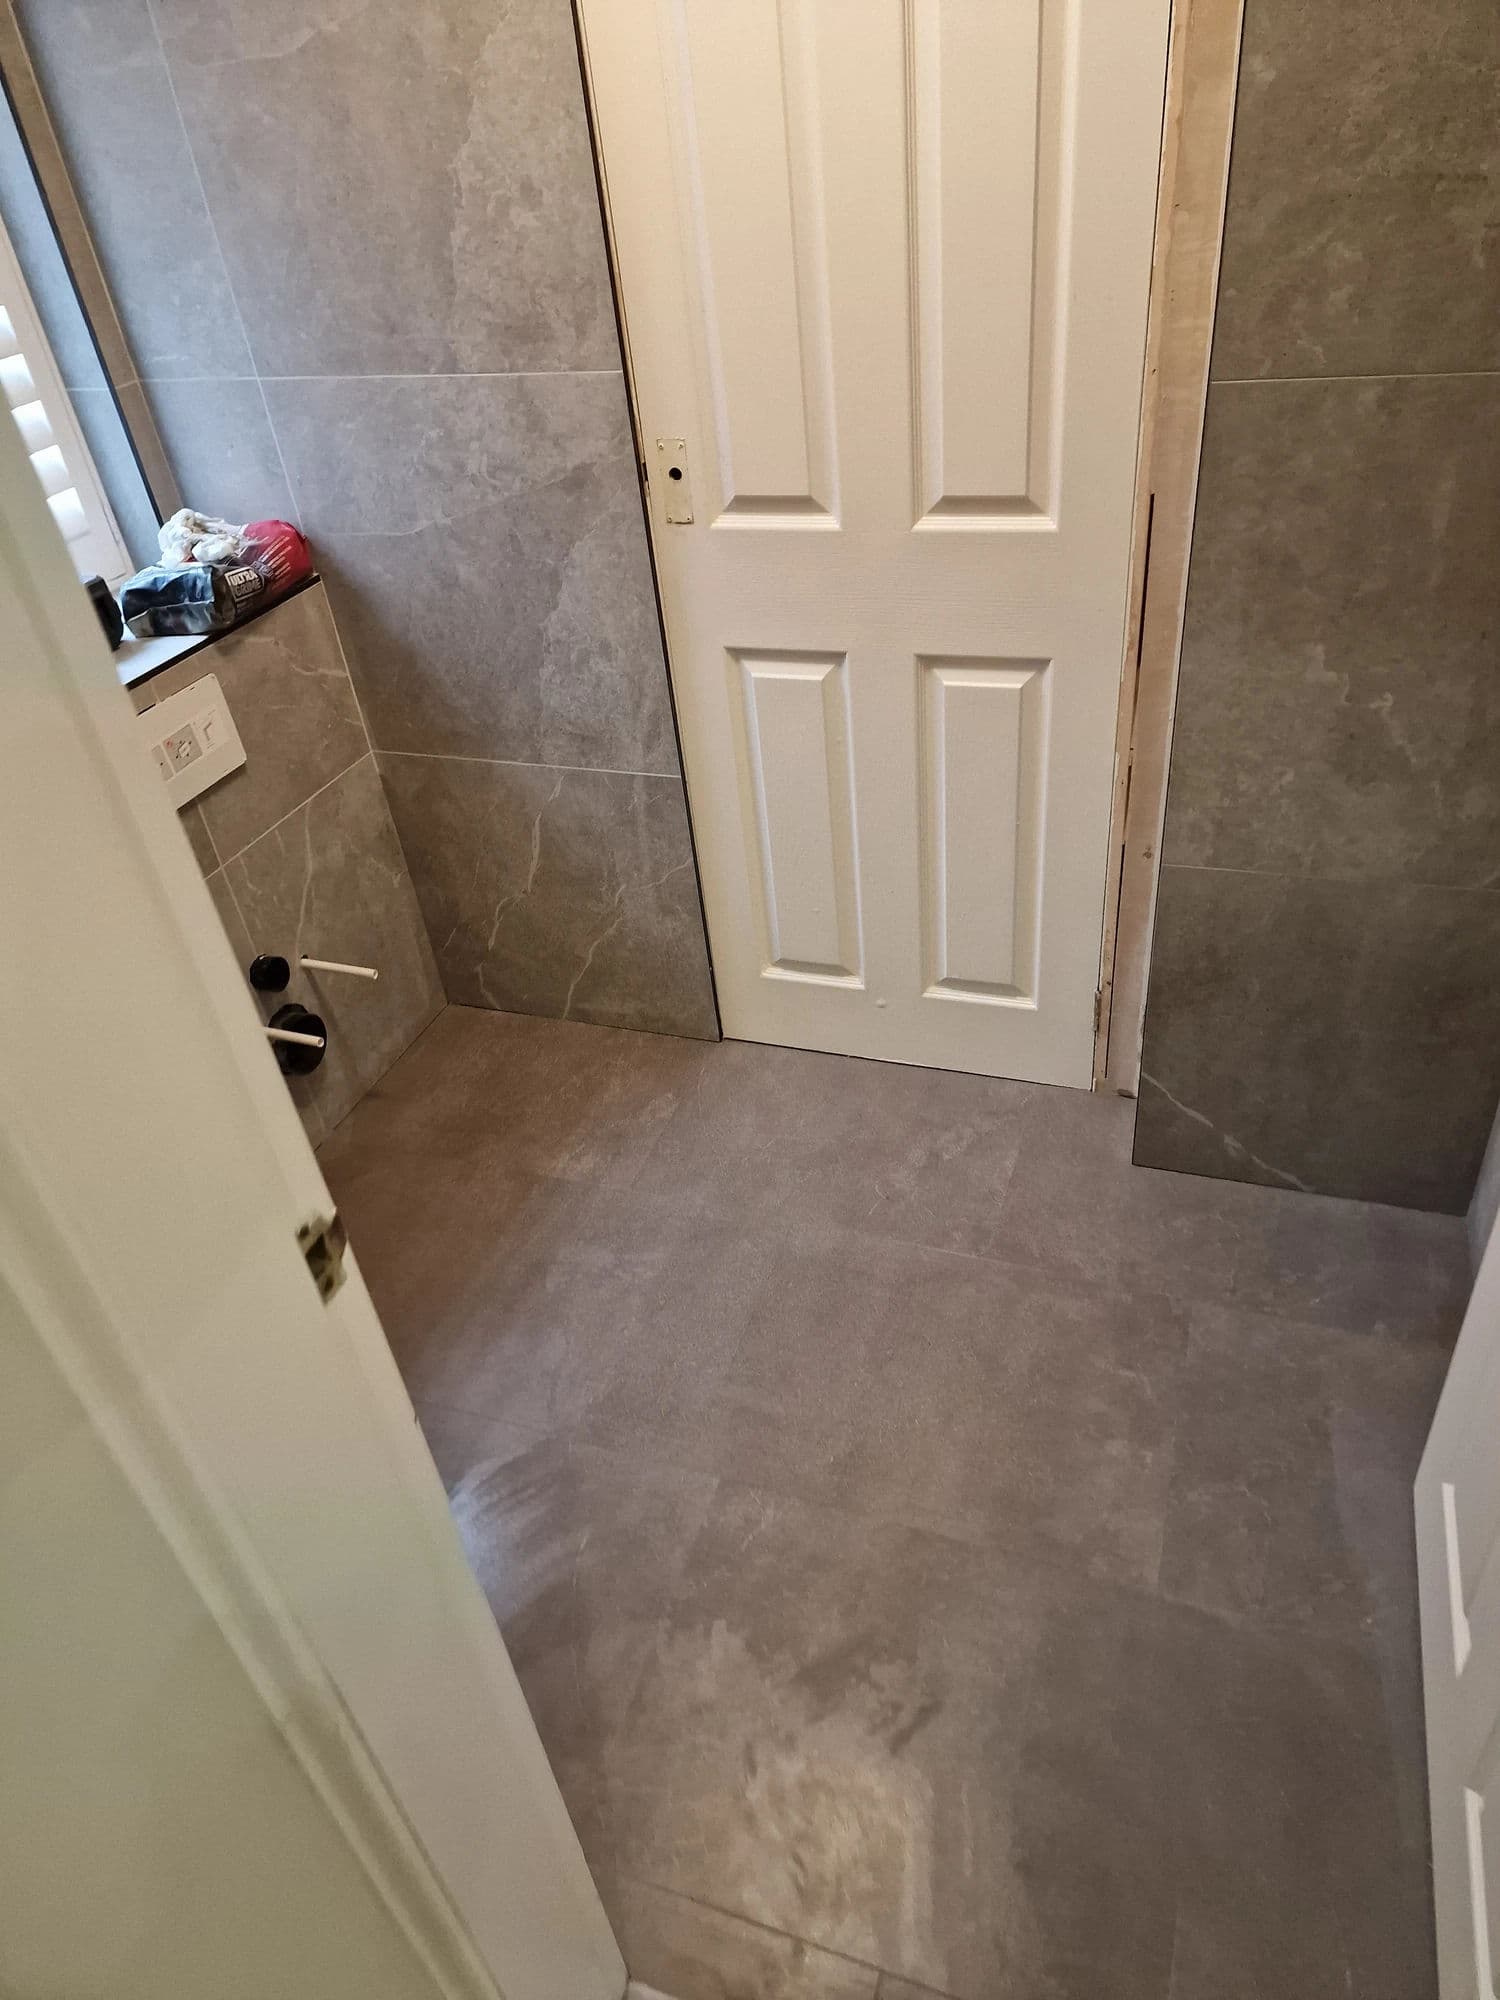
There is no full photograph of the two original rooms before the strip-out. The preparation photographs within the project gallery were taken after the dividing structure had been removed and show the new first-fix plumbing being installed.
Combining Two Rooms into One Bathroom
The most substantial part of the project was converting the bathroom and adjoining cupboard into one continuous room.
The work included:
- removing the internal partition between the bathroom and cupboard;
- closing the former cupboard doorway;
- forming a new CLS timber stud framework;
- boarding the closed doorway with moisture-resistant plasterboard;
- slightly repositioning the main bathroom doorway;
- joining the two separate ceiling areas;
- constructing one continuous bathroom ceiling;
- repairing and preparing the surrounding walls.
Moving the doorway and closing the redundant cupboard entrance required accurate setting out so the new wall surfaces, ceiling lines and door position aligned correctly.
Removing the partition created the space needed for a substantially improved layout while making the completed bathroom feel wider and more balanced.
Complete Layout Redesign
Almost every principal fitting changed position.
The redesigned layout included:
- the separate shower enclosure on the left-hand side;
- the vanity moved from beneath the window to the wall beside the shower;
- the radiator repositioned beneath the window;
- the WC retained in its existing location;
- the new bath installed within the area previously occupied by the cupboard.
Retaining the WC position allowed the principal soil connection to remain in place, while the remainder of the services were reconstructed around the new layout.
This arrangement provided a clear showering zone, a separate bathing area and a more convenient position for the vanity without overcrowding the centre of the room.
Extensive First-Fix Plumbing
The floorboards had to be opened extensively because the bath, shower, basin and radiator were all being installed in new positions.
The plumbing work included:
- new hot and cold supplies for the bath;
- a new bath waste route;
- new hot and cold supplies for the exposed shower;
- a new waste connection for the shower tray;
- new hot and cold supplies for the repositioned basin;
- a new basin waste route;
- redirected heating pipework for the anthracite radiator;
- concealed pipework beneath the floor and within the new wall construction.
The WC soil connection remained in its existing position.
Routing the new plumbing through the timber floor structure was one of the most technically demanding stages of the installation. Each route had to be planned around the existing joists while preserving sufficient space for the wastes to maintain the required falls.
The exposed-floor photographs show this new first-fix plumbing after the partition had been removed. They do not represent the original plumbing arrangement.
Floorboard Stabilisation
The customer had previously complained that the original floorboards creaked and moved underfoot.
Once the new plumbing routes were complete and the floorboards were reinstated, the boards were mechanically secured using substantial 5 × 50 mm screws.
The stronger screw fixing pulls the boards firmly back against the timber joists and provides greater long-term grip than relying on loose or ageing nails.
Resecuring the floorboards helped:
- reduce squeaking;
- control vertical movement;
- stabilise the timber floor;
- create a stronger base for the plywood overlay;
- improve the long-term performance of the finished LVT flooring.
This preparation was particularly important because movement within the original floor could otherwise have transferred into the completed bathroom finishes.
Plywood Preparation and Oak-Effect LVT
A 9 mm plywood overlay was installed across the prepared timber floor.
The plywood created a smoother, more consistent and more stable surface for the finished flooring while helping distribute minor movement across the wider floor area.
Oak-effect luxury vinyl tile flooring was then installed throughout the bathroom.
The warm wood appearance complements the natural grey and brown tones within the RAK porcelain tiles while providing contrast against the anthracite bath panel, vanity and radiator.
The oak-effect floor is one of the principal elements that gives the completed bathroom its smart, design-led appearance.
Roca Reinforced Acrylic Bath
A 1700 × 800 mm Roca reinforced acrylic bath was installed within the former cupboard area.
Roca acrylic baths use a substantial reinforced construction designed to provide strength, comfort and a more solid feel during use.
Acrylic also retains heat effectively, helping bath water remain warmer for longer than it would within a thin, lightweight bath shell.
The bath was completed with:
- a polished-chrome GROHE bath filler;
- coordinated chrome controls;
- an anthracite bath panel;
- mould-resistant white sanitary silicone around the bath perimeter.
The anthracite panel transforms the bath from a standard white fitting into a strong statement feature and visually connects it with the vanity and radiator.
Retaining the bath was important because the customers wanted a practical bathing option for visiting family and guests.
Separate Roca Shower Tray
A separate 800 × 800 mm Roca stone-resin quadrant shower tray was installed on the left-hand side of the enlarged bathroom.
Stone-resin trays provide a substantial and rigid showering surface, giving a more solid feel underfoot than a lightweight hollow tray.
The separate shower was the main practical improvement requested by the customer. It allows the homeowners to shower conveniently every day while retaining the full-size bath for visitors.
Rather than relying solely on a lightweight adjustable-leg arrangement, a substantial platform was constructed specifically for the shower tray.
The support structure was formed using 4 × 2 timber positioned with its full depth vertically between the original floor and the plywood platform.
The installation included:
- timber securely fixed to the floor;
- timber fixed into the adjoining walls;
- plywood mechanically fixed across the completed frame;
- flexible adhesive applied beneath the tray;
- the stone-resin tray fully positioned and levelled on the rigid base.
The platform served two important purposes.
First, it created the required height and access for the shower waste and drainage connection.
Second, it provided a rigid and continuously supported base beneath the tray.
Reducing tray movement helps protect:
- the perimeter silicone seal;
- the shower enclosure alignment;
- the adjoining porcelain tiles;
- the grout and movement joints;
- the long-term watertight integrity of the installation.
A shower tray that flexes or moves can place repeated stress on silicone and surrounding finishes. The more substantial timber-and-plywood platform was therefore selected to provide a stable installation rather than depending on a lighter support arrangement.
Roman Two-Door Quadrant Shower Enclosure
The shower was completed with a polished-chrome Roman quadrant enclosure.
The enclosure includes:
- two curved sliding doors;
- 8 mm toughened safety glass;
- polished-chrome framing;
- a space-saving quadrant configuration;
- coordinated chrome detailing.
The two sliding doors open within the enclosure footprint and do not require clearance for an outward-opening hinged door. This makes the quadrant configuration particularly effective within the redesigned family bathroom.
The 8 mm glass gives the enclosure greater rigidity and a more substantial premium feel than lighter 6 mm glass.
Roman shower enclosures are manufactured using toughened safety glass and are supported by the manufacturer’s lifetime guarantee, subject to the product being registered, installed and maintained in accordance with Roman’s conditions.
Exposed GROHE Dual Shower
A polished-chrome GROHE exposed dual shower was installed within the quadrant enclosure.
The shower provides:
- a fixed rainfall shower head;
- a separate handheld shower;
- thermostatic-style control;
- exposed chrome pipework and controls;
- new concealed hot and cold supply routes behind the finished wall.
The rainfall head provides broad everyday shower coverage, while the separate handset gives more controlled rinsing and makes the enclosure easier to clean.
GROHE was selected for its established engineering, long-term serviceability and availability of replacement components.
GROHE provides product-specific warranty protection of up to ten years on eligible products and guarantees spare-part availability for at least ten years after a product has been discontinued.
This long-term parts support is valuable because individual working components can often be maintained or replaced without removing the complete shower installation.
Anthracite Vanity and Roca Basin
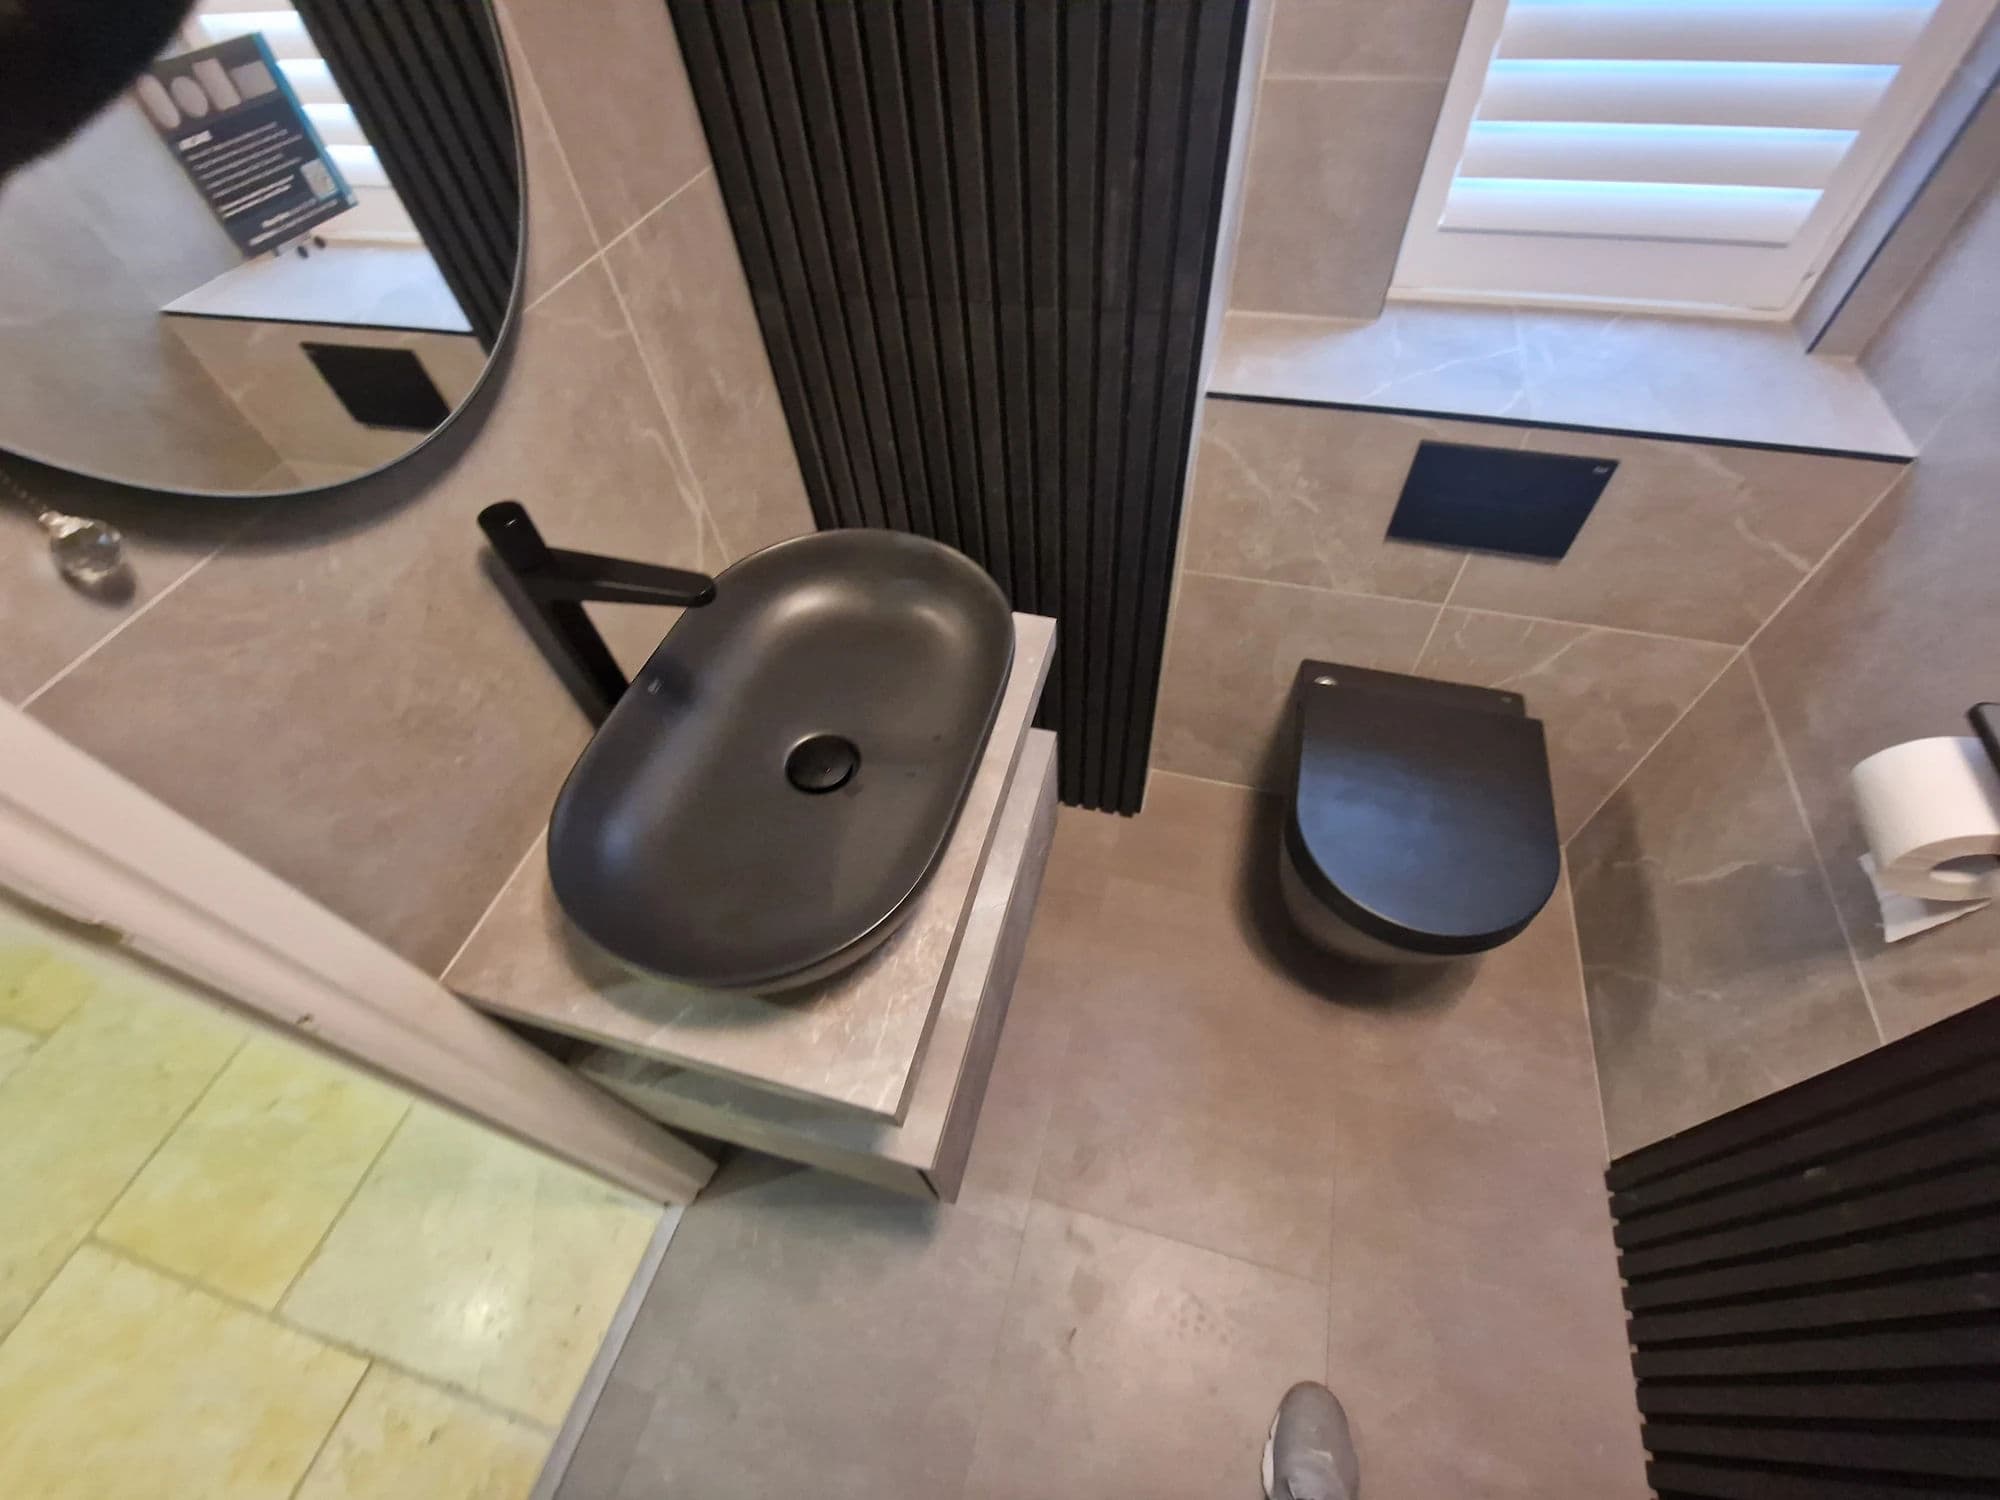
A 550 mm anthracite floor-standing vanity unit was installed beside the shower enclosure.
The unit includes practical drawer storage and supports a Roca porcelain basin.
New hot and cold supplies and a new waste route were installed for the repositioned basin, allowing the pipework to be concealed within the wall, floor and vanity arrangement.
The vanity was completed with a polished-chrome basin tap, coordinating with the shower and bath fittings.
The anthracite furniture provides a strong contrast against the lighter wall finishes while coordinating with the bath panel and radiator.
Roca WC
A Roca close-coupled WC was installed beneath the window in the original toilet position.
Retaining this position avoided unnecessary alteration to the principal soil connection while allowing the remainder of the bathroom to be redesigned around the separate bath and shower.
The WC was sealed to the surrounding finishes using white mould-resistant sanitary silicone, creating a clean and hygienic perimeter joint.
Anthracite Radiator with Wall-Fed Connections
The radiator was moved and installed beneath the window.
An 800 × 400 mm anthracite radiator was selected to coordinate with the vanity and bath panel.
The heating pipework was redirected beneath the floor and brought through the wall using neat wall-fed connections and corner valves.
Wall-fed connections avoid unnecessary pipes rising visibly through the new LVT floor.
This provides:
- a cleaner finished appearance;
- an uninterrupted floor surface;
- easier cleaning around the radiator;
- reduced risk of exposed pipes being knocked during everyday use.
RAK Porcelain Wall Tiles
The bathroom was finished with 600 × 300 mm RAK porcelain tiles.
The tiles combine grey, brown and natural mineral tones, creating a textured stone-inspired finish that works effectively with the oak-effect flooring and anthracite furniture.
The tiling layout included:
- full-height tiling within the shower area;
- half-height tiling around the remainder of the bathroom;
- a brick-bond pattern;
- accurate cutting around sanitaryware and pipe outlets;
- a 10 mm anodised trim along the upper tiled edge.
Porcelain was selected because it is denser and less porous than standard ceramic tile.
Porcelain tiles manufactured to the relevant BIa classification have water absorption of no more than 0.5%, making them particularly suitable for wet bathroom areas.
Their density also provides strong resistance to wear and moisture. However, porcelain is harder to cut and drill than conventional ceramic, making accurate setting out and the correct cutting equipment especially important.
The brick-bond layout gives the 600 × 300 mm tiles a more detailed appearance than a basic straight stack while helping the mixed natural tones flow across the walls.
BAL S1 Flexible Adhesive
The porcelain tiles were fixed using grey BAL S1 flexible adhesive.
An S1-classified adhesive provides between 2.5 mm and 5 mm of transverse deformability. This allows the adhesive layer to accommodate limited movement within the prepared background rather than transferring every small movement directly into the porcelain tiles.
The flexible adhesive was particularly appropriate where the bathroom incorporated:
- altered wall structures;
- newly boarded backgrounds;
- different construction materials;
- limited natural movement within an occupied property;
- dense porcelain tiles requiring reliable adhesion.
The adhesive was applied to correctly prepared and primed backgrounds to produce a strong, consistent bond beneath the finished tiling.
BAL Flexible Mould-Resistant Grout
The tiled joints were completed using BAL flexible grout in a Smoke tone.
The selected grout complemented the mixed grey and brown colouring within the porcelain tiles without creating harsh contrasting lines.
BAL Micromax3 ECO grout incorporates Microban antimicrobial protection and is formulated to provide consistent colour with reduced efflorescence.
Its flexible formulation makes it appropriate for professionally prepared bathroom wall and floor installations where limited movement may occur.
The grout helps provide:
- a durable finished joint;
- resistance to mould and mildew;
- improved colour consistency;
- easier ongoing cleaning;
- a refined finish around the porcelain tiles.
Colour-Matched Grout-Effect Sealant
Different sealants were used according to the type and position of each joint.
White mould-resistant sanitary silicone was used where white sanitaryware met the tiled walls, including around:
- the bath;
- the shower tray;
- the basin;
- the WC.
For tiled internal corners, perimeter joints and other movement areas, BAL Micromax Grout-Effect Sealant was used in a coordinating colour.
Unlike conventional glossy silicone, the BAL product has a textured matt finish designed to resemble grout.
This allowed the movement joints to blend naturally with the Smoke-coloured grout rather than appearing as obvious shiny silicone lines.
The grout-effect sealant is waterproof and contains Microban antimicrobial protection against black mould, mildew and bacteria. It is suitable for joints between porcelain, painted surfaces, acrylic, glass and sanitary fittings.
Using flexible sealant within corners and perimeter joints allows small amounts of movement to be absorbed without forcing stress into the rigid grout lines.
Plastered and Painted Wall Finishes
The walls above the half-height porcelain tiling were repaired, prepared and plastered.
After drying and preparation, the upper walls were painted white.
The white painted finish keeps the upper part of the room bright and prevents the multitone porcelain tiles from making the completed bathroom feel too dark.
The combination of half-height tiling and painted walls also creates a more traditional room-like appearance outside the principal showering area.
New Continuous Bathroom Ceiling
Because the project combined two formerly separate rooms, the original ceiling areas also had to be brought together.
A new continuous ceiling was formed using moisture-resistant green plasterboard.
The ceiling was then:
- correctly fixed and jointed;
- primed;
- plastered;
- allowed to dry;
- prepared and painted white.
The new ceiling removed the visual evidence of the former cupboard and created one uninterrupted surface across the enlarged bathroom.
Six IP65 Bathroom Spotlights
Six recessed IP65 bathroom-rated LED spotlights were installed within the new ceiling.
The fittings were repositioned to distribute light more evenly across the bath, shower, vanity and central floor area.
Electrical equipment installed within bathroom zones 1 and 2 requires at least IPX4 protection. IP65-rated downlights provide a stronger level of moisture protection, making them a robust choice for a bathroom ceiling.
The original pull cord was removed and replaced with a conventional wall switch positioned outside the bathroom.
All electrical alterations were completed by a qualified and certificated electrician.
Timer-and-Humidistat Extractor Fan
The original extractor position was changed to suit the enlarged layout.
A new bathroom extractor fan with both timer and humidistat controls was installed and ducted directly outside through a new external vent.
The humidistat allows the fan to respond automatically when moisture levels rise, while the timed overrun keeps the fan operating for a controlled period after the bathroom light has been switched off.
The fan was selected to meet or exceed the UK bathroom extraction benchmark of 15 litres per second, equivalent to 54 cubic metres per hour.
This supports:
- faster removal of humid air;
- reduced condensation;
- improved drying after bathing and showering;
- protection of the painted ceiling and walls;
- improved long-term performance of the bathroom finishes.
Product Supply and Coordination
The bathroom products were supplied by Tees Valley Refurbishments Ltd through established local bathroom showrooms.
The coordinated specification included Roca sanitaryware, GROHE chrome fittings, a Roman enclosure, RAK porcelain tiles, anthracite furniture and oak-effect flooring.
The matching customer review specifically highlights the help provided when selecting the bathroom fittings and grout, as well as how effectively the individual finishes work together.
Property Protection and Daily Cleaning
The property remained occupied throughout the ten-working-day programme.
The customers had access to a downstairs WC, which allowed the first-floor bathroom to remain unavailable while the complete installation was carried out.
Protective sheets were placed along the access route from the entrance to the working area each morning.
At the end of every working day:
- the floor protection was lifted;
- the access route was vacuumed;
- dust and loose debris were removed;
- tools and materials were organised;
- the house was left clean and manageable.
Particular care was taken because the bathroom belonged to elderly homeowners who remained within the property during the work.
Skip and Waste Management
A six-cubic-yard skip was positioned on the customer’s driveway.
Waste from the demolished wall, redundant doorway, original bathroom, opened flooring, old ceiling sections and packaging was removed progressively throughout the project.
Using the driveway kept the skip safely away from the public highway and allowed waste to be transferred directly from the working area.
Programme
The complete bathroom installation and refurbishment took ten working days.
Work was completed:
- Monday to Friday during the first week;
- Monday to Friday during the second week;
- with no weekend working.
The project was completed on schedule.
The programme included:
- protection of the occupied property;
- complete strip-out;
- removal of the dividing wall;
- closure of the old cupboard doorway;
- relocation of the main bathroom doorway;
- formation of a continuous ceiling;
- extensive first-fix plumbing;
- floorboard reinstatement and strengthening;
- shower-platform construction;
- bath and shower installation;
- radiator relocation;
- wall preparation and plastering;
- porcelain wall tiling;
- BAL grouting and movement-joint sealing;
- plywood floor preparation;
- LVT installation;
- new lighting and switching;
- timer-and-humidistat ventilation;
- final fitting, sealing and cleaning.
Technically Complex Installation
There was no single simple part to this project.
The principal challenges included:
- combining two rooms into one;
- removing the internal partition;
- closing the redundant cupboard doorway;
- repositioning the main entrance;
- rebuilding the ceiling;
- rerouting almost all hot, cold, waste and heating services;
- reconstructing the timber floor after the first fix;
- building a rigid shower-tray platform;
- setting out the brick-bond porcelain tiling;
- coordinating several contrasting materials and finishes.
The project required careful sequencing because the structural alterations, plumbing, electrical work, tiling and final fitting all depended on the earlier preparation being completed accurately.
Completed Premium Family Bathroom
The completed bathroom bears little resemblance to the two separate spaces that existed before the renovation.
The final installation includes:
- a reinforced 1700 × 800 mm Roca acrylic bath;
- a polished-chrome GROHE bath filler;
- an anthracite bath panel;
- an 800 × 800 mm Roca stone-resin quadrant tray;
- a rigid timber-and-plywood tray platform;
- a Roman two-door quadrant enclosure;
- 8 mm toughened safety glass;
- a polished-chrome GROHE rainfall shower with handset;
- a 550 mm anthracite vanity with drawers;
- a Roca porcelain basin;
- a polished-chrome basin tap;
- a Roca close-coupled WC;
- an 800 × 400 mm anthracite radiator;
- wall-fed radiator connections and corner valves;
- a 600 mm LED demister mirror;
- 600 × 300 mm RAK porcelain wall tiles;
- a brick-bond tile layout;
- full-height shower tiling;
- half-height tiling throughout the remaining room;
- 10 mm anodised finishing trim;
- BAL S1 flexible adhesive;
- BAL flexible mould-resistant Smoke grout;
- BAL colour-matched matt grout-effect sealant;
- white mould-resistant sanitary silicone;
- oak-effect LVT flooring;
- a 9 mm plywood floor overlay;
- a newly plastered and painted ceiling;
- six IP65 bathroom spotlights;
- an external wall switch;
- an externally ducted timer-and-humidistat extractor fan.
The strongest visual feature is the Roca bath with its anthracite panel, set against the natural multitone porcelain tiles and oak-effect floor.
The most important practical improvement is the addition of a completely separate shower while retaining a comfortable full-size bath.
The customers now have a convenient shower for everyday use and a bath available for visiting family and guests, all within one larger, more carefully planned room.
This project can be viewed alongside our other completed bathroom projects, including another luxury bathroom installation in Yarm with a walk-in shower and sauna.
Homeowners planning a similar bathroom installation, room conversion or complete bathroom refurbishment can read our customer reviews or request a free bathroom survey.