Project in 30 seconds
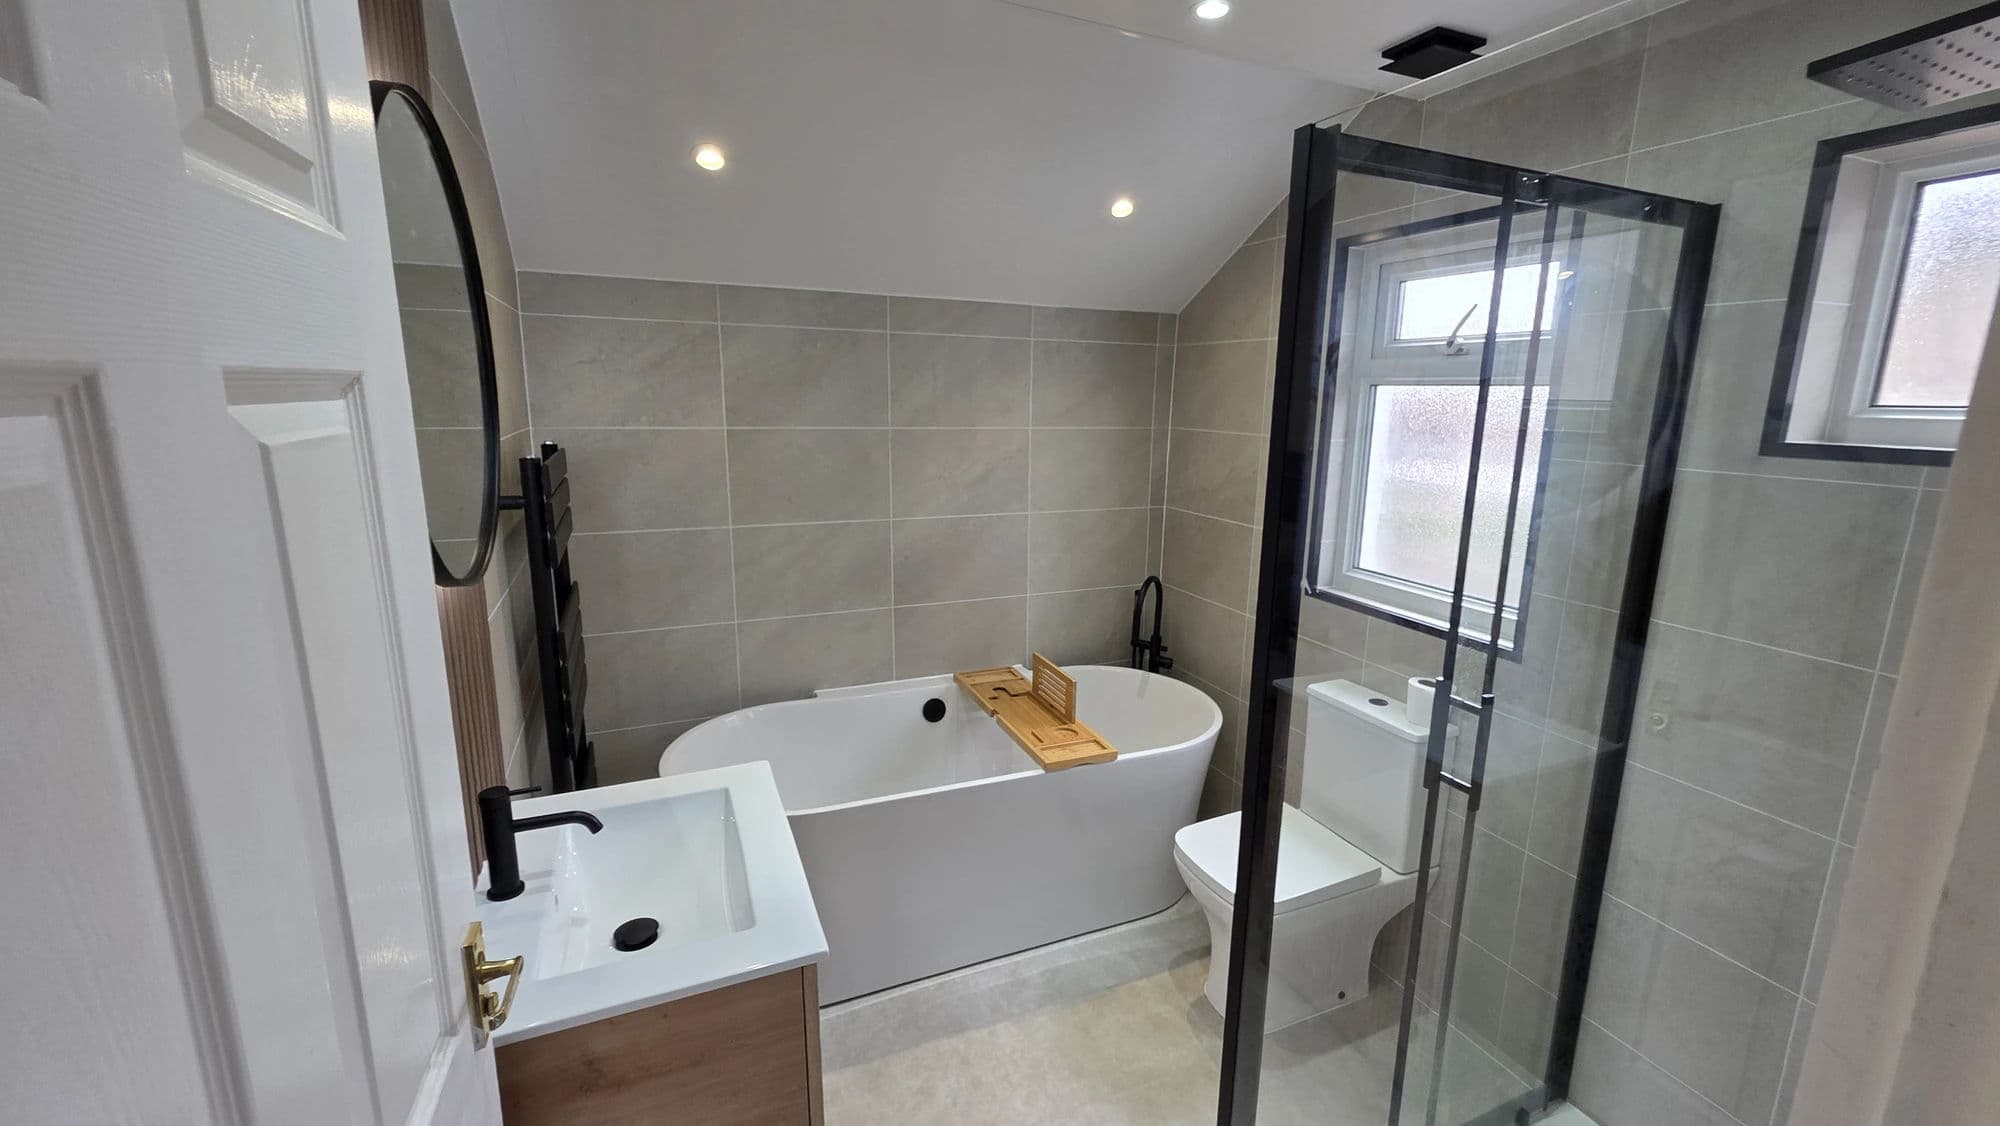
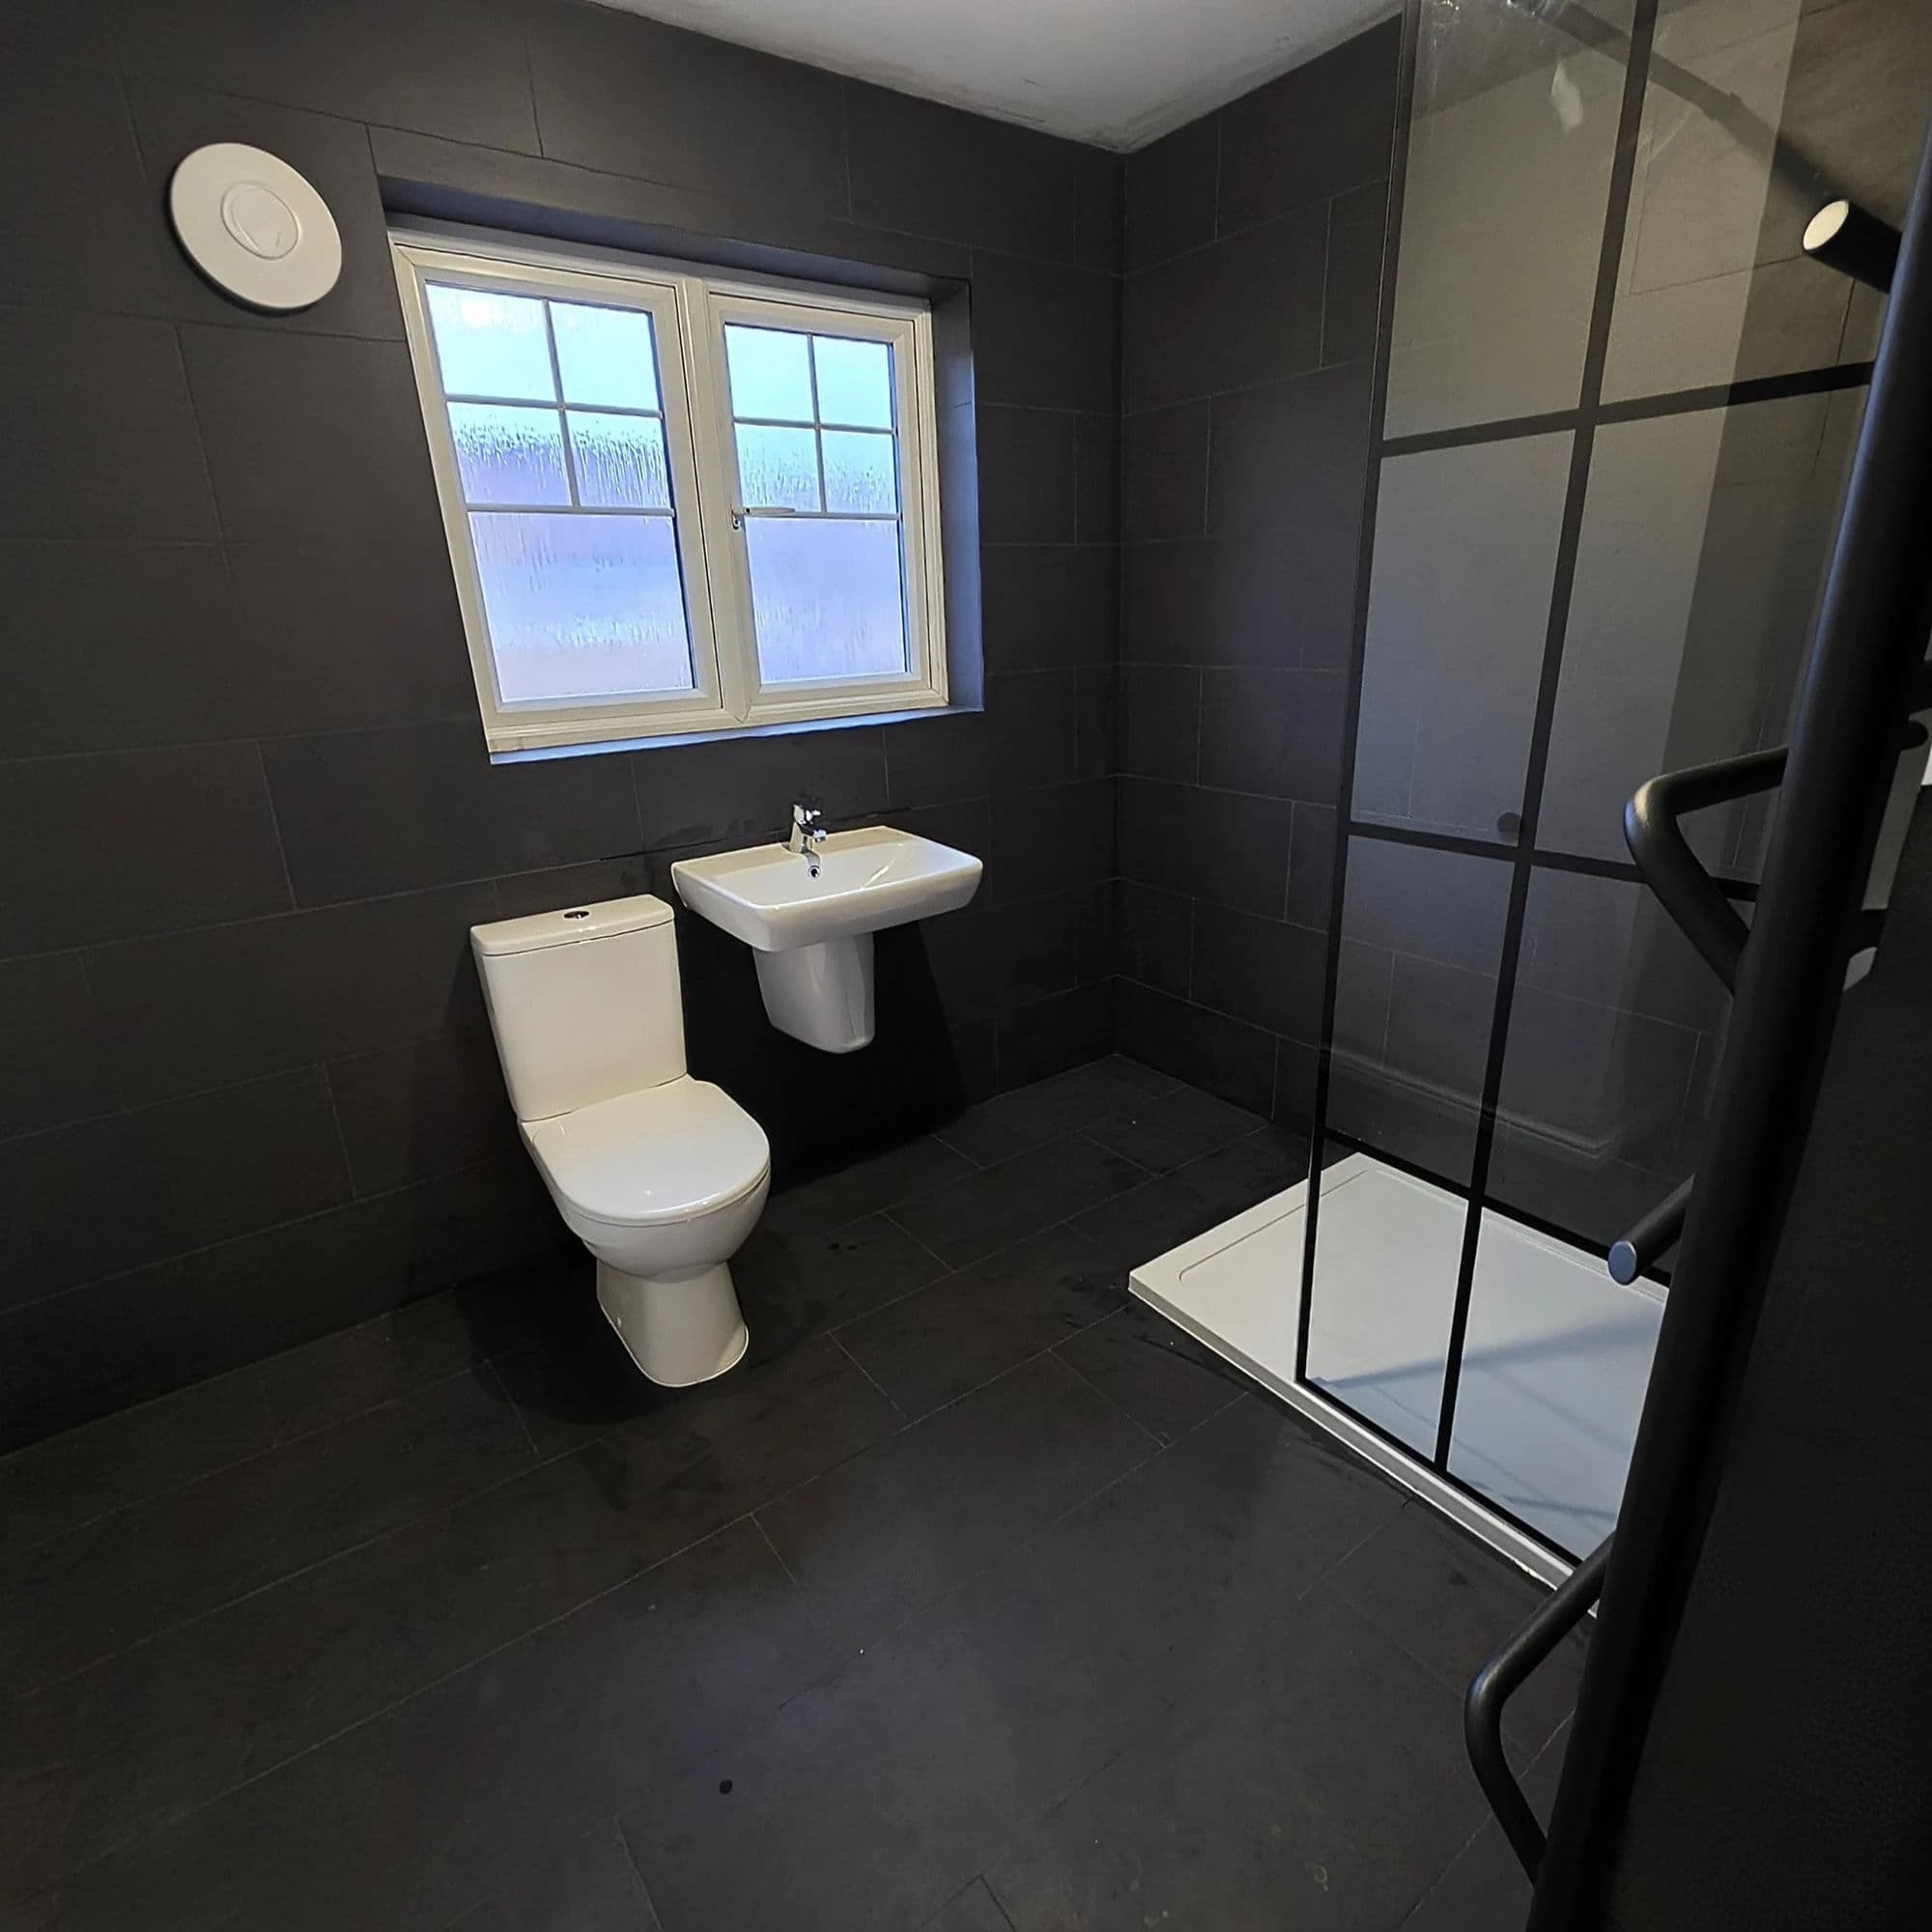
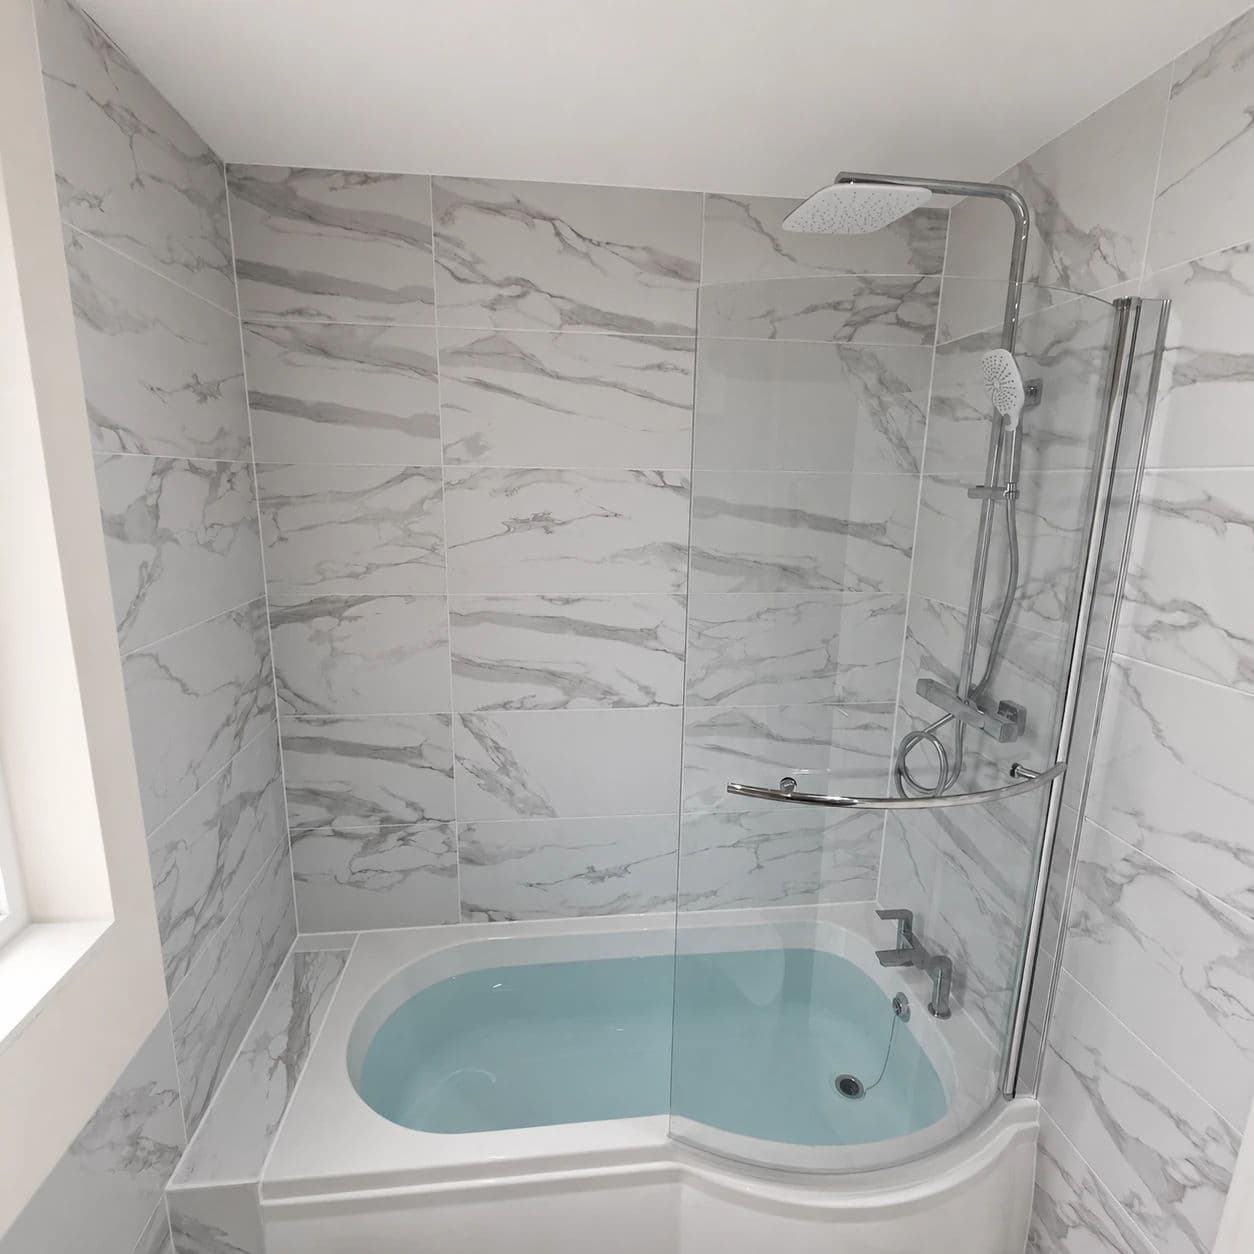
Completed in December 2025, this bathroom installation in Marton, Middlesbrough transformed a dated bathroom in a substantial five-bedroom detached house on Gunnergate Lane into a traditional natural-marble bathroom.
The existing layout was retained, but the room was stripped back extensively and the plumbing, wall backgrounds, ceiling and timber floor preparation were renewed where required. Genuine natural marble was used across the walls and floor, including a centred diamond-pattern floor, marble skirting and dado detailing. The most demanding finishing work was the 45-degree mitred marble corners, completed without conventional metal trims.
The Customer Brief
The customer wanted the new bathroom to feel appropriate for the character of the older Marton property rather than introducing a very modern or minimalist design.
Natural marble was central to the brief.
The traditional appearance was carried through the room using marble wall and floor finishes, marble skirting, marble dado detailing, decorative coving and painted timber wall mouldings.
Brushed-brass fittings were chosen throughout to work with the warmer tones of the natural stone and the traditional bathroom furniture.
The customer did not want the bathroom rearranged simply for the sake of changing it. The existing positions of the bath, basin, WC and radiator already worked for the room, so the focus was on rebuilding the bathroom properly around that layout and improving the quality of the concealed services, backgrounds and finishes.
The principal bathroom fixtures, furniture and natural marble were supplied by the customer, while TVR carried out the preparation, installation and finishing work required to complete the bathroom.
The Original Bathroom
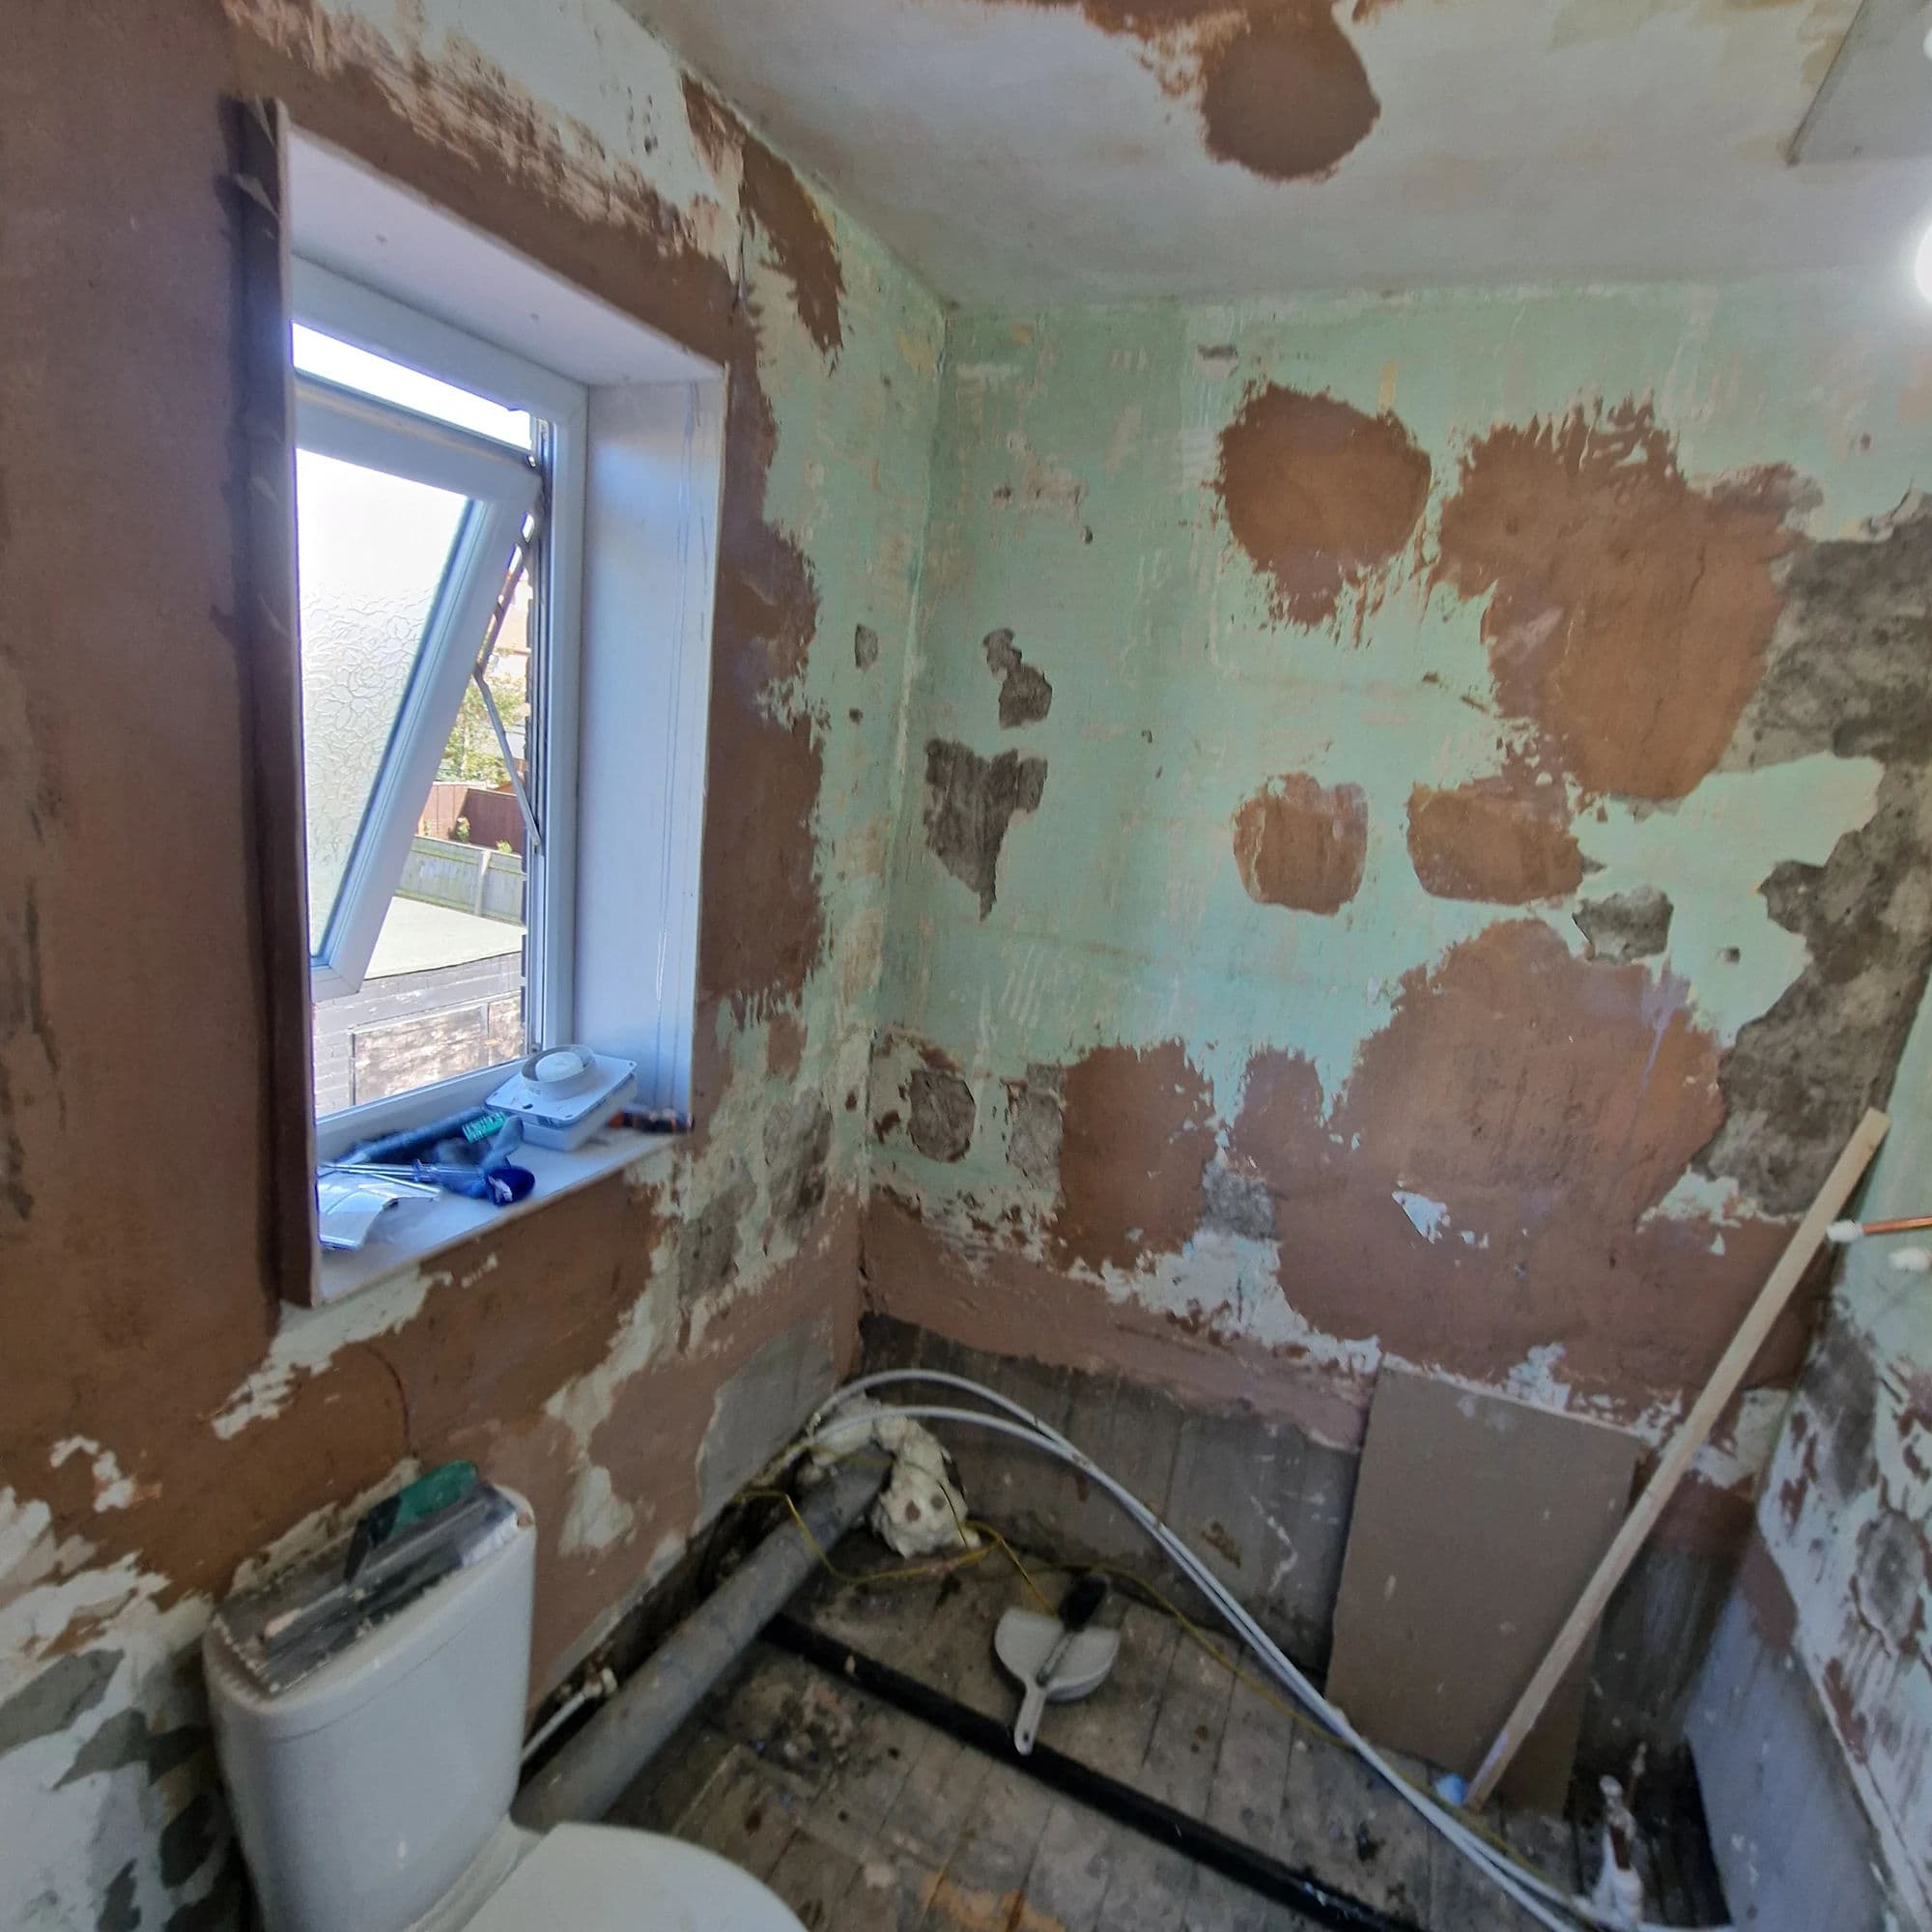
The previous bathroom was dated and finished with small-format mosaic wall tiles that no longer suited the house or the traditional appearance the customer wanted to achieve.
The existing arrangement consisted of:
- a bath along the left-hand side of the room;
- a basin beneath the window;
- a close-coupled WC;
- an electric shower;
- a radiator;
- tiled walls;
- floor lino over hardboard;
- ceiling cladding.
The positions of the main fixtures were generally retained in the new bathroom, but the services behind them required considerably more work than was visible before the bathroom refurbishment began.
Strip-Out and Taking the Room Back
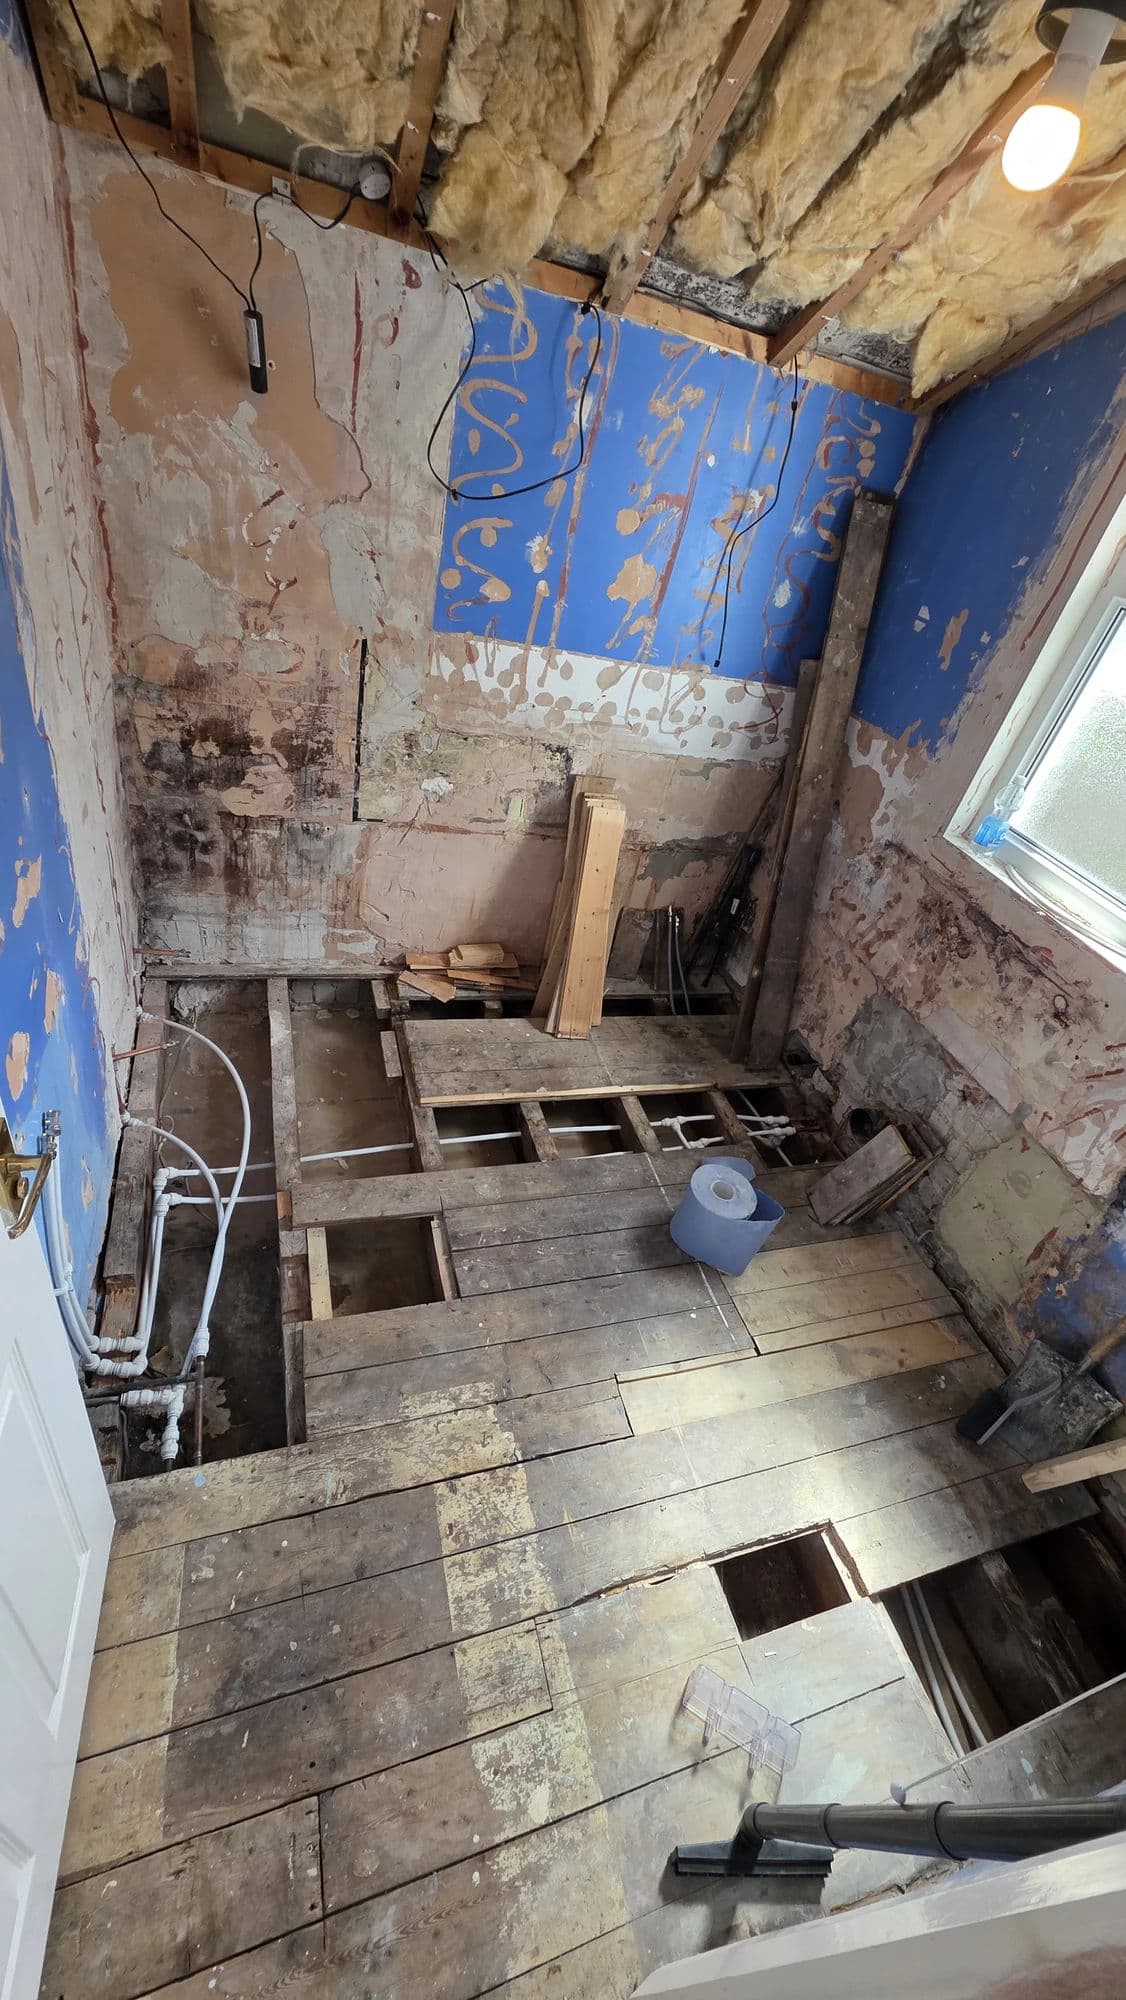
The existing bath, basin, WC, electric shower, radiator, wall tiling, flooring and ceiling finish were removed.
The ceiling was stripped back to the joists and relevant wall areas were taken back to the underlying structure.
New plasterboard backgrounds were then installed to the ceiling and the required wall areas.
Sections that would remain exposed rather than tiled were plastered before decoration.
Taking the room back this far also exposed problems with previous plumbing work that could not have been properly assessed while the bathroom was still intact.
Plumbing Problems Discovered During Strip-Out
Once the existing pipework began to be disturbed, a number of weaknesses in the previous installation became apparent.
The heating system around the radiator included 8 mm copper pipework with numerous compression fittings. As the old installation was worked on, several of these connections began leaking and required remedial work.
Problems were also found with the existing waste pipework.
Some of the solvent-weld waste connections had not been properly bonded during earlier plumbing work. Once disturbed, joints began leaking and sections had to be traced, opened and replaced rather than simply reconnecting the new bathroom to unreliable existing pipework.
This became an important part of the project because leaving those hidden defects in place would have undermined the new installation once the walls, floor and marble finishes had been completed.
Retaining the Layout but Improving the Services
The principal layout stayed in the same configuration.
The bath remained on the left-hand side, the basin stayed beneath the window and the WC remained in its established position.
The radiator also remained in the same general area, although its pipework had to be redirected to suit the replacement radiator.
Keeping the layout did not mean simply connecting new fittings to the old services.
At the basin, the hot and cold supplies were rerouted into the wall so the finished pipework would not run visibly or awkwardly into the new vanity unit.
The shower supplies were altered for the replacement shower system, and the heating connections were redirected for the new radiator.
Where existing water and waste connections proved unreliable during the work, they were repaired or replaced before the room was closed back up.
Timber Floor Preparation
The bathroom has a traditional timber floorboard construction.
Floorboards were lifted where necessary to gain access for the plumbing alterations and repairs. Once the service work was complete, the boards were reinstated before preparation for the new natural-stone floor began.
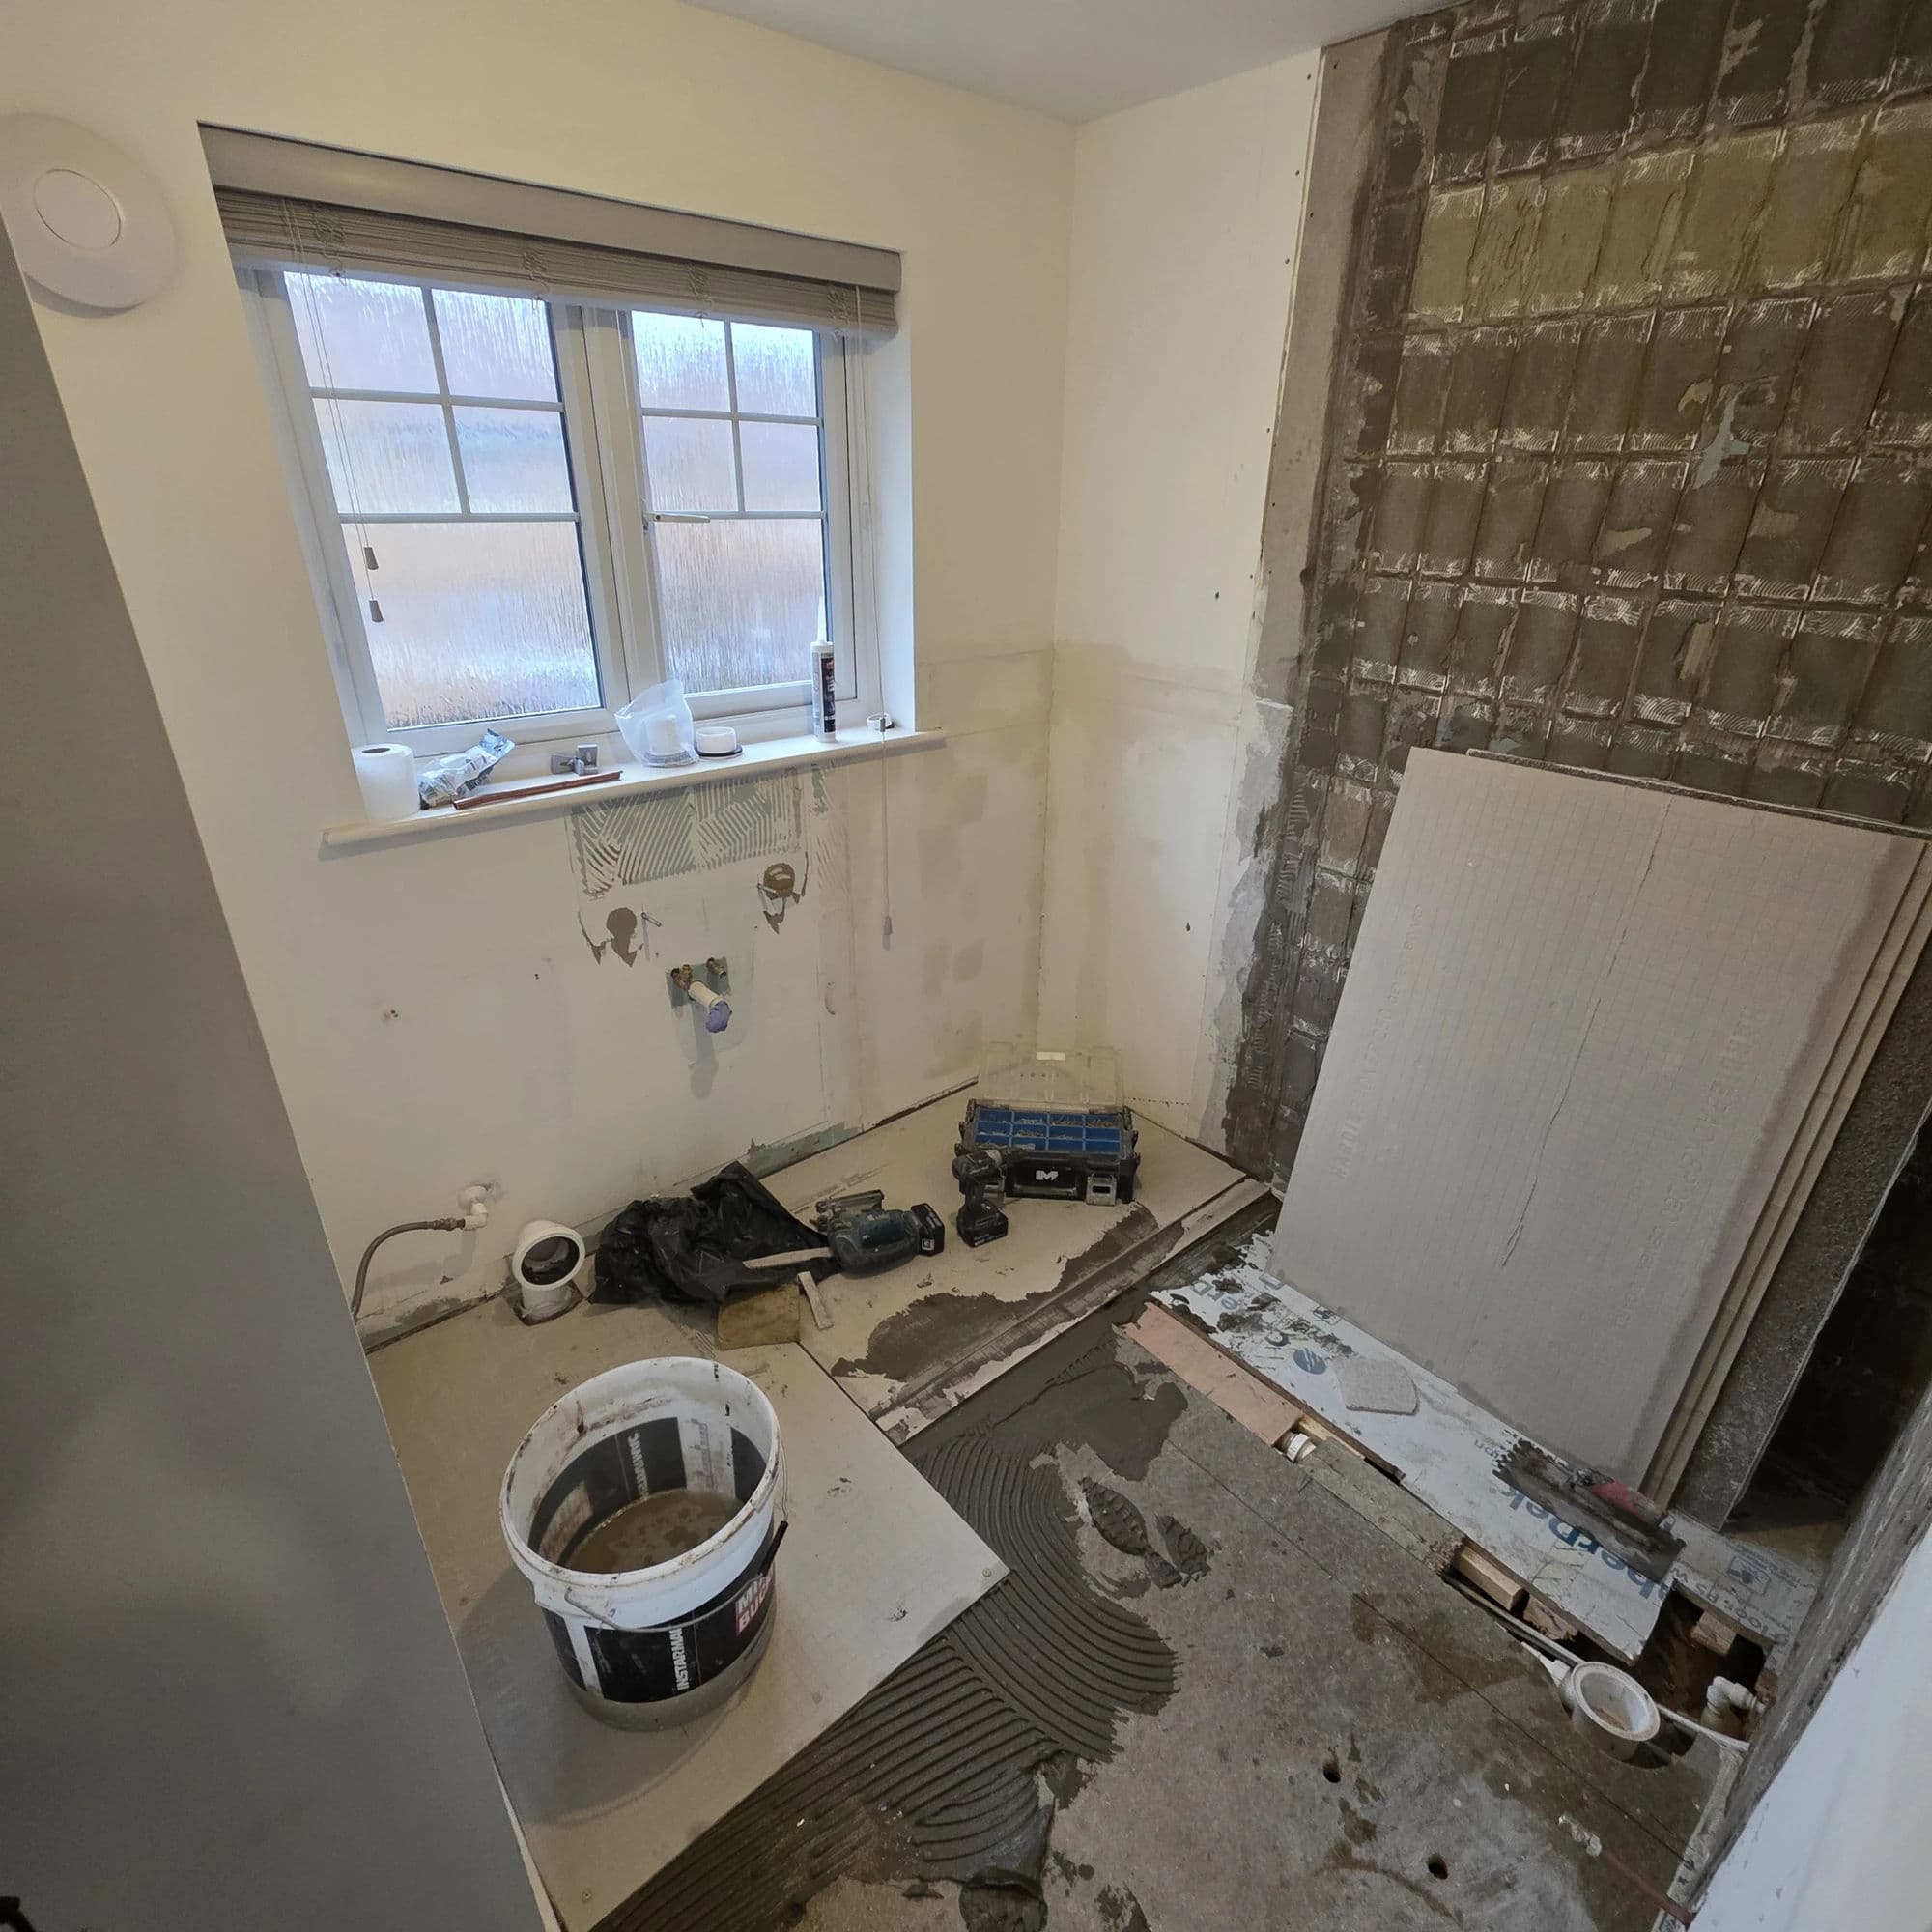
Because natural marble requires a suitably stable tiling background, the floor was prepared using HardieBacker cement backer boards.
The preparation sequence was:
- reinstate and secure the timber floorboards after the plumbing work;
- bed the HardieBacker boards into flexible tile adhesive;
- mechanically secure the boards through to the timber floor with appropriate screws;
- prepare the completed backer-board surface for the natural-marble installation.
No self-levelling compound was required for this floor.
This preparation created a much more suitable background for the finished bathroom tiling than fixing natural stone directly onto the original timber floorboards.
Natural Marble Wall Tiling
The room was finished using genuine natural marble, rather than marble-effect porcelain or ceramic tiles.
Different marble formats were used to give separate areas of the room their own character.
Around the bath and shower zone, approximately 70 × 150 mm rectangular natural-marble tiles were installed in a two-tile basket-weave pattern, with alternating pairs laid horizontally and vertically.
This section was tiled fully to the ceiling.
Across the remaining tiled walls, larger 300 × 600 mm natural-marble tiles were used.
The wall tiling around the rest of the room was taken to approximately 1.2 metres high, with the upper painted areas providing a deliberate visual break between the stone and the decorative wall treatment.
A consistent 2 mm joint was maintained throughout the marble installation.
Centred Diamond-Pattern Marble Floor
The floor became one of the strongest features of the completed bathroom.
Contrasting 300 × 300 mm natural-marble tiles in dark and deep red-toned colours were laid diagonally to create the diamond/checkerboard effect.
The floor was set out from the centre of the room rather than starting at one wall and allowing the pattern to finish wherever it happened to fall.
This allowed the perimeter cuts to remain balanced, including matching triangular cuts on the opposing sides of the room.
With a bold geometric natural-stone floor such as this, small setting-out errors become immediately visible. The centring was therefore established before the main floor installation began.
The finished floor gives the room a strong traditional character while tying together the warmer marble and brushed-brass finishes elsewhere in the bathroom.
Marble Skirting, Dado Rail and 45-Degree Mitred Corners
The marble work extended beyond conventional wall and floor tiling.
Natural-marble skirting was installed around the lower sections of the room, with marble dado detailing used to finish the transition at the top of the tiled wall sections.
No conventional metal tile trims were used on the exposed external marble corners.
Instead, the visible marble edges were individually cut at 45 degrees and brought together as mitred joints.
This method required considerably more cutting, adjustment and finishing than using a standard trim.
Particular care was needed around the external corners, marble skirting and dado details so the two cut stone faces met cleanly and the finished corner appeared to be formed entirely from the natural stone itself.
These mitred details were one of the most technically demanding parts of the project and became one of the most distinctive details of the finished bathroom.
Natural-Marble Fixing System and Materials
The natural-stone installation required a different level of preparation and handling from a straightforward ceramic-tile bathroom.
The principal fixing and finishing specification included:
- genuine natural marble wall and floor tiles;
- approximately 70 × 150 mm marble tiles in a two-tile basket-weave pattern around the bath and shower;
- 300 × 600 mm natural-marble wall tiles elsewhere;
- 300 × 300 mm contrasting natural-marble floor tiles;
- HardieBacker cement backer boards over the timber floor;
- prepared and primed tiling backgrounds;
- Excel Bond Slow Set Flexible S1 Adhesive White;
- consistent 2 mm tile joints;
- individual back-buttering of the marble before fixing;
- natural-stone sealer;
- UniBond anti-mould sanitary silicone;
- wet cutting of the natural stone;
- trim-free 45-degree mitred external corners.
Each marble tile was back-buttered before installation.
This was done to improve adhesive contact behind the natural stone rather than relying only on adhesive combed onto the substrate.
A white slow-set flexible S1 adhesive was used for the marble installation.
The slower working time was particularly useful during the detailed stone work because it allowed more time for setting-out, adjustment, alignment and the accurate positioning required around the basket-weave sections, dado work and mitred edges.
Sealing the Natural Marble Before and After Grouting
The marble was sealed as part of the installation rather than treating sealing as a final cosmetic step.
Two coats of natural-stone sealer were applied before grouting.
The reason for sealing at this stage was not only to protect the visible face of the marble. Applying the sealer before grout was introduced also allowed protection to reach the exposed stone around the open joints.
Once the marble had been grouted and the installation cleaned, a third coat of natural-stone sealer was applied over the completed stonework.
The sequence used was:
- install and allow the natural marble to set;
- apply the first coat of natural-stone sealer;
- apply the second coat before grouting;
- grout and clean the installation;
- apply the final coat of sealer.
Movement and sanitary junctions were finished with UniBond anti-mould sanitary silicone rather than relying on grout at flexible joints.
Wet Cutting the Marble
The natural marble was cut using a 1200 mm RUBI wet tile saw.
Wet cutting was particularly useful on this project because of the amount of natural stone and the range of detailed cuts required for the wall sections, diagonal floor, marble skirting, dado rail and mitred corners.
The larger wet saw allowed the longer pieces to be cut accurately while also providing the controlled cuts required for the 45-degree edge work.
1700 × 800 mm Bath and GROHE Shower
A new 1700 × 800 mm acrylic bath was installed in the established bath position as part of the bathroom fitting.
A new exposed GROHE thermostatic dual-shower system was installed over the bath, including a large rainfall shower head.
The previous electric shower was removed as part of the refurbishment and the plumbing was altered for the new shower arrangement.
The visible bathroom brassware was finished in brushed brass, creating a consistent finish across the shower, taps and other visible fittings.
The combination of brushed brass and natural marble reinforces the traditional appearance the customer wanted rather than introducing contrasting modern black or chrome fittings.
Shaker-Style Vanity with Marble Worktop
Beneath the window, a floor-standing Shaker-style vanity unit was installed in the original basin position.
The unit was finished with a natural-marble worktop.
The tap and associated fittings were drilled through the marble worktop, requiring accurate positioning and careful drilling of the stone before the final basin connections were completed.
The original basin pipework would have remained visibly entering the new furniture.
The hot and cold supplies were therefore altered and concealed within the wall before the vanity was installed, leaving a much cleaner finished connection inside and around the unit.
RAK Close-Coupled WC
A RAK close-coupled open-back WC was installed in approximately the same position as the previous toilet.
Retaining the established WC position avoided unnecessary alteration to the main soil connection while still allowing the surrounding finishes and sanitaryware to be completely renewed.
Radiator and Heating Pipework
The existing radiator was removed and replaced as part of the bathroom installation.
The original heating connections did not suit the replacement radiator, so the pipework was redirected before the room was closed back up.
This work also formed part of the remedial plumbing required after weaknesses in the existing 8 mm copper pipework and compression fittings became apparent during strip-out.
Completing the heating alterations at this stage allowed the replacement radiator to be installed without leaving unnecessary exposed pipework around the finished marble floor and wall finishes.
Ceiling, Coving and Traditional Wall Detailing
The previous ceiling finish was removed completely and the ceiling was taken back to the joists.
The new ceiling was plasterboarded and plastered to produce a fresh, level surface.
The exposed upper wall areas were also plastered where required and decorated using bathroom paint.
To reinforce the traditional character of the room, timber mouldings were fixed to the painted wall areas to create rectangular panel detailing.
Decorative coving was incorporated into the finished scheme.
This painted panelling provides a deliberate contrast with the natural marble below and helps the bathroom feel connected to the character of the older Marton property rather than appearing as an unrelated modern room.
Electrical Work
The electrical scope was deliberately simple.
One main ceiling light was installed, with the light switch positioned outside the bathroom.
The electrical work was completed by the electrician as part of the coordinated bathroom installation.
Protecting the Finished Marble
As different stages of the installation progressed, protection was used to prevent completed surfaces from being damaged by the remaining work.
Black Correx protection was laid over the floor while work continued above and around it.
This became particularly important once the natural-marble floor had been installed because sanitaryware fitting, decorating and final finishing work still had to take place within the room.
Protecting the completed floor allowed the remaining installation stages to continue without unnecessarily exposing the natural stone to site traffic and debris.
Programme
The complete bathroom installation took 10 working days, completed over two working weeks.
The programme covered:
- full strip-out;
- opening and repairing defective plumbing;
- hot, cold, waste and heating alterations;
- floorboard reinstatement;
- HardieBacker floor preparation;
- wall and ceiling boarding;
- plastering and decoration;
- natural-marble wall and floor tiling;
- two-tile basket-weave setting-out around the bath and shower;
- centred diagonal floor setting-out;
- natural-stone sealing and grouting;
- detailed 45-degree marble mitre work;
- installation of the bath, GROHE shower, vanity, RAK WC and radiator;
- electrical work;
- final silicone and finishing.
The additional plumbing defects discovered during strip-out were resolved within the overall project rather than being concealed behind the newly finished bathroom.
Completed Result
The completed bathroom retained the practical layout the customer was already comfortable with, but almost everything around that layout was rebuilt and upgraded.
The finished room combines:
- genuine natural-marble wall and floor finishes;
- a two-tile basket-weave natural-marble bath and shower surround;
- a centred contrasting diamond-pattern marble floor;
- marble skirting and dado detailing;
- trim-free 45-degree mitred marble external corners;
- traditional painted wall panelling and coving;
- brushed-brass bathroom fittings;
- a 1700 × 800 mm acrylic bath;
- GROHE thermostatic rainfall shower;
- Shaker-style vanity furniture with a natural-marble worktop;
- RAK sanitaryware;
- renewed and redirected concealed plumbing where required.
The strongest detail for us is the natural-stone finishing.
Rather than hiding external corners behind metal trims, the marble was cut and mitred so the material itself forms the finished edge. Together with the carefully centred floor, basket-weave bath surround, marble skirting and dado work, those details give the bathroom the traditional, built-in appearance the customer originally wanted.
The customer was extremely pleased with the finished room, later describing the end result as “incredible” and highlighting the communication and daily progress updates throughout the refurbishment.
For more examples of complete work, see our completed bathroom projects. If you are planning a bathroom installation in Marton or elsewhere in Middlesbrough, you can request a free bathroom survey to discuss the existing room, proposed layout and scope of work.