Project in 30 seconds
Completed in June 2026, this complete bathroom installation in Hartlepool transformed a conventional bath-based bathroom into a contemporary shower room centred around a generous 1700 × 800 mm walk-in shower.
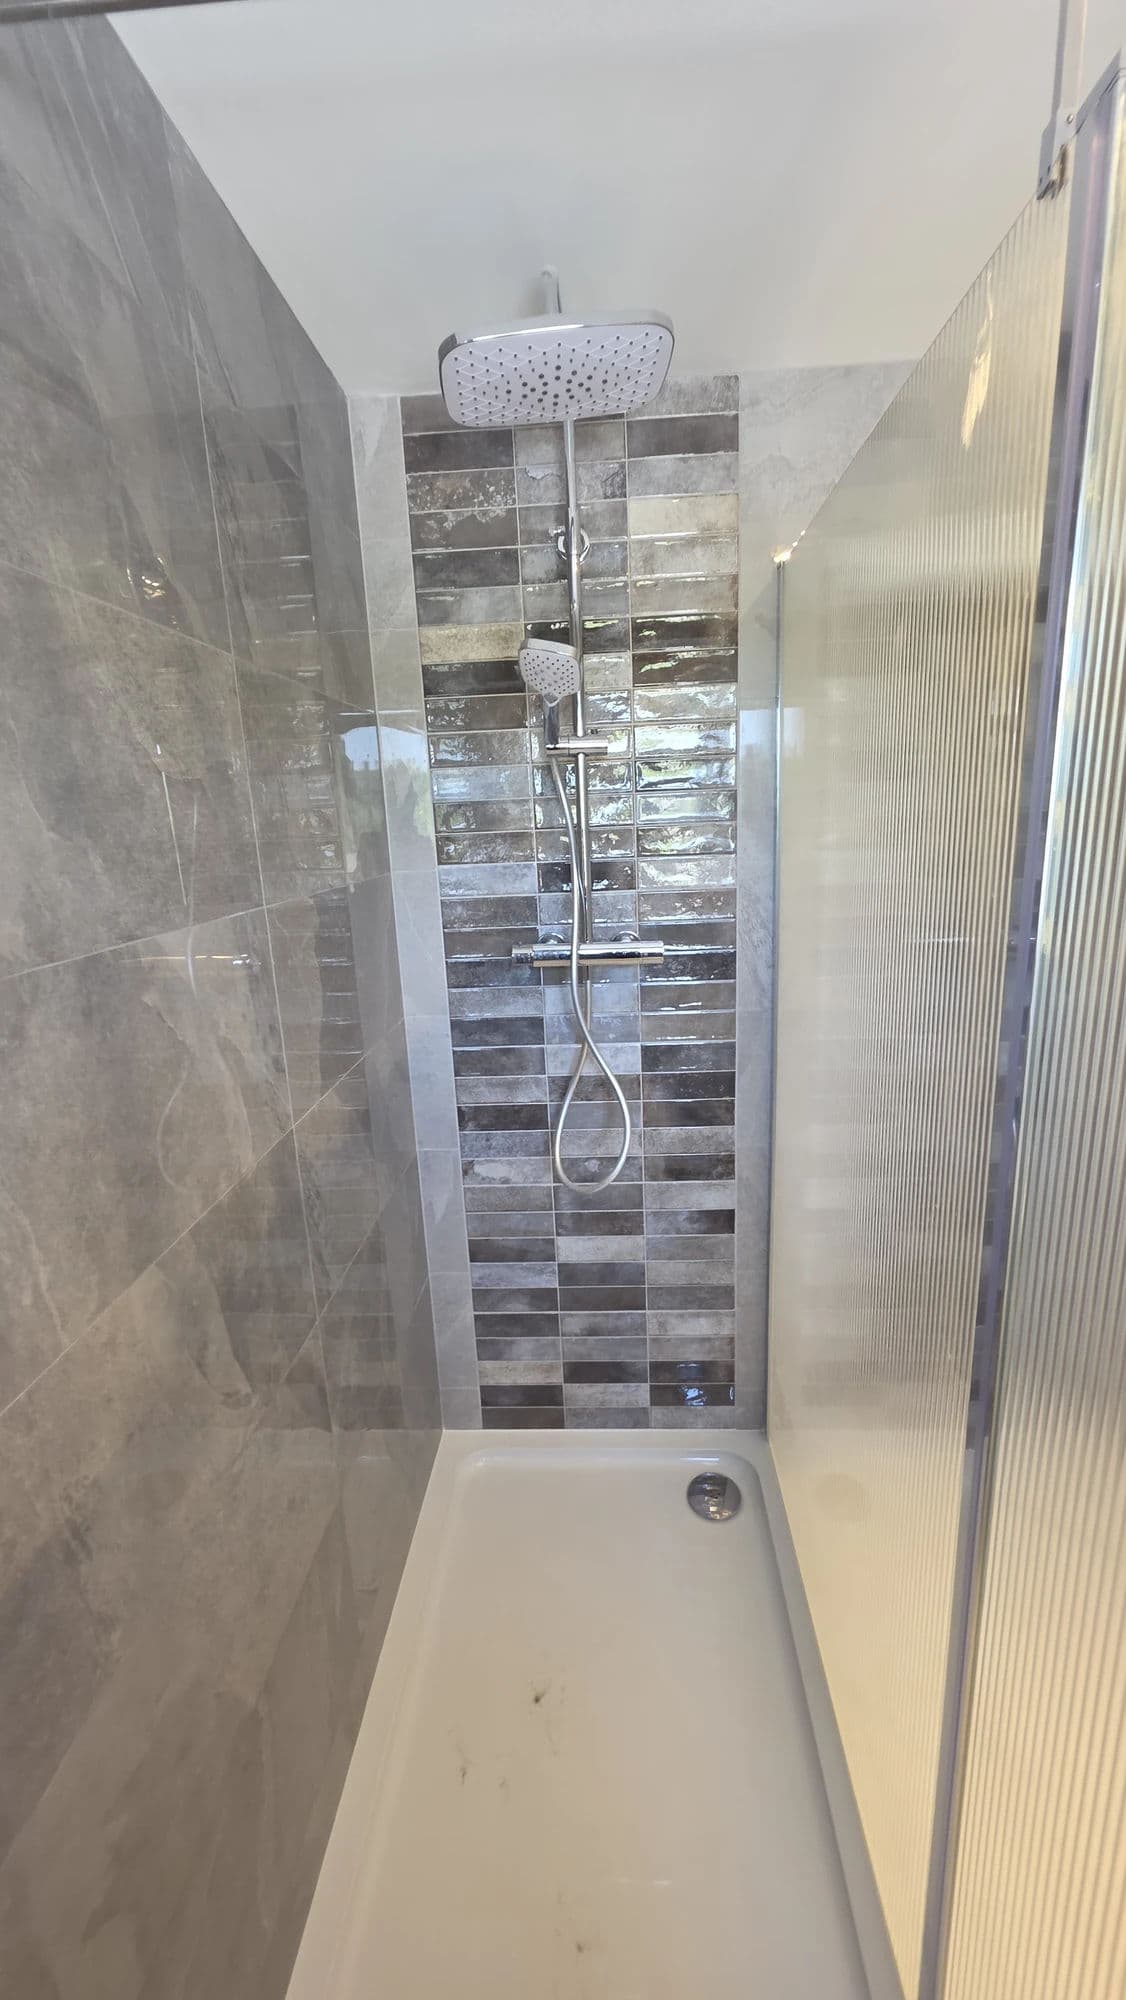
The customer wanted a considerably easier showering arrangement for everyday use and for an elderly relative who regularly stays at the property. The existing bath was removed and replaced with a large shower tray, fixed glass screen and concealed shower system with a ceiling-mounted rainfall head and separate handheld shower.
The complete bathroom refurbishment also included extensive plumbing alterations, a bespoke illuminated shower niche, wall-hung WC and vanity furniture, large-format porcelain bathroom tiling, oak-effect LVT flooring, upgraded ventilation, lighting and two chrome towel radiators.
The complete bathroom fitting was delivered in exactly ten working days across two working weeks, with no weekend working.
The Original Bathroom
The original bathroom contained:
- a conventional bath;
- a WC;
- a basin;
- a basic handheld shower arrangement;
- a radiator;
- a mirror;
- older wall and floor tiles;
- several impractical cabinets and storage fittings.
Although no significant structural damage was discovered during the strip-out, the existing layout and fittings no longer met the customer’s requirements.
The bath was particularly unsuitable for the elderly relative using the room. The customer wanted to retain the practical positions of the WC, basin and main radiator while replacing the bath with a substantially more convenient walk-in shower.
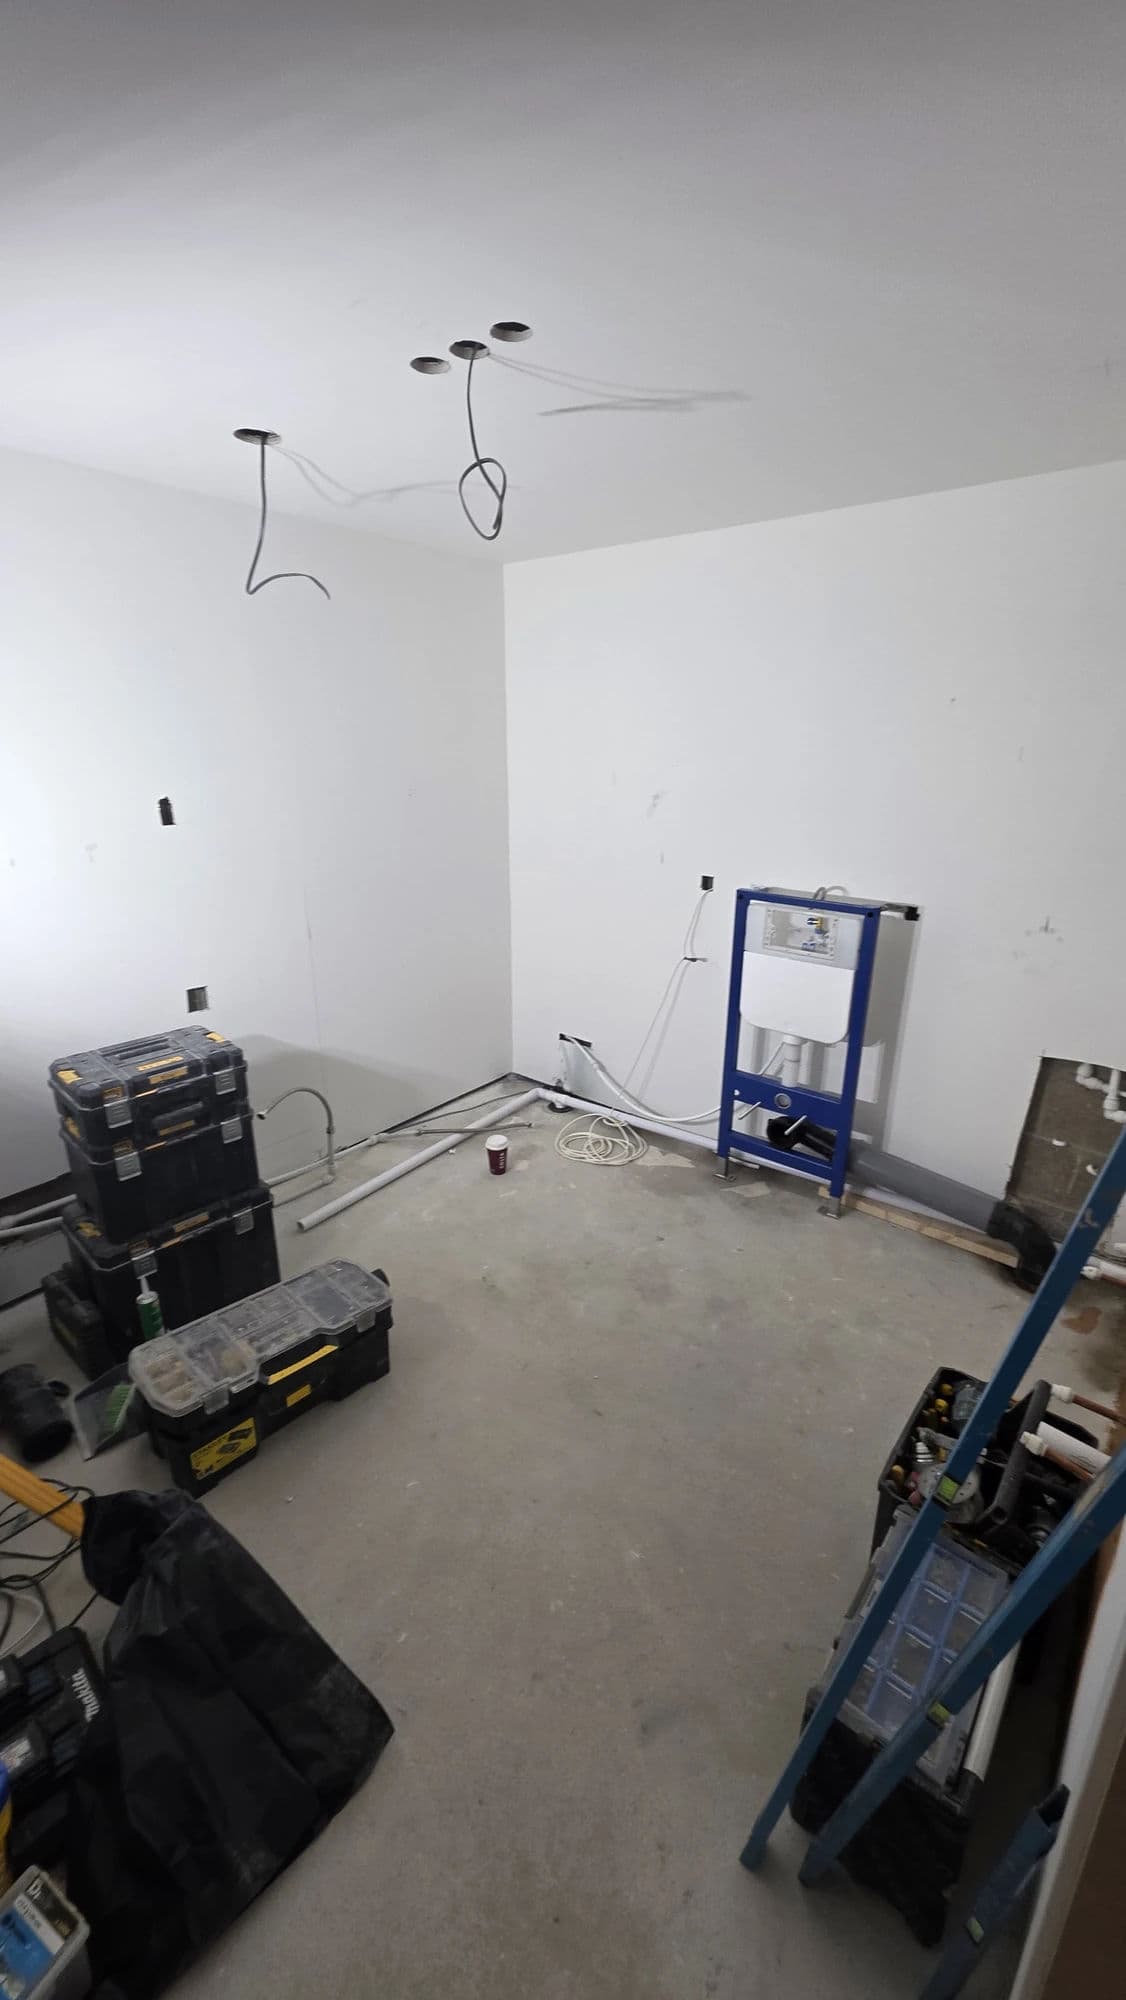
The original bathroom also contained several exposed and awkwardly routed services. These included 10 mm heating pipes emerging through the floor and supply and waste pipes serving a washing machine in the adjoining room.
The existing wall-mounted extractor fan was positioned within the area that would become the new shower enclosure. It therefore needed to be removed and repositioned as part of the new installation.
Customer Brief and Easier Access
The main priority was to create a bathroom that remained contemporary and visually distinctive while being easier for an older person to use.
The customer requested:
- removal of the existing bath;
- a low-entry walk-in shower;
- a large, open showering area;
- a fixed glass shower screen;
- a concealed shower system;
- a ceiling-mounted rainfall shower head;
- a separate handheld shower;
- a softly illuminated shower niche;
- wall-hung bathroom furniture;
- concealed plumbing wherever possible;
- large-format marble-effect porcelain tiling;
- practical low-level lighting for use during the night.
The finished bathroom was not designed as a specialist mobility bathroom. However, replacing the bath with a low shower tray removed the need to step over a high bath edge and made the shower considerably easier to enter.
Property Protection and Clean Working
The house remained occupied throughout the bathroom installation.
Before work began each day, the access route through the property was protected using dust sheets. This allowed tools, materials and waste to be carried through the home while reducing the risk of dust or accidental damage outside the bathroom.
At the end of each working day, the protective coverings were lifted and the access route was cleaned before the team left the property.
An 8-yard skip was positioned on the customer’s front driveway for the removed bathroom fittings, tiles and other construction waste.
All large-format tiles requiring cutting were measured inside the bathroom and then carried to an external cutting area. This kept the wet cutting, tile fragments and the majority of the associated mess outside the occupied house.
Complete Strip-Out
The original bathroom was completely stripped back before the new bathroom installation began.
The removal work included:
- the existing bath;
- the WC;
- the basin;
- the existing shower fittings;
- the radiator;
- the mirror;
- the wall tiles;
- the floor tiles;
- the old cabinets and storage fittings;
- redundant plumbing and electrical fittings.
No major hidden damage was discovered once the room had been stripped.
However, extensive plumbing alterations were still required because of the new shower arrangement, the concealed sanitaryware and the pipes serving the washing machine in the neighbouring room.
Retained Layout with a New Walk-In Shower
The general positions of the WC, basin and main central-heating radiator were retained.
This avoided unnecessary alteration of the WC soil connection while allowing the bath area to be transformed into a much larger walk-in shower.
The original bath was replaced with a 1700 × 800 mm white acrylic shower tray. The tray was installed at a low level to create a more convenient step into the shower.
A 1000 mm-wide fixed glass panel manufactured from 8 mm glass was installed along the shower tray.
The screen has no hinged return panel, helping the shower retain an open appearance and providing an uncomplicated entrance into the showering area.
Although the visible layout appears relatively simple, creating the finished arrangement required substantial work beneath the floor and inside the walls.
Complex Plumbing Alterations
The original bath waste had been routed above floor level.
To install the new shower tray at the required height, the chipboard floor was opened so the existing pipework could be accessed and altered.
A new 40 mm waste pipe was installed for the walk-in shower tray. The pipe was routed through the external wall, which was core drilled before the waste was connected into the existing soil stack using a boss connection.
The WC remained in its original position, and its soil connection did not need to be moved.
An additional complication was the supply and waste pipework serving a washing machine in the adjoining upstairs room. These pipes passed through the bathroom wall and conflicted with the new installation.
The washing-machine services were redirected and concealed within the floor alongside the new bathroom plumbing.
This created a particularly congested working area beneath the floor, requiring the new shower waste, washing-machine services and other bathroom pipework to be carefully planned around one another.
Concealed Shower and Built-Out Wall
The new shower uses a concealed system rather than an exposed shower bar.
It includes:
- a ceiling-mounted rainfall shower head;
- a separate handheld shower;
- concealed hot and cold supplies;
- a concealed shower control;
- independently positioned shower outlets.
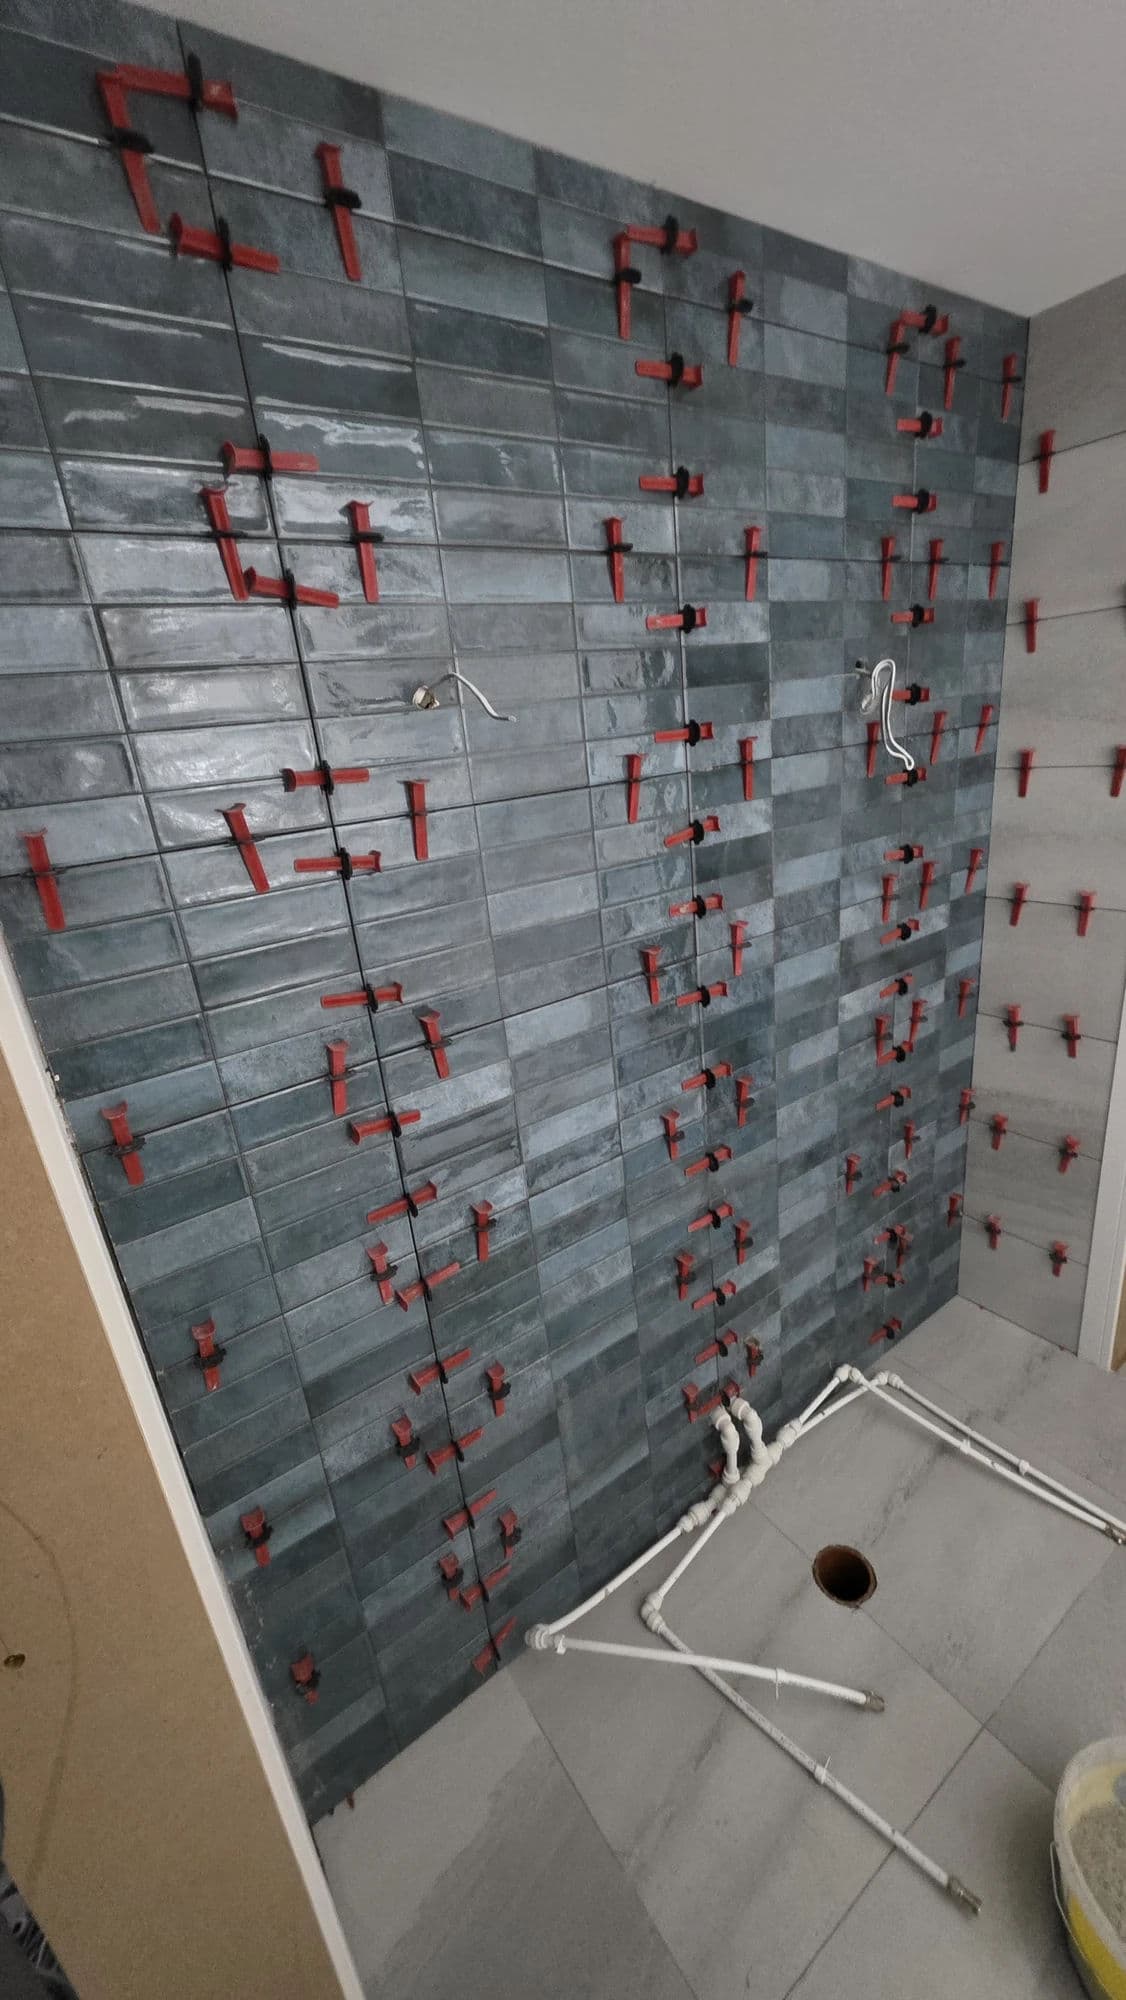
The illuminated niche was positioned centrally within the dark-green feature wall.
The handheld shower was installed on the left-hand side of the niche, while the shower control was positioned on the right-hand side, closer to the shower entrance.
The rainfall head was installed through the ceiling at the opposite end of the tray.
This arrangement allows the user to enter the shower, turn on the water using the control near the entrance and wait for it to reach a comfortable temperature without standing directly beneath the rainfall head.
Installing the concealed shower created one of the main technical challenges of the project.
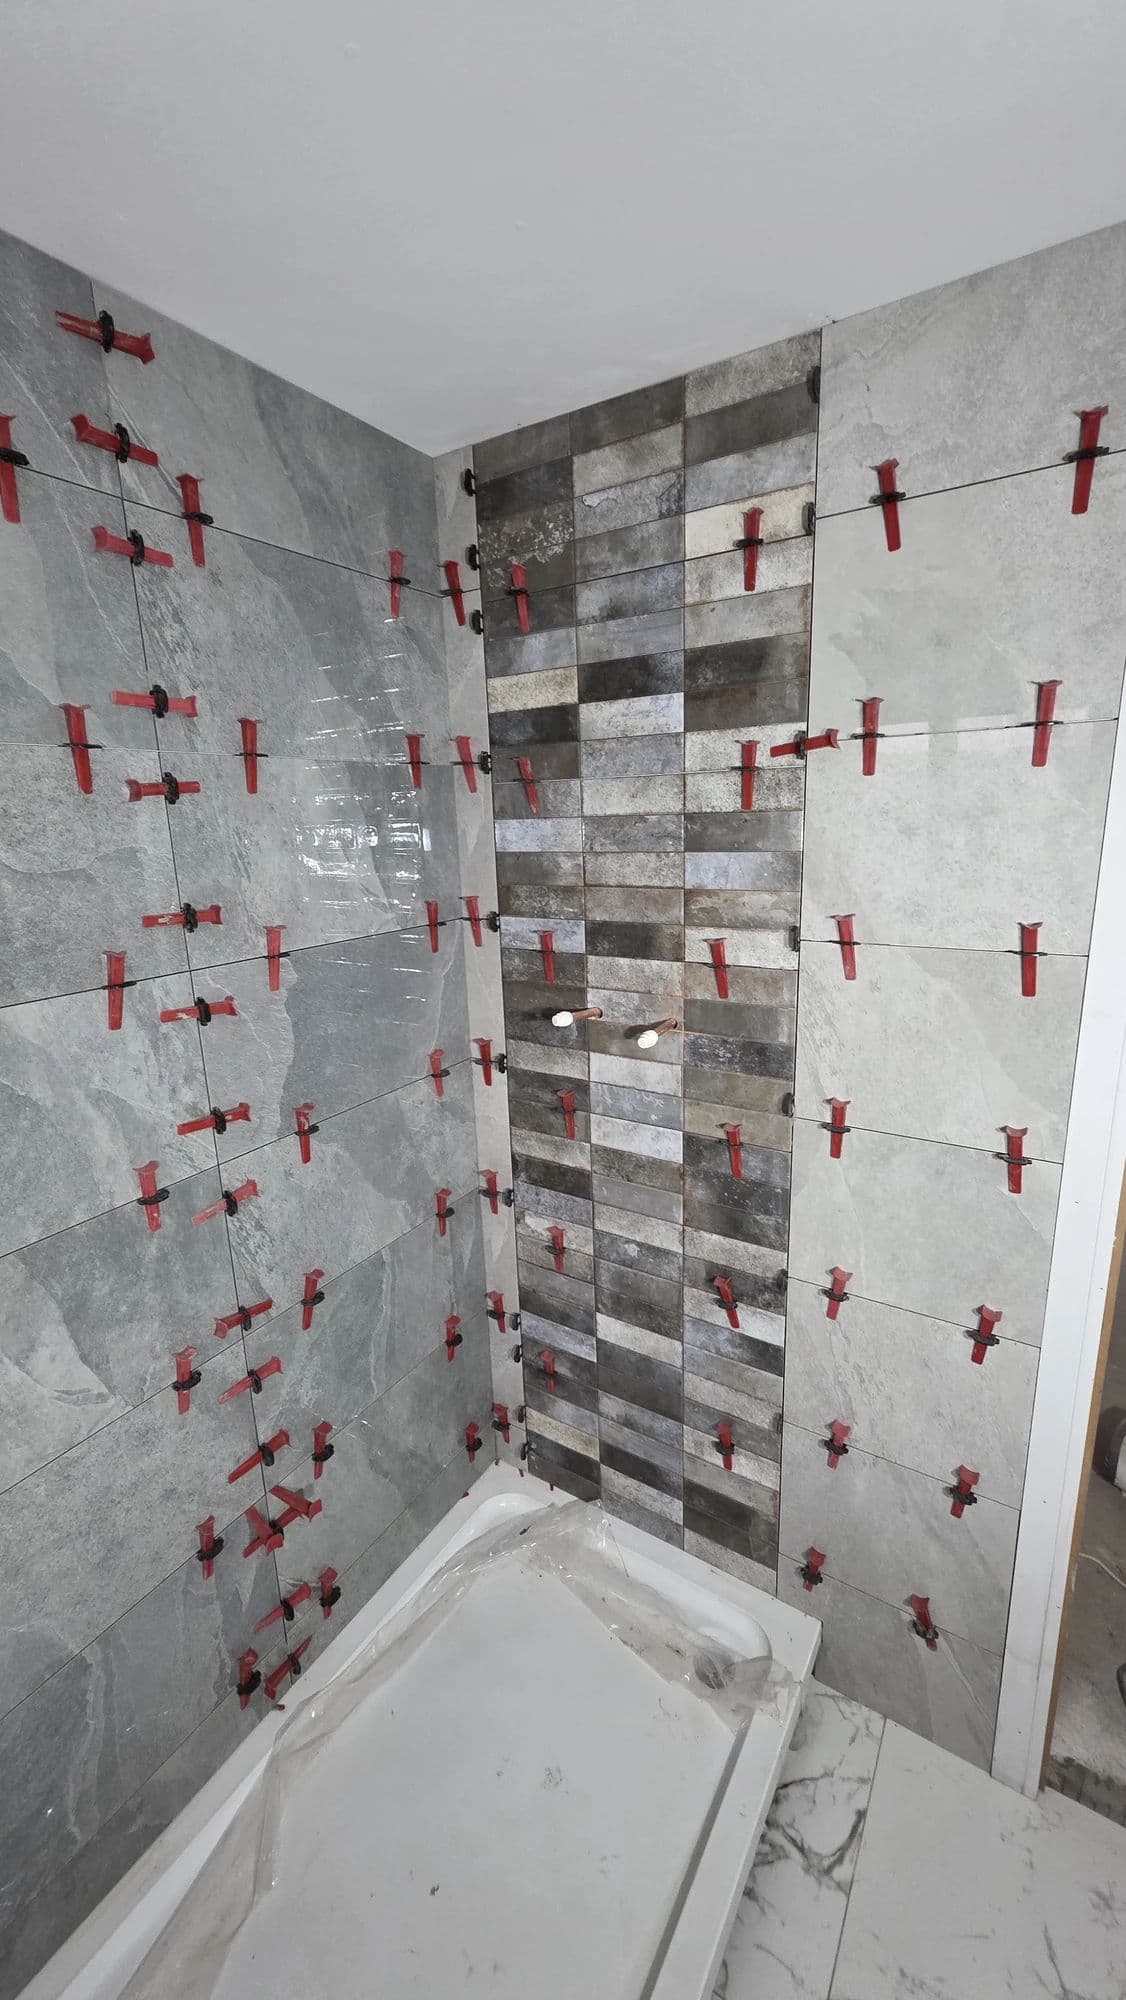
The concealed shower body required approximately 70 mm of installation depth, but the existing partition wall provided a cavity of only approximately 50 mm.
To accommodate the shower correctly, the wall was built out by approximately 20 mm. This provided the additional depth required for the concealed valve and associated plumbing while allowing the finished feature wall to remain straight and accurately tiled.
New hot and cold pipework was routed through the wall and ceiling to connect the independently positioned control, handheld shower and rainfall head.
Large Walk-In Shower Installation
The completed shower area is formed around a 1700 × 800 mm acrylic tray.
Its generous dimensions provide substantially more room than a conventional enclosed shower cubicle, while the low installation reduces the step required to enter.
The 1000 mm fixed glass screen helps contain the shower water without closing off the complete tray.
There is no hinged return panel, leaving the entrance clear and supporting the open walk-in shower design requested by the customer.
The shower fittings were positioned deliberately rather than grouped together on one wall. The rainfall head, handheld shower and control can each be reached or used according to their specific purpose.
The completed shower therefore combines a spacious appearance with a practical control arrangement designed around how the customer and their visiting relative will use the room.
Bespoke Illuminated Shower Niche
A recessed storage niche was constructed within the dark-green shower feature wall.
The niche provides a convenient place for shower products without requiring surface-mounted baskets or shelving.
Integrated lighting was installed around the niche to create a softer form of illumination within the bathroom.
New electrical wiring was installed specifically for this feature.
The customer wanted the illuminated niche to serve an additional practical purpose. When left on during the night, it provides a gentle background light for an elderly relative entering the bathroom without requiring the brighter main ceiling lighting.
The niche was carefully formed and tiled using the same polished dark-green marble-effect porcelain selected for the shower wall.
Its position, lighting and contrasting trim make it one of the bathroom’s principal visual features.
Wall-Hung WC and Concealed Cistern
A wall-hung WC was installed in the original toilet position.
The supporting frame and concealed cistern were enclosed within a newly constructed tiled service wall, leaving only the suspended WC pan and flush plate visible.
Retaining the original WC position allowed the existing soil connection to remain in use.
The service wall conceals the cistern and plumbing while also providing a practical ledge beneath the window.
The suspended pan leaves the finished floor visible underneath, contributing to the more open appearance of the room and making the surrounding floor easier to clean.
No brand has been stated for the concealed WC frame because the exact system was not recorded.
Wall-Hung Vanity and Illuminated Mirror
A 500 mm wall-hung vanity unit was installed beneath the window.
The dark furniture contrasts with the light marble-effect wall tiles and incorporates a white porcelain basin.
Because the vanity is suspended, its hot and cold supplies could not be left visibly rising through the floor.
The pipework was therefore chased into the wall and repositioned so the connections could emerge discreetly behind the furniture.
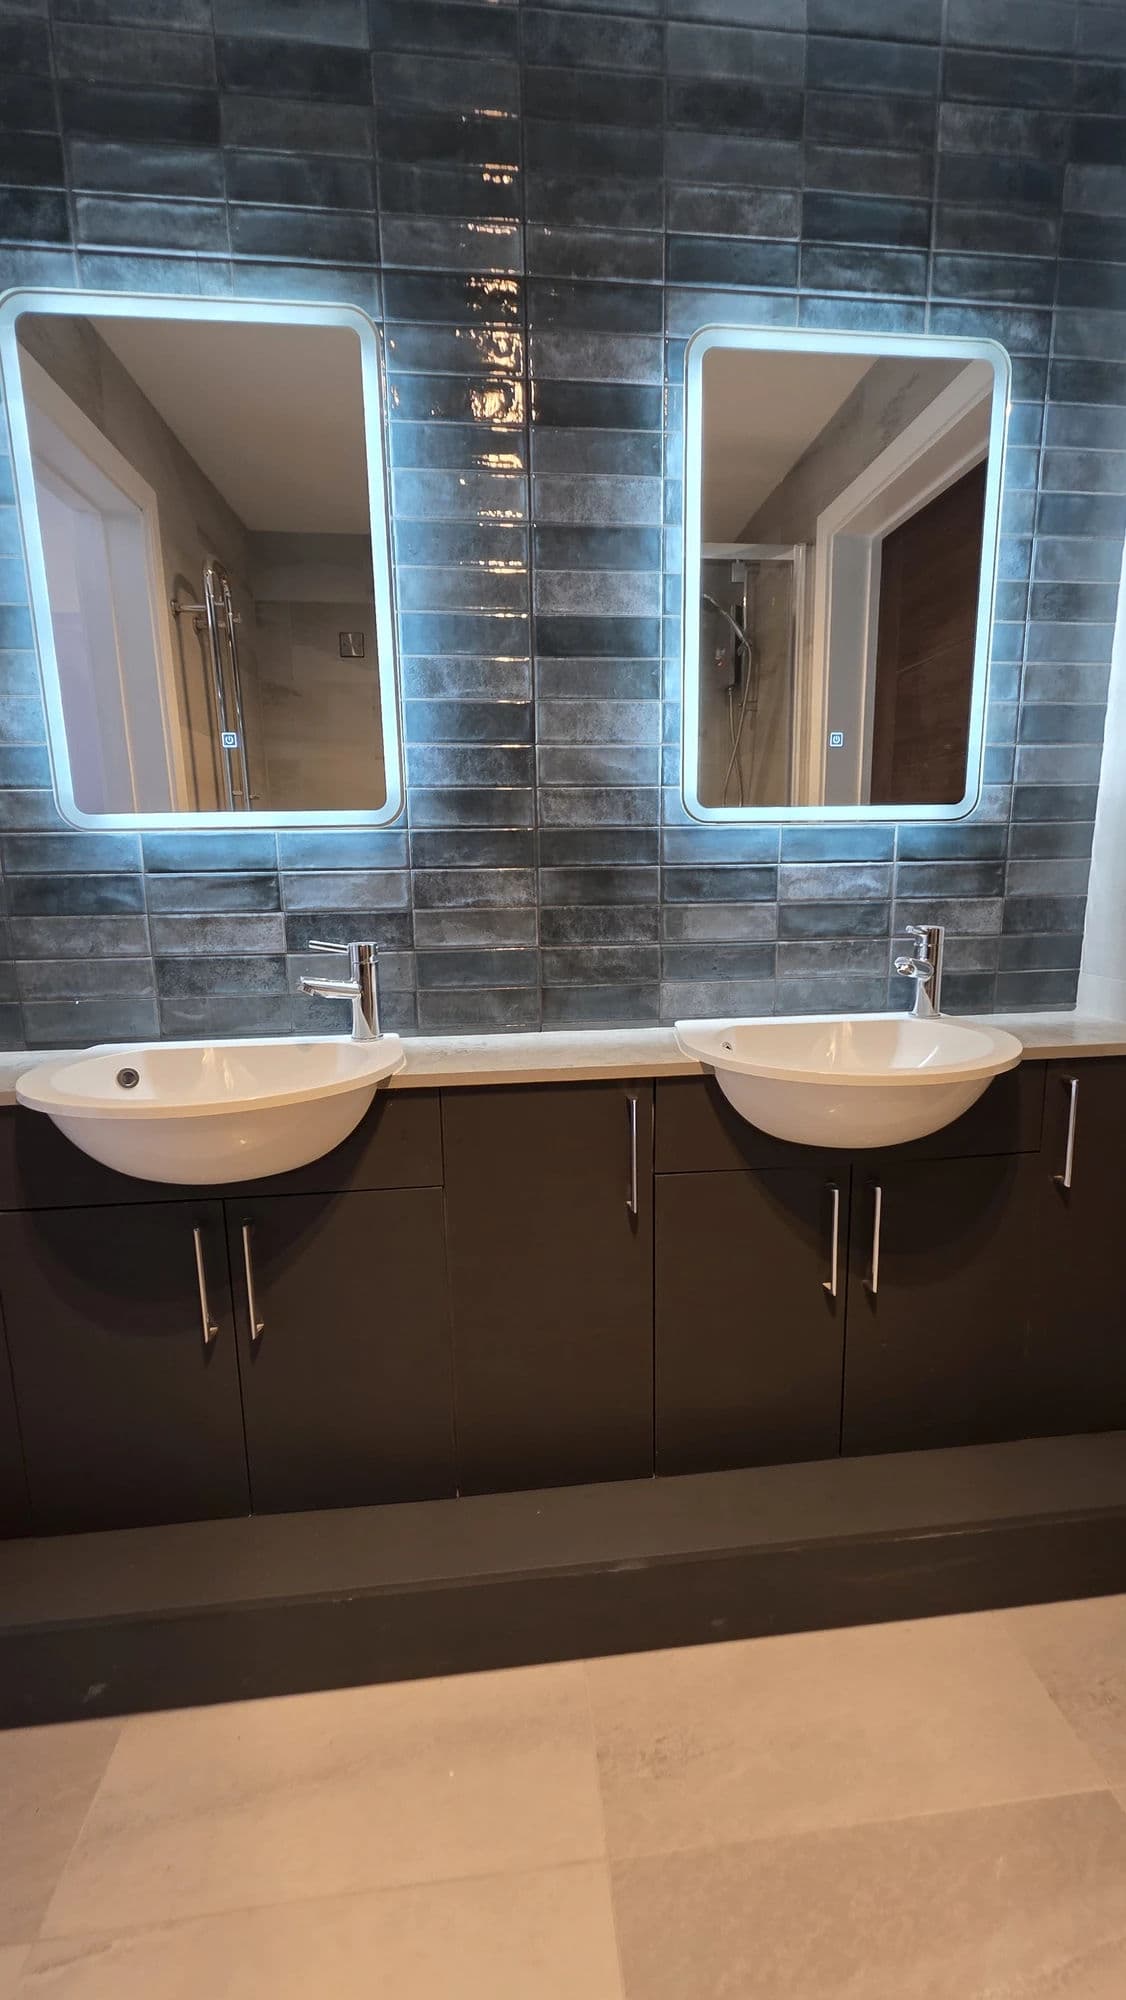
A round illuminated mirror was fitted beside the vanity.
The mirror includes:
- touch-operated controls;
- adjustable brightness;
- selectable white-light colour temperature;
- an integrated clock;
- a temperature display.
The mirror provides practical task lighting around the basin while its circular shape introduces contrast against the straight tile lines, shower screen and bathroom furniture.
Heating and Smart-Controlled Towel Rail
The original 10 mm heating pipes rose visibly through the floor.
These were removed from view, redirected through the wall and upgraded to 15 mm pipework to suit the new corner radiator valves.
A 600 mm chrome towel radiator connected to the central-heating system was installed in the retained radiator position.
A second 400 mm chrome electric towel rail was installed near the bathroom door.
New electrical wiring for the smaller towel rail was completed by the electrician.
The electric rail was also connected through an Alexa-compatible smart controller. This allows the customer to control it through their smart-home system without relying solely on a conventional manual switch.
The precise make of the smart controller was not recorded, so no unsupported brand or model has been included.
Repositioned Ventilation
The original extractor fan was mounted on a wall that became part of the new shower area.
Leaving it in that position would not have suited the redesigned layout.
The existing fan was therefore removed and replaced with a new ceiling-mounted extractor.
The new fan was ducted externally through the roof, allowing humid air to discharge outside rather than remaining within the roof space.
Repositioning the ventilation kept the new shower walls clear while providing suitable moisture extraction for the completed bathroom.
Wall and Ceiling Preparation
Following the strip-out and completion of the concealed plumbing, the bathroom walls were prepared for the new large-format tiled finish.
The existing surfaces were primed before damaged and uneven areas were repaired using bonding compound.
The ceiling was not plastered.
Instead, it was finished using white matt PVC ceiling cladding. This created a clean, low-maintenance surface around the recessed lighting, ceiling shower outlet and repositioned extractor fan.
The light ceiling finish also helps balance the darker green feature wall and dark vanity furniture.
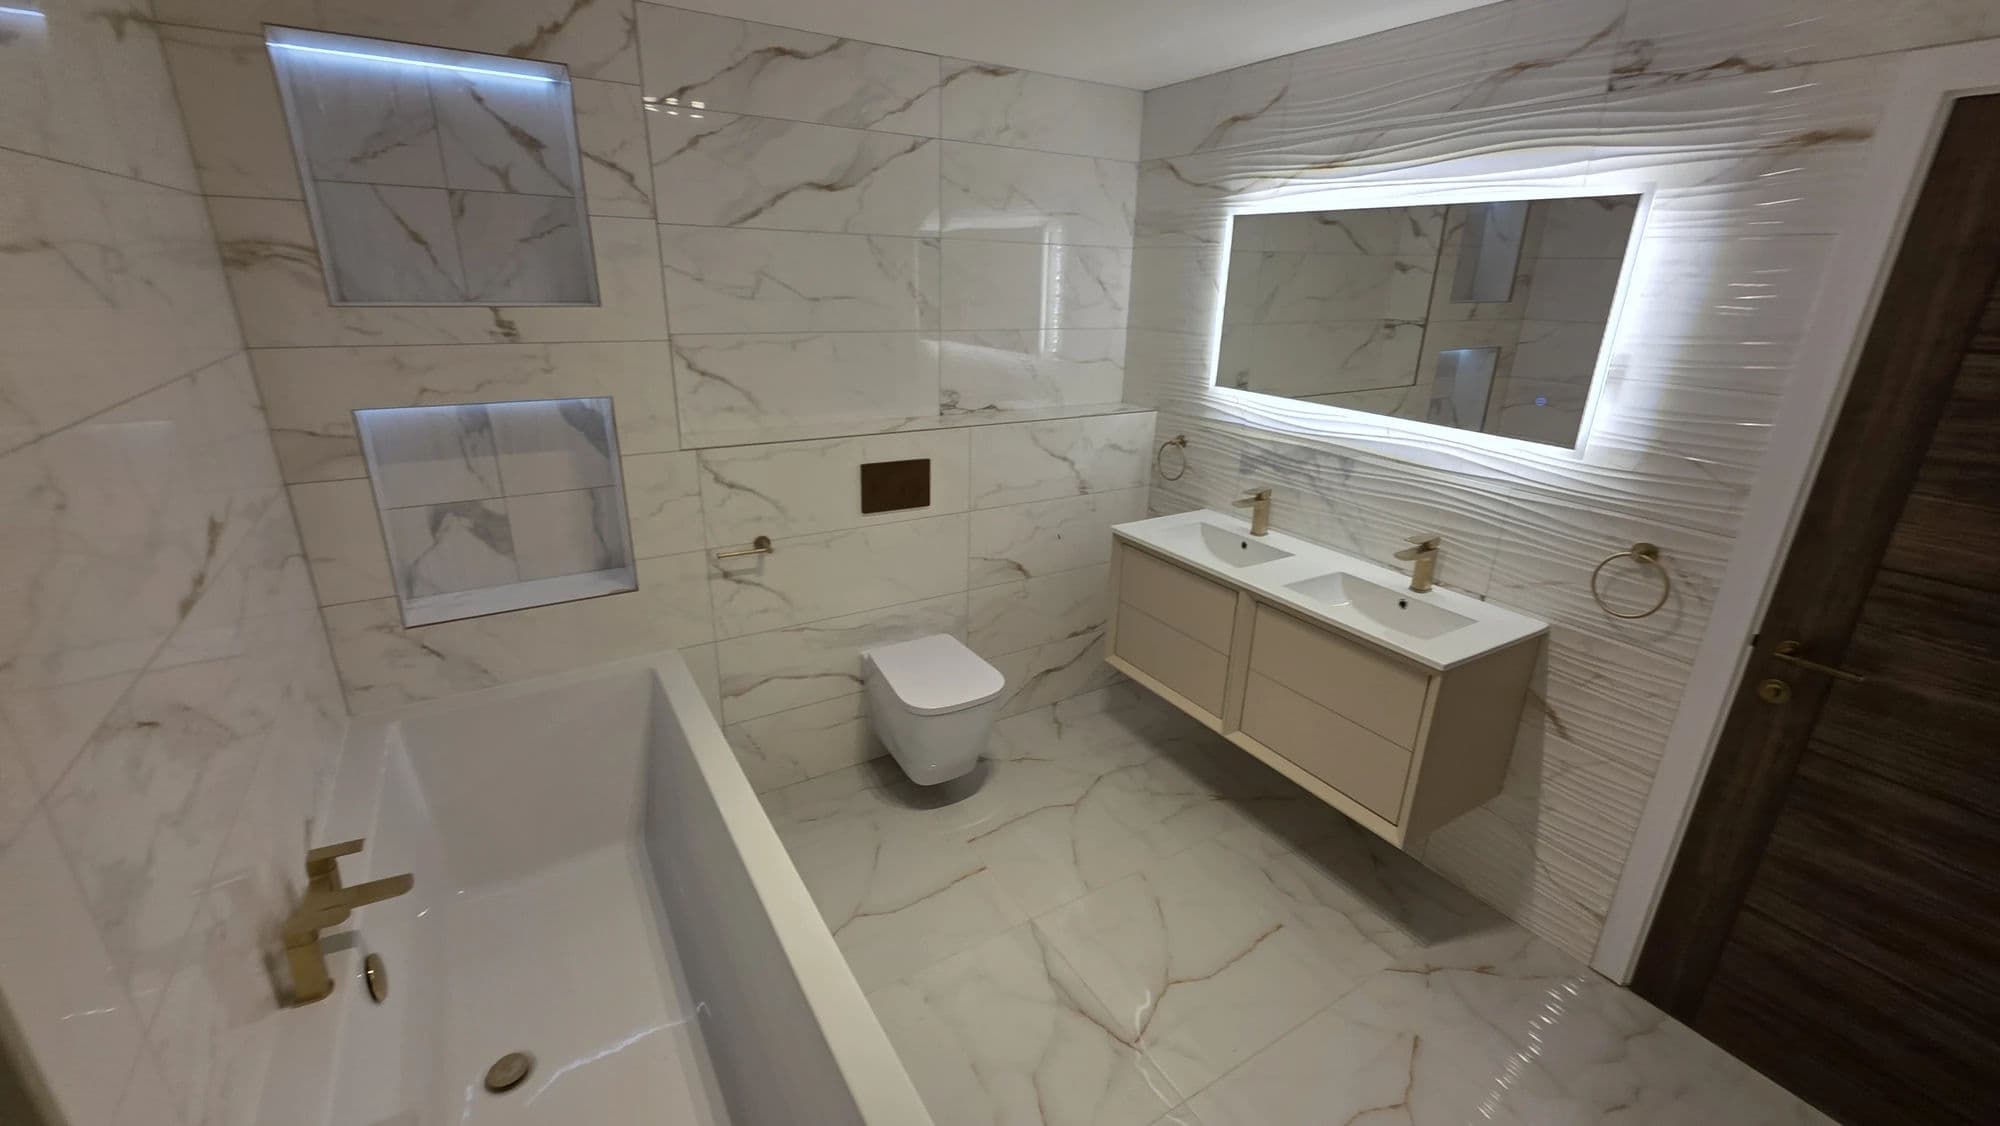
The bathroom tiling combines light marble-effect porcelain with a contrasting dark-green shower wall.
The principal wall tiles are:
- 1200 × 600 mm;
- light marble-effect porcelain;
- 10.5 mm thick;
- gloss finished.
The shower feature tiles are:
- 600 × 600 mm;
- dark green;
- marble effect;
- porcelain;
- highly polished.
The dark-green tiles were restricted to the shower feature wall and illuminated niche.
The remaining walls were finished using the larger 1200 × 600 mm light marble-effect tiles. Their reflective surface helps distribute the bathroom lighting and makes the relatively compact room feel brighter.
BAL slow-setting grey flexible adhesive was used for the porcelain tile installation.
White grout was selected for the light wall tiles.
BAL Forest grout was used across the dark-green feature wall and niche, matching the underlying colour of the tiles even where the polished finish can appear almost black in photographs.
The movement joints and changes of plane were completed using colour-matched matt-finish silicone.
Green silicone was used across the dark-green tiled sections, while matching white silicone was used throughout the remainder of the bathroom.
The silicone was specifically selected to avoid a shiny appearance and blend as closely as possible with the surrounding grout.
Accurate External Tile Cutting
The dimensions and thickness of the porcelain tiles required careful handling and accurate measurement.
Every tile requiring cutting was measured within the bathroom and then carried outside to the wet-cutting area.
The cut tile was subsequently returned to the first-floor bathroom and checked in position.
This process was repeated around:
- the window;
- the illuminated niche;
- the concealed shower control;
- the handheld shower connection;
- the ceiling shower outlet;
- the shower tray;
- the concealed WC;
- the vanity;
- the towel radiators;
- the electrical fittings;
- the room perimeter.
Although carrying every tile between the first-floor bathroom and the external cutting area added time to the installation, it kept tile cutting and the associated mess outside the occupied property.
Floor Preparation and Oak-Effect LVT
The existing chipboard floor was retained because it remained in serviceable condition.
Before the new finish was installed, the chipboard was reinforced and resecured to the floor joists using additional screws.
A 3 mm hardboard layer was then installed over the chipboard to create a smoother surface for the finished flooring.
The hardboard was secured using small screws installed at approximately 200 mm centres.
The bathroom was completed with oak-effect LVT flooring.
The warmer timber appearance provides contrast against the polished marble-effect wall tiles, chrome fittings and dark furniture.
It also continues beneath the wall-hung WC and vanity, helping the compact bathroom feel less visually interrupted.
Electrical Work
The bathroom required electrical alterations to support the redesigned layout and new fittings.
The work included wiring for:
- the illuminated shower niche;
- the round LED mirror;
- the repositioned ceiling extractor fan;
- the electric towel rail;
- the Alexa-compatible towel-rail controller;
- the bathroom lighting.
The electrical services were coordinated with the plumbing and tiling so that the visible fittings aligned correctly with the completed tile layout.
The combination of recessed ceiling lighting, the illuminated mirror and the shower niche gives the customer several different lighting options rather than relying on a single bright ceiling light.
Programme
The complete bathroom installation was completed in exactly ten working days.
Work took place:
- Monday to Friday during the first week;
- Monday to Friday during the second week;
- with no weekend working.
The programme included:
- property protection;
- complete strip-out;
- floor opening and plumbing access;
- washing-machine pipework alterations;
- installation of the new shower waste;
- extensive concealed shower plumbing;
- wall construction for the shower valve;
- formation of the illuminated niche;
- concealed WC installation;
- radiator pipework alterations;
- electrical and ventilation work;
- wall preparation;
- PVC ceiling cladding;
- large-format porcelain tiling;
- LVT floor preparation and installation;
- sanitaryware fitting;
- final sealing and finishing.
The bathroom was completed within the planned ten-working-day programme.
Part of the Same Hartlepool Project
This bathroom was completed as part of the same wider Hartlepool project as a separate downstairs WC refurbishment at the property.
The downstairs WC involved its own plumbing alterations, full-height porcelain tiling, upgraded lighting and ventilation, fitted WC furniture and a compact basin installation.
Both rooms formed part of the same customer project, with the main bathroom accounting for ten working days across two working weeks and the downstairs WC completed during the remaining work at the property.
Completed Bathroom Installation
The completed Hartlepool bathroom now provides a substantially more convenient showering arrangement while retaining the practical positions of the WC, vanity and main radiator.
The finished installation includes:
- a 1700 × 800 mm acrylic walk-in shower tray;
- a 1000 mm-wide fixed screen manufactured from 8 mm glass;
- a concealed shower system;
- a ceiling-mounted rainfall shower head;
- a separately positioned handheld shower;
- a shower control positioned close to the entrance;
- a bespoke illuminated shower niche;
- 1200 × 600 mm light marble-effect porcelain tiles;
- 600 × 600 mm polished dark-green feature tiles;
- BAL Forest grout across the feature wall;
- white grout across the light tiling;
- matching matt-finish green and white silicone;
- a wall-hung WC with a concealed cistern;
- a 500 mm wall-hung vanity and white porcelain basin;
- a round illuminated mirror with a clock and temperature display;
- a 600 mm chrome central-heating towel radiator;
- a 400 mm chrome electric towel rail;
- an Alexa-compatible smart towel-rail controller;
- white matt PVC ceiling cladding;
- a ceiling-mounted extractor ducted externally through the roof;
- oak-effect LVT flooring;
- concealed and redirected plumbing services.
The dark-green shower wall, illuminated niche and ceiling-mounted rainfall head form the main visual centrepiece.
Behind the visible finish, the installation required extensive plumbing alterations, including rerouting the adjoining washing-machine services, installing a new 40 mm shower waste and increasing the wall depth to accommodate the concealed shower body.
The result is a carefully planned bathroom installation combining a spacious walk-in shower, easier everyday access, concealed services, bold marble-effect finishes and practical lighting within a compact first-floor room.
The completed work is supported by a linked five-star Google review from the customer.
Homeowners can view more of our completed bathroom projects, explore our dedicated Hartlepool bathroom fitting and installation page, learn more about our bathroom installation service, or request a free bathroom survey to discuss an existing bathroom, preferred layout and required scope of work.