The 30-Second Read
This bathroom installation in Hartlepool created a true Jack-and-Jill bathroom serving two adjoining bedrooms within a substantial new-build property.
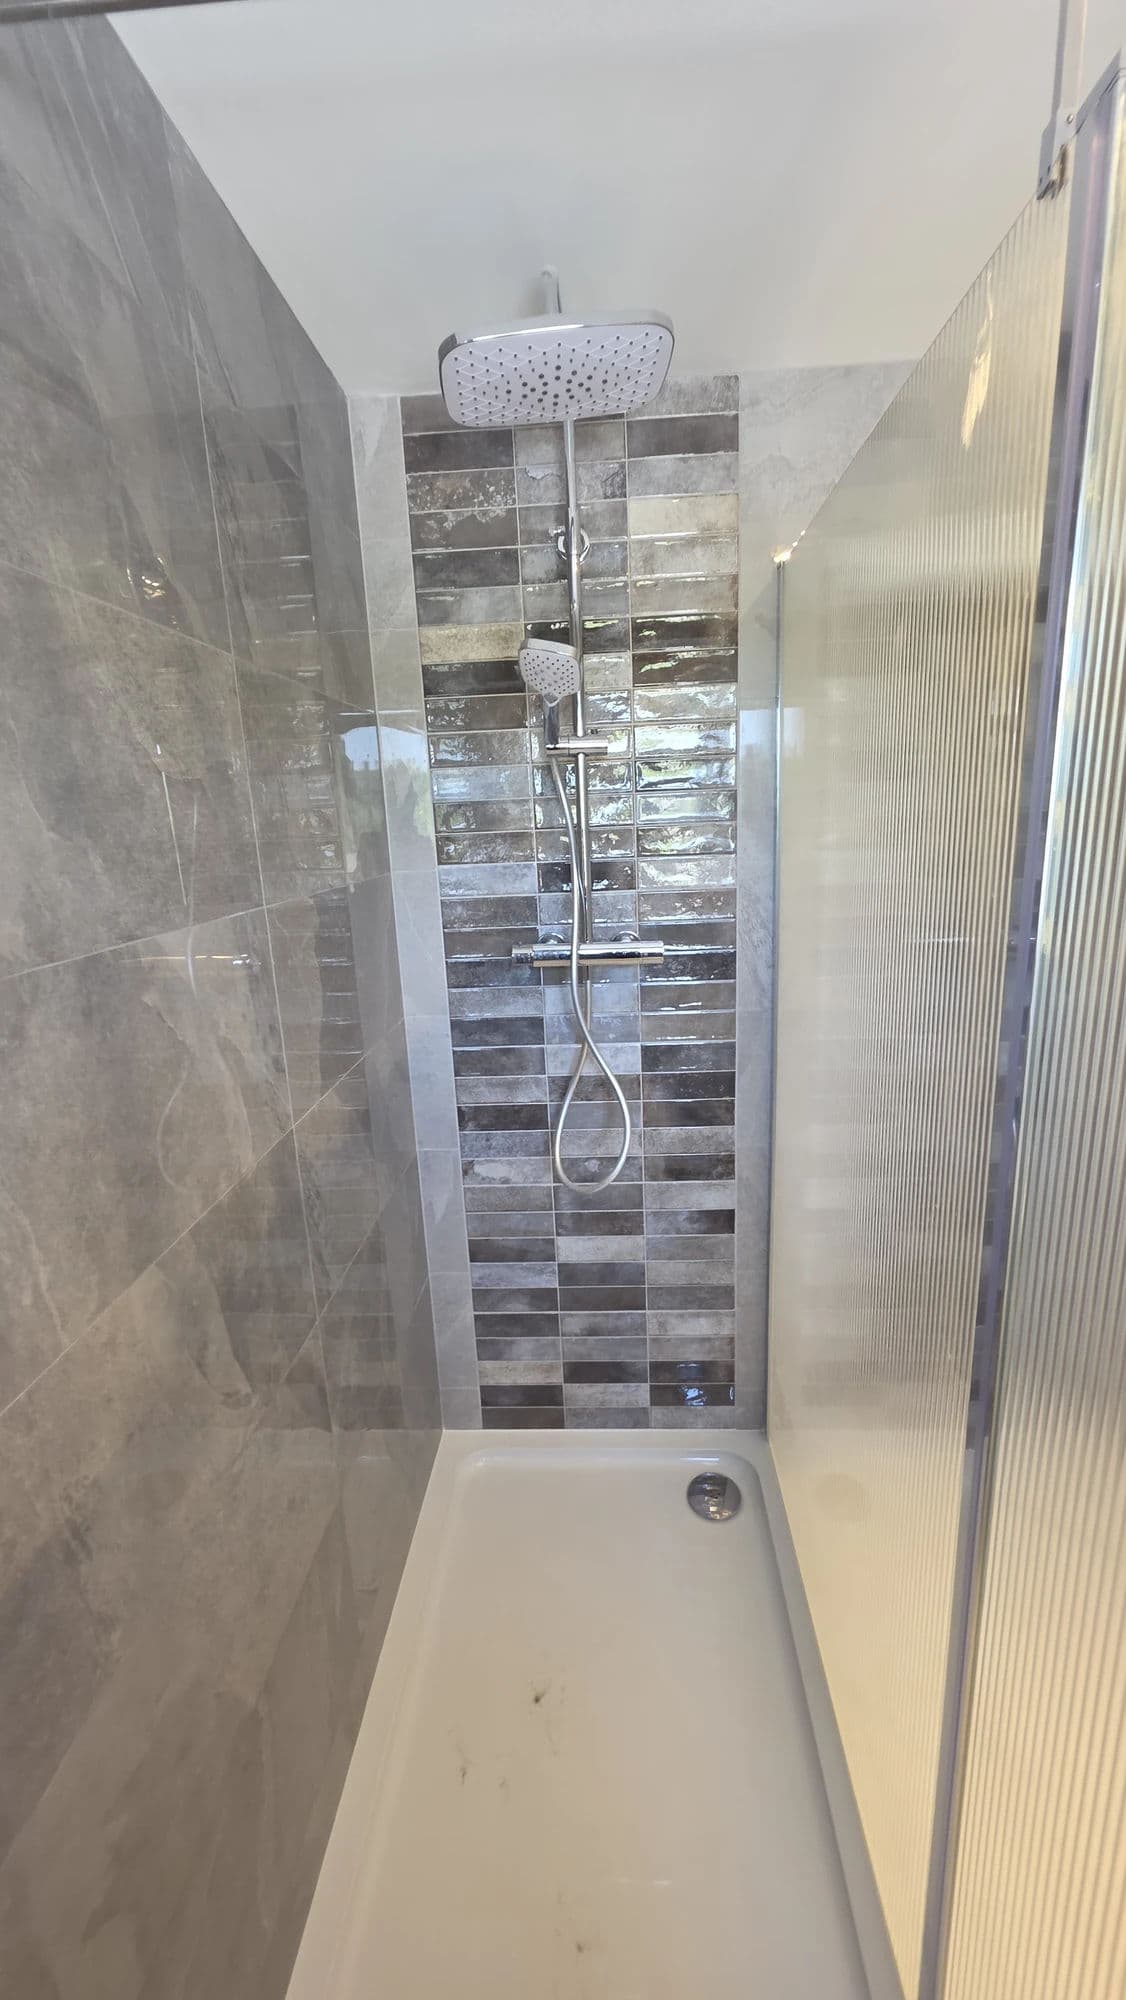
The project required considerably more than fitting customer-supplied sanitaryware. A previously installed 1200 × 800 mm stone-resin shower tray had to be removed and its support completely rebuilt. Because water underfloor heating was already installed beneath the bathroom, we designed the replacement platform to avoid unnecessary mechanical fixing through the heated floor.
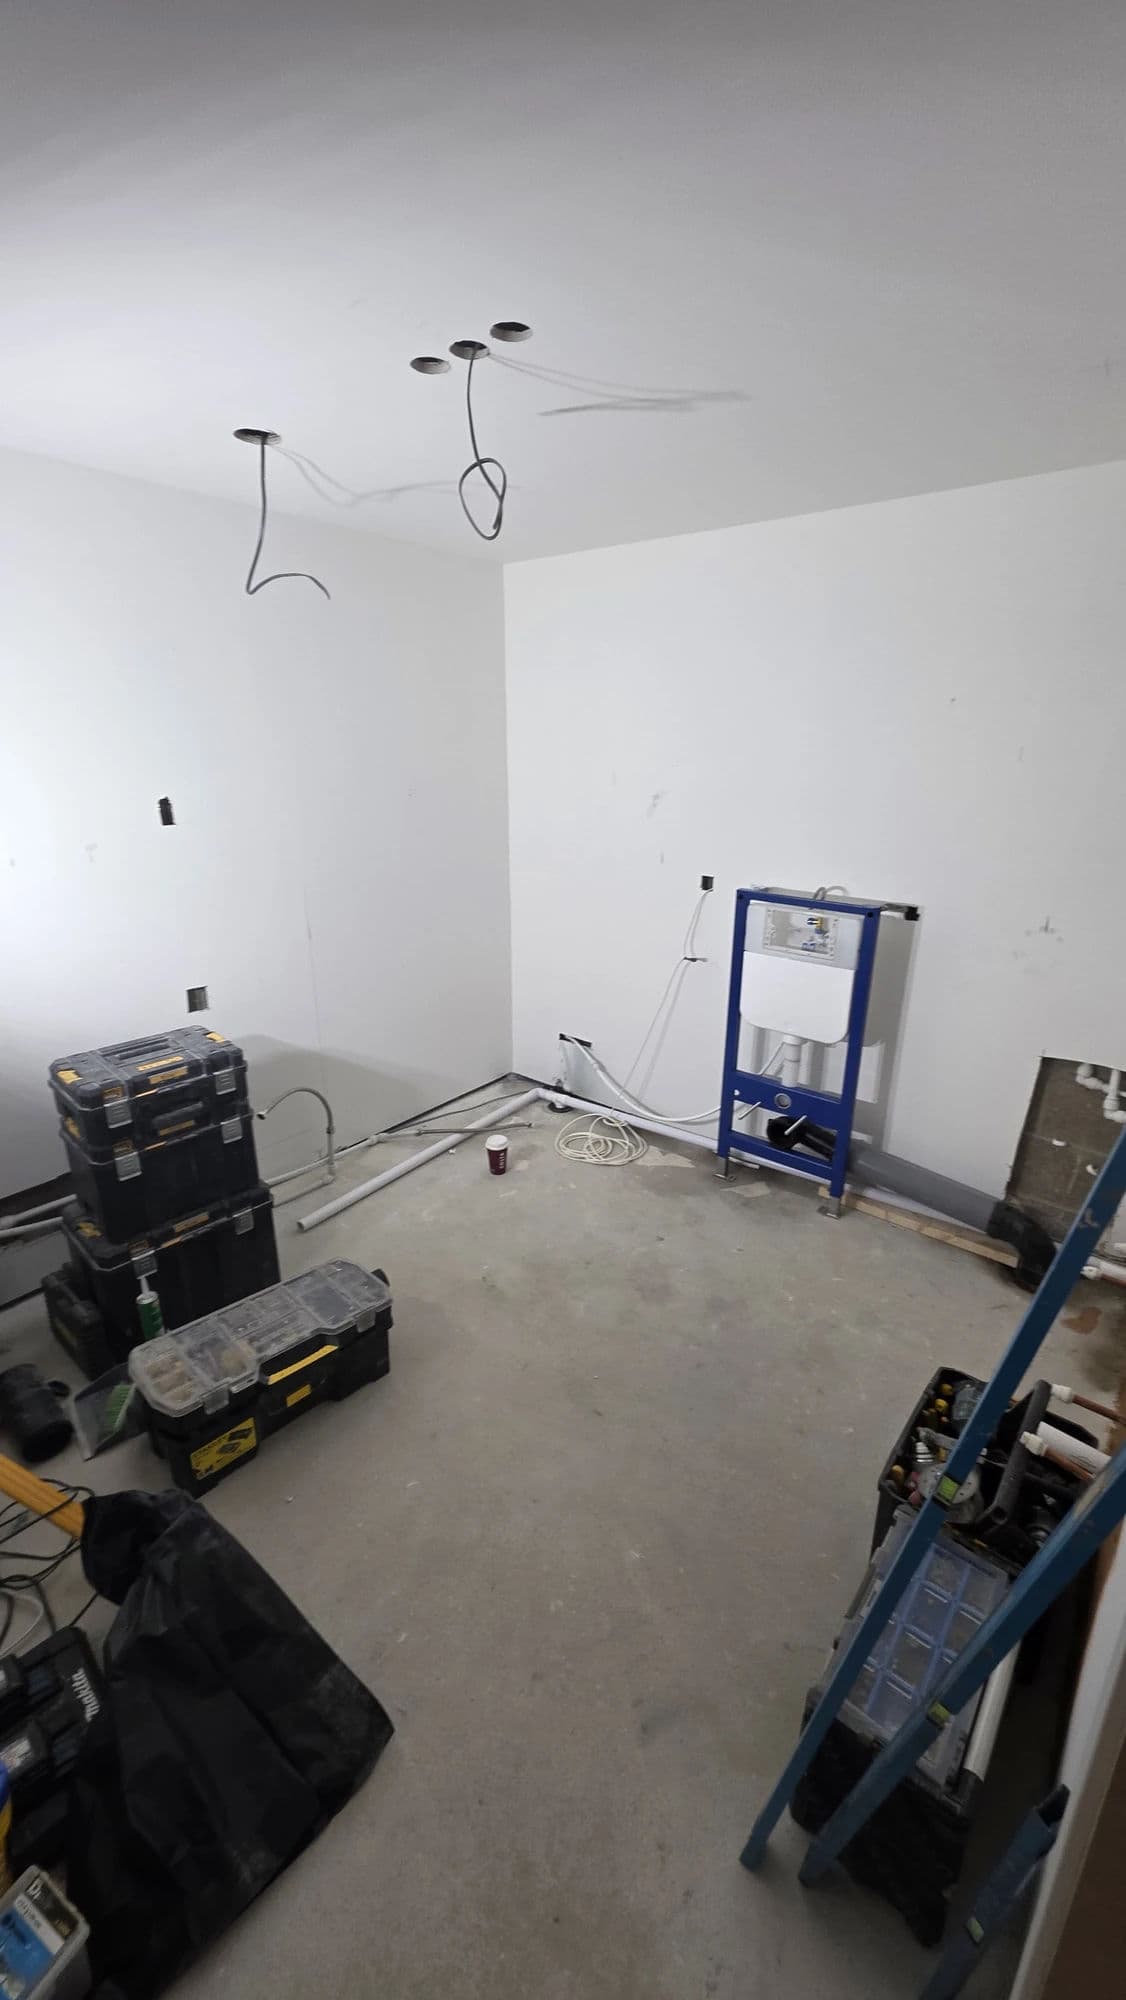
The original basin waste had also been positioned incorrectly during first fix, requiring a purpose-built low service plinth beneath the approximately 1800 mm double-vanity arrangement.
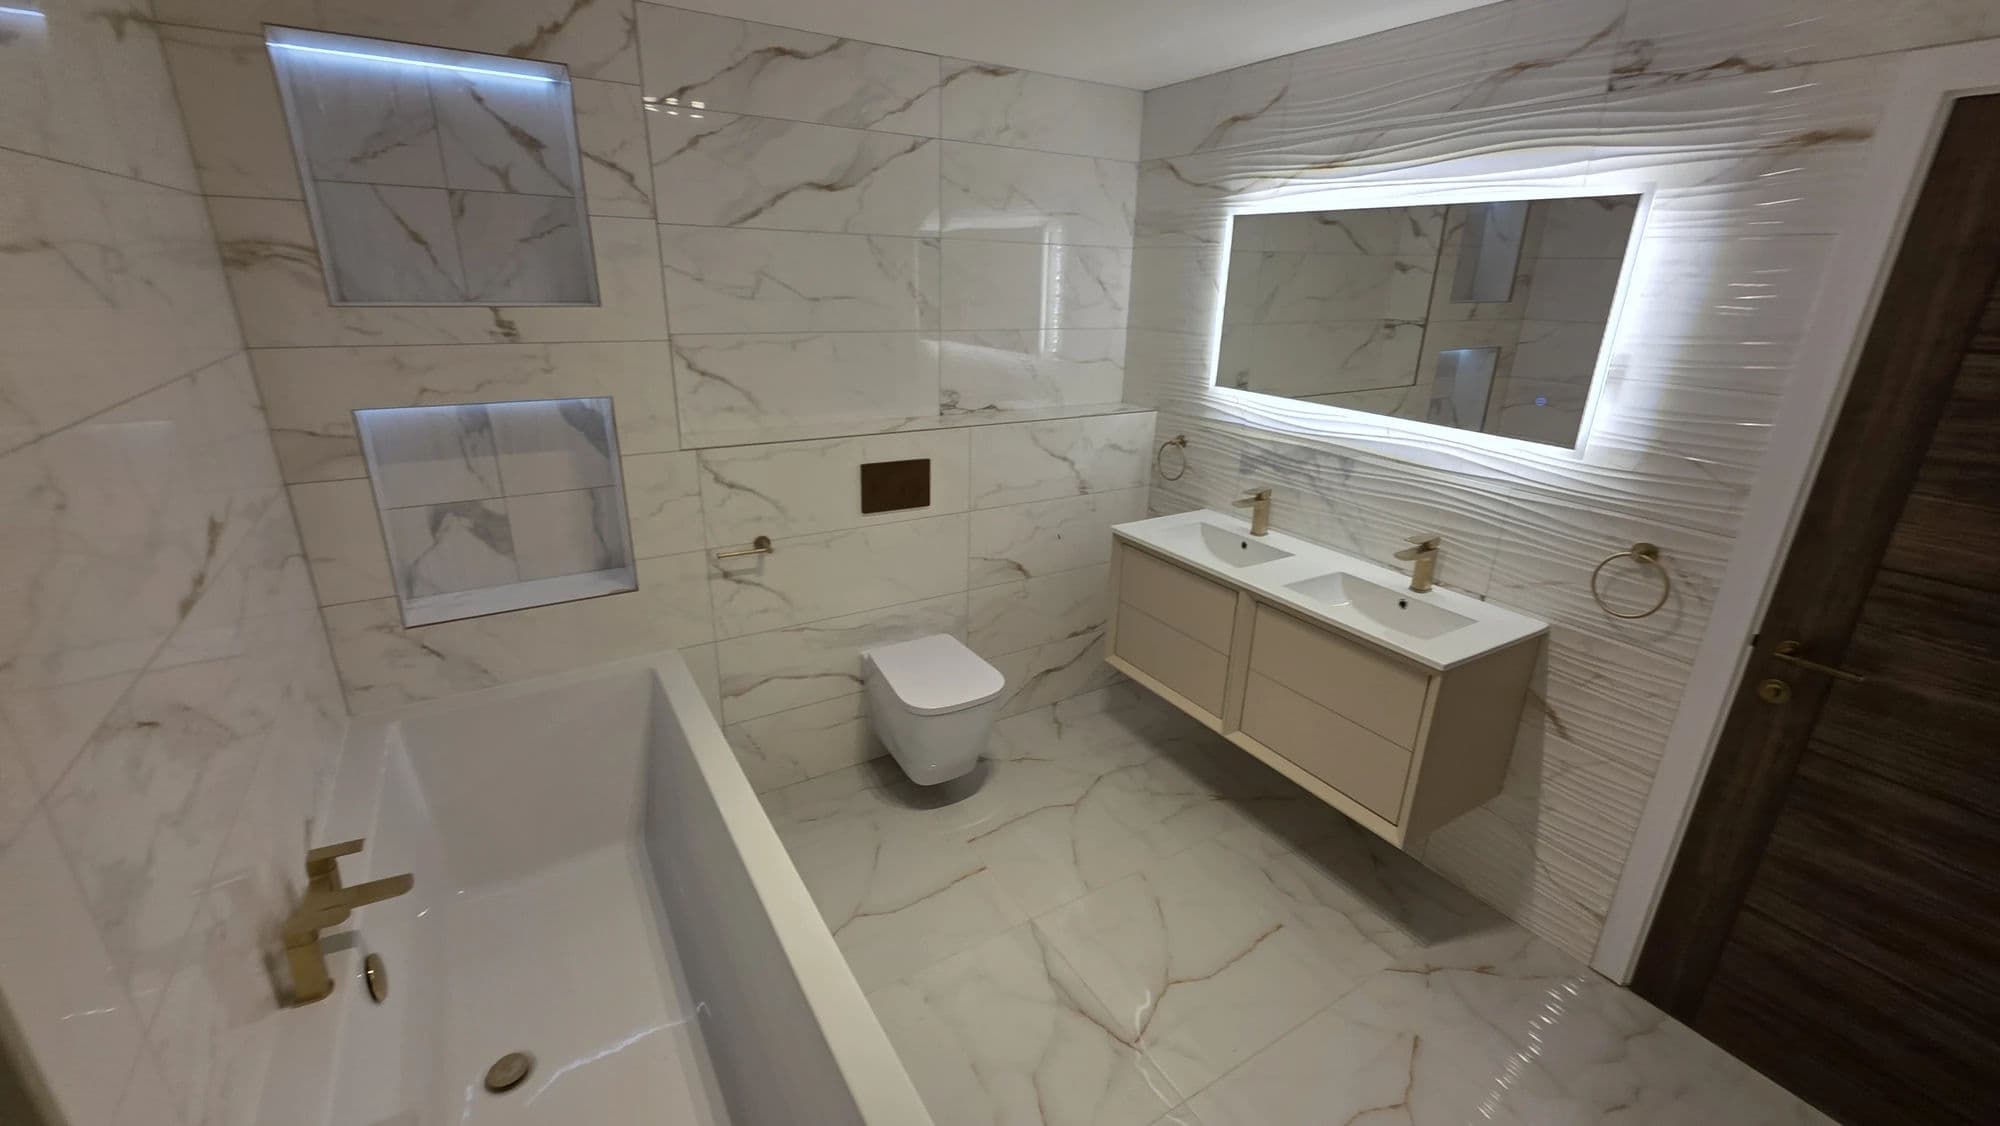
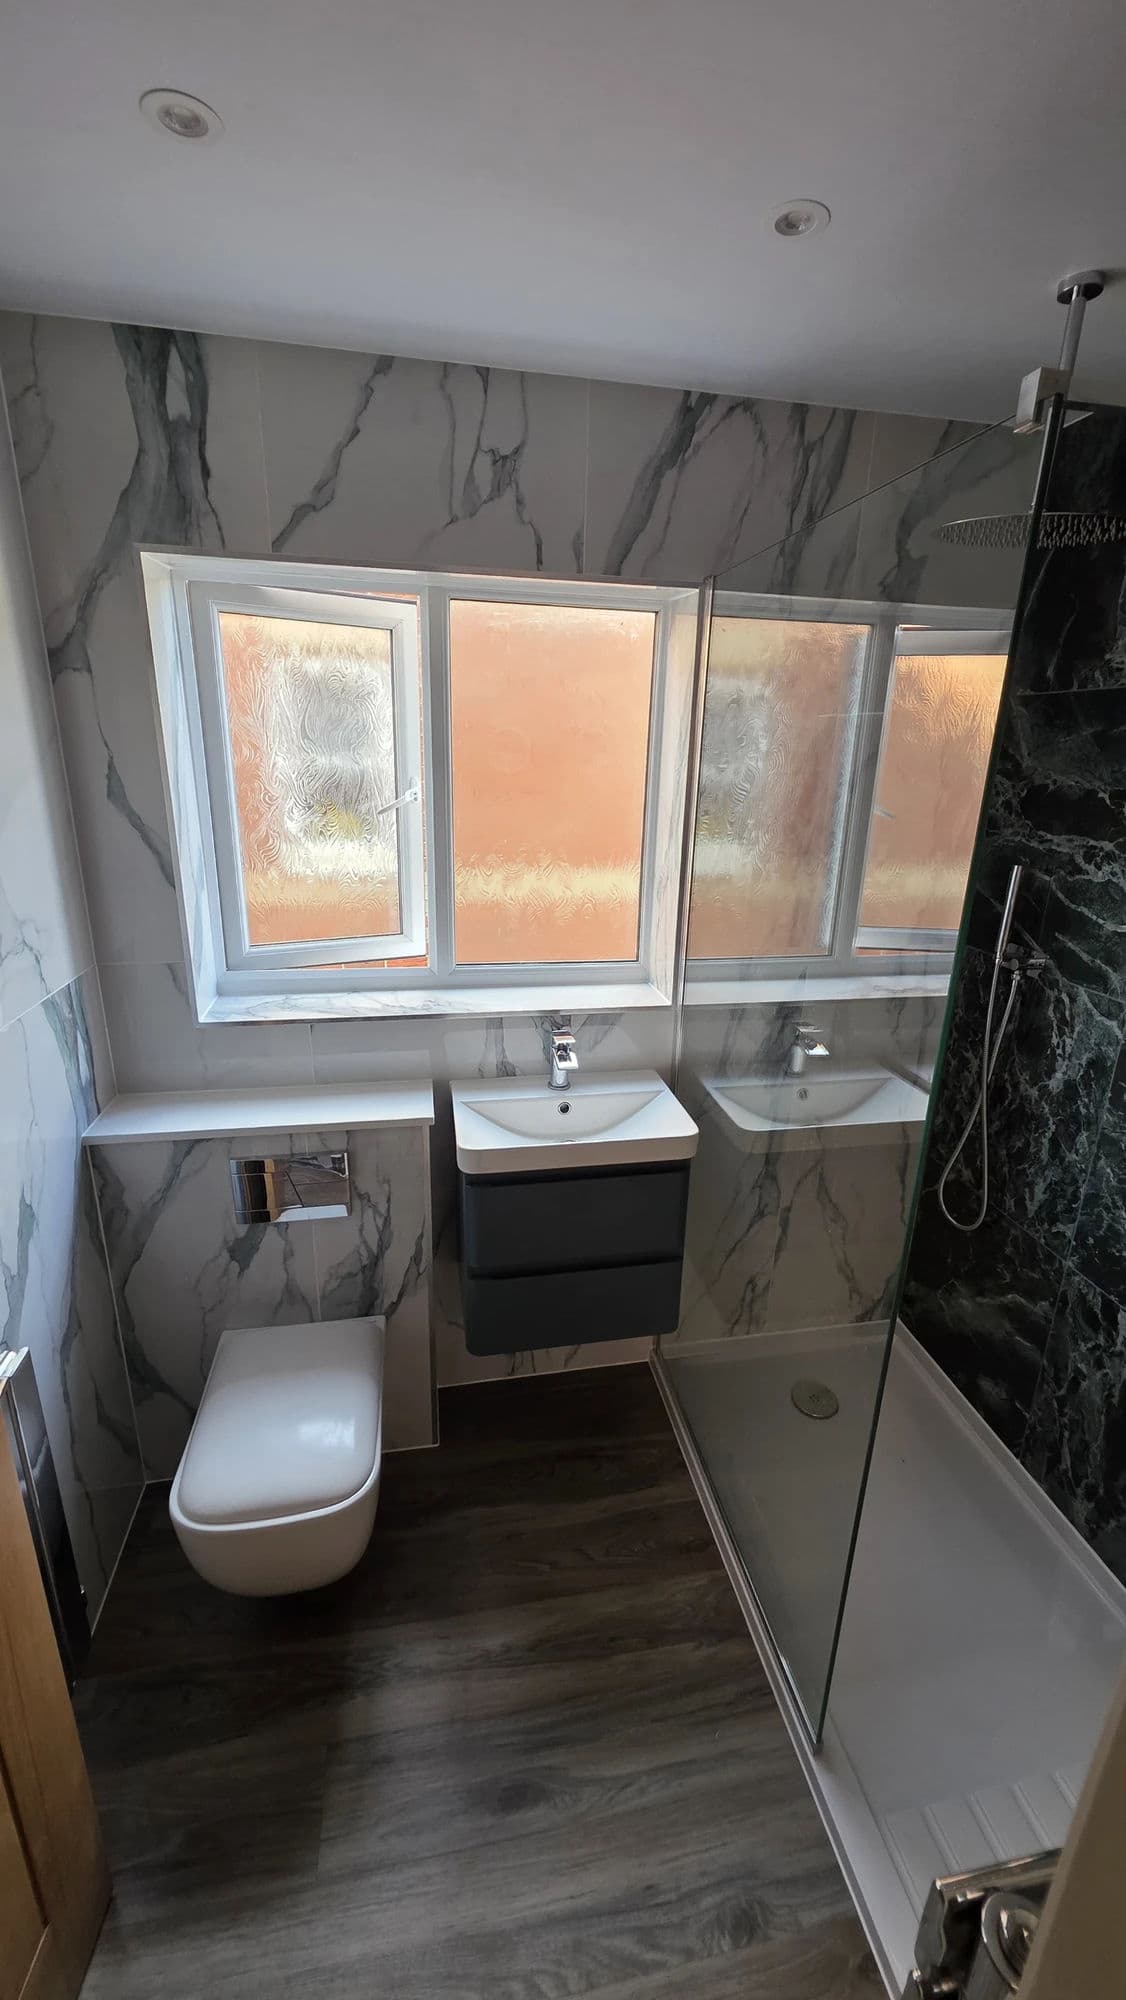
The completed bathroom includes a rebuilt shower base, electric shower, Grohe concealed cistern with floor-standing back-to-wall WC, custom stone worktops, twin illuminated demister mirrors, full-height porcelain and ceramic tiling and a contrasting dark-green feature wall.
The complete installation was delivered in exactly one working week, Monday to Friday, in February 2026.
Project Overview
Completed in February 2026, this Jack-and-Jill bathroom fitting formed part of a much larger programme of work carried out by Tees Valley Refurbishments Ltd at the same new-build property in Hartlepool.
The bathroom sits directly between two bedrooms, with a doorway from each side allowing both rooms to share the same facilities.
Our involvement at the property had begun several months earlier.
We initially attended to assist the local gas and heating engineer with work connected to the boiler and underfloor-heating installation.
The customer subsequently asked us to complete approximately 150 m² of floor preparation and self-levelling.
After some time, we returned to install approximately the same area of porcelain floor tiling across two levels of the property.
The customer then agreed a separate package with us for three bathrooms.
This Jack-and-Jill bathroom and the master-bedroom en-suite were completed first in February 2026, with each room taking exactly one working week.
We then moved onto another previously booked project before returning in March to complete the larger main bathroom over two working weeks.
Although this was a new-build property, several aspects of the original first fix required correction before the finished bathroom could be installed properly.
A True Jack-and-Jill Layout
This is a genuine Jack-and-Jill bathroom, connecting two adjoining bedrooms rather than functioning as a conventional family bathroom accessed from the landing.
The layout therefore needed to serve two regular users comfortably.
An approximately 1800 mm double-vanity arrangement provides two separate basin positions, with an individual illuminated mirror above each basin.
The shower, WC and storage remain shared within the central bathroom.
This makes practical use of the room's position between the bedrooms while giving each side direct access to the same bathroom.
Correcting Problems from the Original First Fix
Two existing issues required particular attention before the visible installation could proceed.
The first concerned the shower tray.
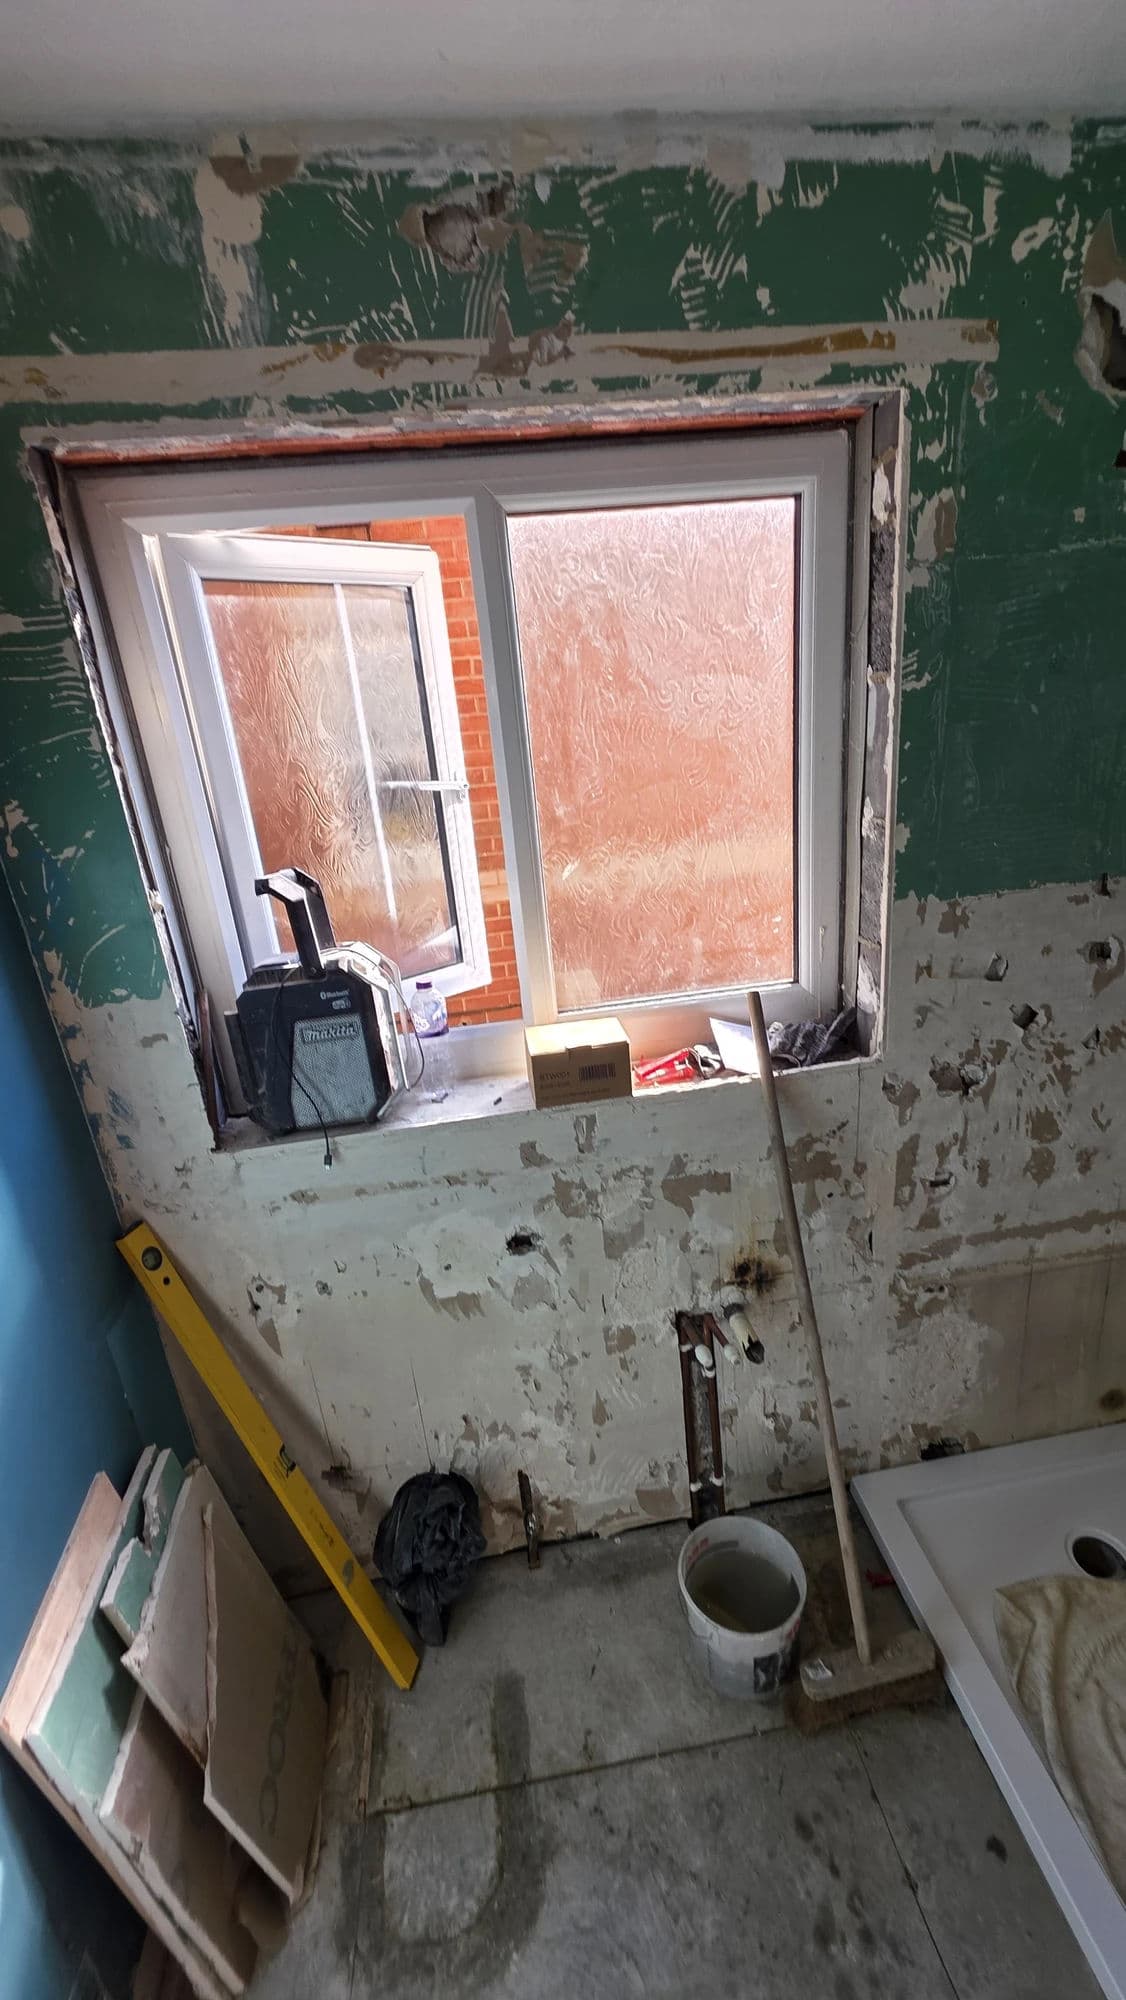
A 1200 × 800 mm stone-resin tray had already been installed on a raised arrangement incorporating plywood, legs and riser components.
We wanted a more substantial and consistently supported base beneath the heavy stone-resin tray, so the existing arrangement was removed and rebuilt.
The second issue was the basin waste.
The original first-fix plumbers had positioned the waste pipe where it did not work correctly with the approximately 1800 mm double-vanity furniture selected for the room.
Both problems required proper remedial work rather than simply being hidden behind the finished bathroom.
Rebuilding the Shower-Tray Base
The existing shower-tray installation was removed so the support beneath it could be reconstructed.
This required particular care because water underfloor heating was already installed beneath the bathroom floor.
Repeated mechanical fixing through the floor would have introduced an unnecessary risk of damaging the heating system.
We therefore designed the replacement support to minimise penetrations into the heated floor.
A new timber platform was bonded into position using Gripfill together with a specialist adhesive/fixing system.
A 12 mm plywood deck was then installed over the completed framework.
The result was a rigid, purpose-built support platform for the stone-resin tray while respecting the underfloor-heating installation beneath it.
Bedding the 1200 × 800 mm Stone-Resin Tray
Once the new platform had been completed, the 1200 × 800 mm stone-resin shower tray was installed onto the prepared plywood deck.
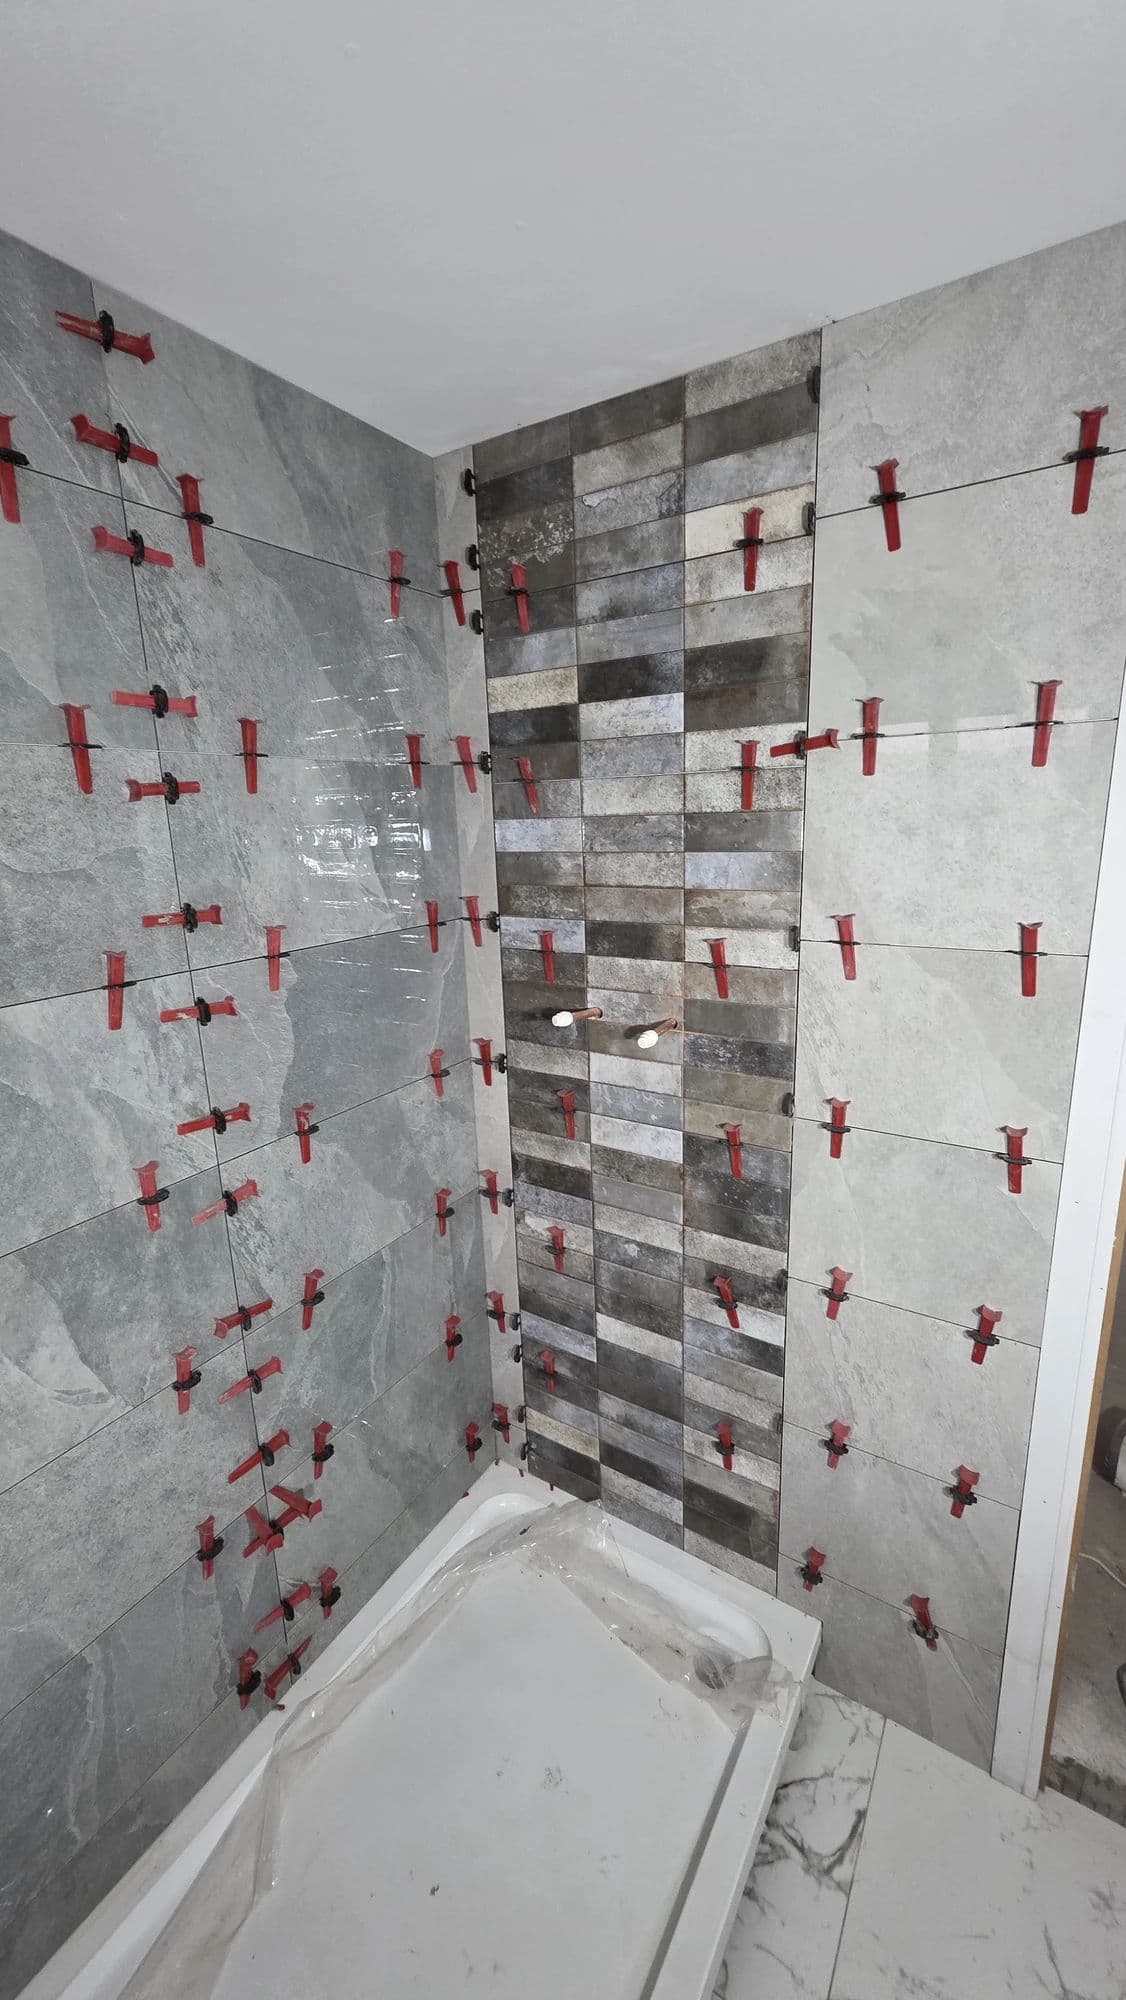
A BAL flexible rapid-set grey S1 adhesive was applied with a notched trowel before the tray was bedded into position.
This provided continuous support beneath the tray rather than relying solely on isolated legs or contact points.
The tray was then connected and incorporated into the surrounding shower installation.
The visible face of the raised platform was tiled, allowing the shower base to form part of the overall bathroom finish rather than leaving a separate plastic riser panel exposed.
Electric Shower and Pipework Correction
An electric shower was installed within the enclosure.
The original first-fix pipework did not emerge in the correct position for the final installation, so the plumbing was altered before the shower could be fitted neatly.
Tees Valley Refurbishments Ltd completed the plumbing correction and shower fitting.
The wider electrical installation throughout the new-build was handled by a separate electrical contractor responsible for the property's fixed electrical work, testing and certification.
The completed shower area includes:
- 1200 × 800 mm stone-resin shower tray;
- rebuilt timber support platform;
- 12 mm plywood tray deck;
- tiled tray plinth;
- electric shower;
- corrected shower pipework;
- full-height tiling;
- glass shower enclosure.
The shower installation therefore required preparation, plumbing correction and structural work as well as the visible fitting.
Grohe Concealed Cistern and Back-to-Wall WC
The WC installation uses a Grohe concealed cistern.
This is a wall-mounted concealed cistern rather than a full WC carrier frame.
We constructed a new service structure around the cistern using metal stud framing and green moisture-resistant plasterboard before preparing it for the tiled finish.
The WC itself is a floor-standing back-to-wall WC.
This allows the pan to sit directly against the completed structure while the cistern and associated services remain concealed.
A made-to-measure stone top was produced by a local stone and marble fabricator specifically for the WC boxing.
Tees Valley Refurbishments Ltd installed the finished stone section as part of the final bathroom fitting.
Metal stud framing was used for the concealed-cistern structure rather than timber.
For tiled bathroom structures of this type, we prefer metal framing where the design allows it because it provides a more dimensionally stable framework.
Timber can shrink, twist or distort as surrounding conditions change.
Movement within the framing can then transfer through the boarded surface and into the tiled finish.
Metal stud helps reduce that risk while providing an accurate structure for the plasterboard, concealed cistern, stone top and surrounding tiling.
Correcting the Basin Waste
The original basin waste created another significant first-fix problem.
Its position did not correspond correctly with the double-vanity furniture selected for the finished bathroom.
Leaving the waste exposed or forcing the furniture around the existing pipe position would have compromised the finished appearance.
Instead, we constructed a low service plinth running beneath the front of the vanity arrangement.
This provided a controlled route for the waste and associated services while allowing the plumbing correction to become part of the finished furniture detail.
The solution concealed the incorrectly positioned first-fix waste without requiring intrusive visible pipework around the vanity.
Approximately 1800 mm Double Vanity
The bathroom contains an approximately 1800 mm-wide vanity and storage arrangement with two basins.
This gives each side of the Jack-and-Jill bathroom its own basin position while providing substantial storage beneath the worktop.
The installation had to be coordinated around:
- the relocated basin waste route;
- the purpose-built service plinth;
- two basin wastes;
- hot and cold supplies;
- two illuminated mirrors;
- the custom stone worktop;
- the full-height feature wall.
The long vanity makes effective use of the available wall while reinforcing the shared nature of the room.
Custom Stone Worktops
The vanity worktop was made to measure by the same local stone and marble fabricator that produced the top for the concealed-WC structure.
Using the same material in both areas provides continuity across the bathroom.
The stone was manufactured to the required dimensions before being installed by Tees Valley Refurbishments Ltd.
The custom worktop provides a durable surface around the two basins while visually connecting the vanity and WC areas.
Twin Illuminated Demister Mirrors
Two individual illuminated mirrors were installed above the double vanity.
Each mirror incorporates:
- integrated lighting;
- heated demister pad;
- touch controls.
Providing one mirror above each basin reinforces the Jack-and-Jill arrangement and gives both sides of the vanity a clearly defined position.
The heated demister function helps reduce condensation on the mirror surface after showering, while the integrated illumination adds useful task lighting above the basins.
Full-Height Bathroom Tiling
The bathroom was tiled fully from floor to ceiling.
The principal wall finish uses 300 × 600 mm light-grey glossy porcelain tiles approximately 10 mm thick.
These are complemented by contrasting 300 × 600 mm dark-green ceramic feature tiles approximately 8 mm thick.
Although the feature surface appears to be made from much smaller brick-style pieces, each section is actually a larger 300 × 600 mm ceramic tile.
The darker feature finish gives the vanity area a strong visual identity while contrasting with the lighter glossy porcelain used elsewhere in the room.
The bathroom tiling required accurate setting out around the shower enclosure, concealed WC structure, double vanity, mirrors, radiator, doorways and plumbing penetrations.
600 × 600 mm Porcelain Floor Tiling
The floor was completed using 600 × 600 mm grey porcelain tiles approximately 10 mm thick.
No additional floor levelling was required before tiling.
The existing background was suitable for preparation, priming and tile installation.
Because water underfloor heating was already present beneath the bathroom, care was required throughout the project when positioning and securing the various bathroom components.
The large-format floor tiles create a calmer base beneath the more detailed feature wall, double vanity and fitted sanitaryware.
Tile Preparation, Levelling and Grouting
The appropriate tiling backgrounds were prepared and primed before installation.
A 2 mm Dakota tile-levelling system was used to maintain consistent joints and minimise lipping across the tiled surfaces.
This was particularly important with the glossy 300 × 600 mm porcelain wall tiles and 600 × 600 mm porcelain floor tiles, where uneven edges would be readily visible.
The completed installation was finished using BAL Gunmetal grout.
Coordinating silicone was applied at the required sealing and movement junctions.
The darker grout works particularly well with the green feature tiling and darker furniture while maintaining definition across the lighter porcelain surfaces.
300 × 1500 mm Electric Bathroom Radiator
An approximately 300 × 1500 mm electric bathroom radiator was installed beside the doorway.
Tees Valley Refurbishments Ltd installed and positioned the radiator as part of the bathroom fitting.
The electrical wiring and final electrical work were handled by the separate electrician responsible for the wider new-build installation.
This kept the fixed electrical work within the same testing and certification arrangement used throughout the property.
Customer-Supplied Bathroom Products
The principal bathroom products, sanitaryware and finishes were supplied by the customer.
These included:
- wall tiles;
- floor tiles;
- feature tiles;
- 1200 × 800 mm stone-resin shower tray;
- shower enclosure;
- electric shower;
- floor-standing back-to-wall WC;
- Grohe concealed cistern;
- vanity furniture;
- two basins;
- illuminated mirrors;
- electric radiator;
- associated bathroom fixtures.
The custom stone sections above the vanity and WC structure were manufactured separately by a local stone and marble fabrication company.
Tees Valley Refurbishments Ltd completed the shower-tray reconstruction, plumbing corrections, shower installation, metal-stud construction, wall and floor tiling, sanitaryware fitting, vanity installation, stone installation and final bathroom fitting.
One-Working-Week Programme
The complete Jack-and-Jill bathroom installation was delivered in exactly one working week.
Work was carried out Monday to Friday with no weekend working.
Within that programme we completed:
- removal of the existing shower-tray support;
- construction of the replacement timber platform;
- installation of the 12 mm plywood tray deck;
- bedding and installation of the stone-resin tray;
- correction of the shower pipework;
- shower and enclosure installation;
- correction and concealment of the basin waste;
- metal-stud construction around the concealed cistern;
- moisture-resistant boarding;
- full-height wall tiling;
- porcelain floor tiling;
- feature-wall tiling;
- double-vanity installation;
- custom stone installation;
- WC fitting;
- mirror installation;
- radiator installation;
- grouting;
- silicone;
- final fitting and finishing.
The bathroom was completed in February 2026.
Other Work Completed at the Same Hartlepool Property
This Jack-and-Jill bathroom formed one stage of a much larger programme of work completed for the same customer.
Floor Preparation and Tiling
Our involvement progressed from extensive floor preparation and self-levelling into approximately 150 m² of porcelain floor tiling across the property.
Floor Tiling Hartlepool with 150 m² Self-Levelling
Master-Bedroom En-Suite
The master-bedroom en-suite and this Jack-and-Jill bathroom were completed first as part of the three-bathroom package, with each room taking exactly one working week in February 2026.
Shower Room Installation Hartlepool with Large Shower Enclosure
Main Bathroom
After completing the two February bathrooms, we moved onto another previously booked project.
We returned to the property in March 2026 and completed the larger main bathroom over two working weeks.
Bathroom Fitting Hartlepool with Bath and Double Vanity
Cloakroom
After the three bathrooms included within the agreed package had been completed, the customer later invited us back for a separate cloakroom installation.
Cloakroom Installation Hartlepool with Wall-Hung WC
Together, the flooring, three bathrooms and later cloakroom show how our involvement developed as construction of the property progressed.
Completed Hartlepool Jack-and-Jill Bathroom
The completed Jack-and-Jill bathroom provides a purpose-built shared bathroom directly between two adjoining bedrooms.
The finished installation includes:
- access from bedrooms on both sides;
- 1200 × 800 mm stone-resin shower tray;
- completely rebuilt shower-tray support platform;
- bonded timber framework over the underfloor-heating area;
- 12 mm plywood tray deck;
- BAL flexible rapid-set grey S1 tray bedding;
- tiled shower-tray plinth;
- electric shower;
- corrected shower pipework;
- glass shower enclosure;
- Grohe concealed cistern;
- floor-standing back-to-wall WC;
- metal-stud cistern structure;
- green moisture-resistant plasterboard;
- custom stone WC-boxing top;
- approximately 1800 mm double-vanity arrangement;
- two basins;
- concealed basin services;
- purpose-built low service plinth concealing the incorrectly positioned original waste;
- custom stone vanity worktop;
- two illuminated mirrors with demister pads and touch controls;
- full-height 300 × 600 mm glossy porcelain wall tiling;
- 300 × 600 mm dark-green ceramic feature tiling;
- 600 × 600 mm porcelain floor tiling;
- 2 mm Dakota tile joints;
- BAL Gunmetal grout;
- approximately 300 × 1500 mm electric bathroom radiator;
- retained water underfloor heating.
The most important elements of this project are not limited to the visible tiling, feature wall or double vanity.
Several parts of the original new-build first fix had to be corrected before the bathroom could be completed to the required standard.
Rebuilding the stone-resin shower base while avoiding unnecessary penetrations into the underfloor-heating zone, correcting the shower pipework and resolving the misplaced basin waste all required practical problem-solving behind the finished surfaces.
The completed result is a well-planned shared bathroom that works properly for both adjoining bedrooms while maintaining the same standard of bathroom fitting and tiling used throughout the wider Hartlepool property.