The 30-Second Read
This large porcelain floor-tiling project in Hartlepool involved approximately 150 m² of floor preparation and tiling across two levels of a substantial new-build property.
Our work began on 28 July 2025 with extensive preparation and self-levelling. Approximately 100–110 m² across the main upper level incorporated water underfloor heating within the boarded floor construction, while the ground floor was already screeded and required more localised preparation through the circulation areas.
We later returned to install 600 × 600 mm porcelain tiles, using a straight grid layout across the main upper floor and a more demanding diagonal diamond pattern through the ground-floor hallways, corridors and utility area.
The finished installation also incorporated bespoke colour-matched movement-joint profiles and approximately 70 mm porcelain tiled skirting boards with anthracite trims.
The flooring became the first major stage of a much larger programme of work for the same customer, later progressing into three bathrooms and a separate cloakroom installation.
Project Overview
This large-scale floor preparation and porcelain-tiling project formed the first major stage of an extended programme of work at a new-build property in Hartlepool.
Our involvement at the property began on 28 July 2025.
Tees Valley Refurbishments Ltd had initially attended to assist a local gas and heating engineer with work connected to the boiler and underfloor-heating system.
Following that work, the customer asked us to prepare and self-level approximately 150 m² of flooring across two levels of the property.
Once the preparation stage had been completed, construction of the house continued.
After some time, we returned to install approximately the same 150 m² area of porcelain floor tiling.
That flooring package later developed into a much larger working relationship.
The customer subsequently agreed a separate package with us for three bathrooms, which were completed in stages around our existing bookings, followed later by an additional cloakroom installation.
Two Different Floor Constructions
The approximately 150 m² area was divided between two substantially different substrates.
The main upper level accounted for approximately 100–110 m².
This included:
- the large open-plan kitchen;
- dining area;
- living area;
- study;
- circulation spaces;
- a smaller room later completed as the cloakroom.
Water underfloor heating had already been installed within the boarded floor construction and remained exposed when we began the preparation work.
The ground floor accounted for approximately 40–50 m².
Unlike the upper level, this floor had already been properly screeded.
The tiled ground-floor areas included:
- hallways;
- corridors;
- circulation areas;
- utility room.
The boiler/service room was not included within the tiled flooring package.
Because the two levels had been constructed differently, their preparation could not simply be treated as one identical operation.
Approximately 150 m² of Floor Preparation
The main upper floor required preparation across the complete area before the porcelain tiles could eventually be installed.
The boarded background containing the underfloor-heating system was prepared and primed using BAL Prime APD.
We then applied the two-part BAL Level Plus system, using the 20 kg powder component together with BAL Level Plus Liquid.
This high-performance two-part levelling system is suitable for more demanding substrates, including applications involving underfloor heating.
The complete self-levelling stage across the project took approximately three working days.
This was not simply a cosmetic coating over an already flat floor.
The preparation had to create a suitable tiled background while working with:
- the boarded floor construction;
- existing underfloor heating;
- variations in the original levels;
- doors and thresholds already installed;
- large glazed openings;
- limited available finished-floor height.
The quality of the eventual porcelain installation depended heavily on getting this preparation stage right.
Working Around the Underfloor Heating
The water underfloor-heating system extended through the principal upper-floor areas.
That meant the floor system had to accommodate the repeated heating and cooling cycles that occur during normal use.
Flexibility within the preparation and tile-fixing system was therefore important.
Movement control also had to be considered when planning the finished tiled areas.
A further constraint was the available finished-floor height.
Large doors, glazed openings and thresholds had already been installed within the new-build property.
The floor could not simply be raised substantially to compensate for variations in the existing background.
The new levels therefore had to be controlled carefully so the finished porcelain floor worked correctly with the fixed elements already in place.
This made the preparation stage one of the most important technical parts of the project.
Ground-Floor Preparation
The ground floor required a different preparation approach because its principal background had already been properly screeded.
It did not require complete self-levelling across the full area in the same way as the boarded upper level.
Levelling compound was applied where required through the hallways, corridors and connecting areas to achieve the necessary finished levels before tiling.
This allowed the porcelain installation to continue accurately through the long circulation spaces while working with the existing screeded substrate.
The utility room formed part of the tiled ground-floor area.
The boiler/service room remained outside the agreed flooring package.
600 × 600 mm Porcelain Floor Tiling
The customer supplied 600 × 600 mm porcelain floor tiles approximately 10 mm thick.
Tees Valley Refurbishments Ltd supplied the preparation and installation materials required to complete the work.
These included:
- floor-levelling materials;
- primer;
- flexible tile adhesive;
- grout;
- silicone;
- tile-levelling components;
- movement-joint profiles;
- trims;
- associated installation materials.
The porcelain tiles were installed using grey flexible S1 tile adhesive.
A 2 mm Dakota tile-levelling system was used throughout the installation to maintain consistent joints and minimise lipping across the extensive tiled surfaces.
The completed floor was grouted using BAL Gunmetal grout, with coordinating silicone used at the required junctions.
The same emphasis on background preparation, accurate setting out and appropriate fixing materials also underpins our bathroom tiling work.
Straight-Grid Tiling Across the Main Upper Floor
The main upper level contained the largest continuous tiled area.
It incorporated the open-plan kitchen, dining and living areas together with the study, circulation spaces and the smaller room later used as the cloakroom.
The 600 × 600 mm porcelain tiles across this level were installed in a straight grid layout.
Across an area exceeding 100 m², accurate setting out becomes particularly important.
The tile lines had to remain consistent over long distances while passing through a large open-plan arrangement and working around:
- walls;
- doorways;
- openings;
- fixed structural elements;
- changes between connected spaces.
Small errors at the beginning of an installation can become increasingly obvious as tile lines continue across such a large area.
The starting points and grid therefore had to be considered across the complete upper floor rather than treating individual sections as isolated rooms.
Diamond-Pattern Tiling on the Ground Floor
The ground floor was deliberately given a different tile layout.
Instead of continuing the straight grid used upstairs, the 600 × 600 mm porcelain tiles were installed diagonally in a diamond pattern through the hallways, corridors, circulation spaces and utility room.
A diagonal layout requires substantially more setting out and cutting than a conventional straight installation.
That becomes particularly demanding when the pattern must continue through long, narrow and interconnected spaces.
The diamond lines had to remain visually consistent as they travelled through the different corridors and adjoining areas.
Any error in the initial setting out would have become increasingly noticeable as the pattern progressed through the property.
Movement-joint positions also had to be coordinated with this layout rather than appearing as arbitrary interruptions within the finished floor.
Bespoke Colour-Matched Movement Joints
Movement control was an important part of the flooring design because of both the large tiled areas and the presence of underfloor heating.
The installation could not simply be treated as one uninterrupted rigid surface.
Movement joints were therefore incorporated at appropriate positions through the tiled areas to help accommodate movement within the installation.
Because these profiles would remain permanently visible, their appearance also mattered.
Rather than use standard contrasting strips, we ordered bespoke colour-matched movement-joint profiles specifically for the project.
The profiles took approximately three weeks to manufacture.
Their colour was selected to coordinate with the BAL Gunmetal grout and matching silicone.
This allowed the movement joints to perform their technical function while remaining visually integrated into the finished porcelain floor.
70 mm Porcelain Tiled Skirting
The customer also requested tiled skirting through the relevant floor areas.
Porcelain tiles were cut to create approximately 70 mm-high skirting sections.
The upper edges were finished using anthracite trim.
This created a defined junction between the porcelain skirting and the wall finishes while coordinating with the darker grout and detailing used throughout the floor.
The tiled skirting also provides a durable and practical finish around such a large area.
Installing the skirting throughout the relevant spaces required approximately one additional working day after the principal floor tiling.
Floor-Tiling Programme
The floor preparation and porcelain tiling were completed as separate packages while construction of the new-build property continued.
The initial preparation and self-levelling stage took approximately:
The later tiling programme comprised approximately:
- 5 working days for tiling and grouting across the main upper level;
- 3 working days for the ground-floor tiling;
- 1 additional working day for the tiled skirting.
The principal tiling, grouting and skirting stage therefore represented approximately nine working days, separate from the earlier floor-preparation programme.
The porcelain flooring was substantially completed in December 2025.
Other Work Completed at the Same Hartlepool Property
The flooring was the first major package completed for this customer, but it later developed into a much larger programme of work.
Jack-and-Jill Bathroom
The customer subsequently agreed a package with us for three bathrooms.
The Jack-and-Jill bathroom was completed in February 2026 over exactly one working week.
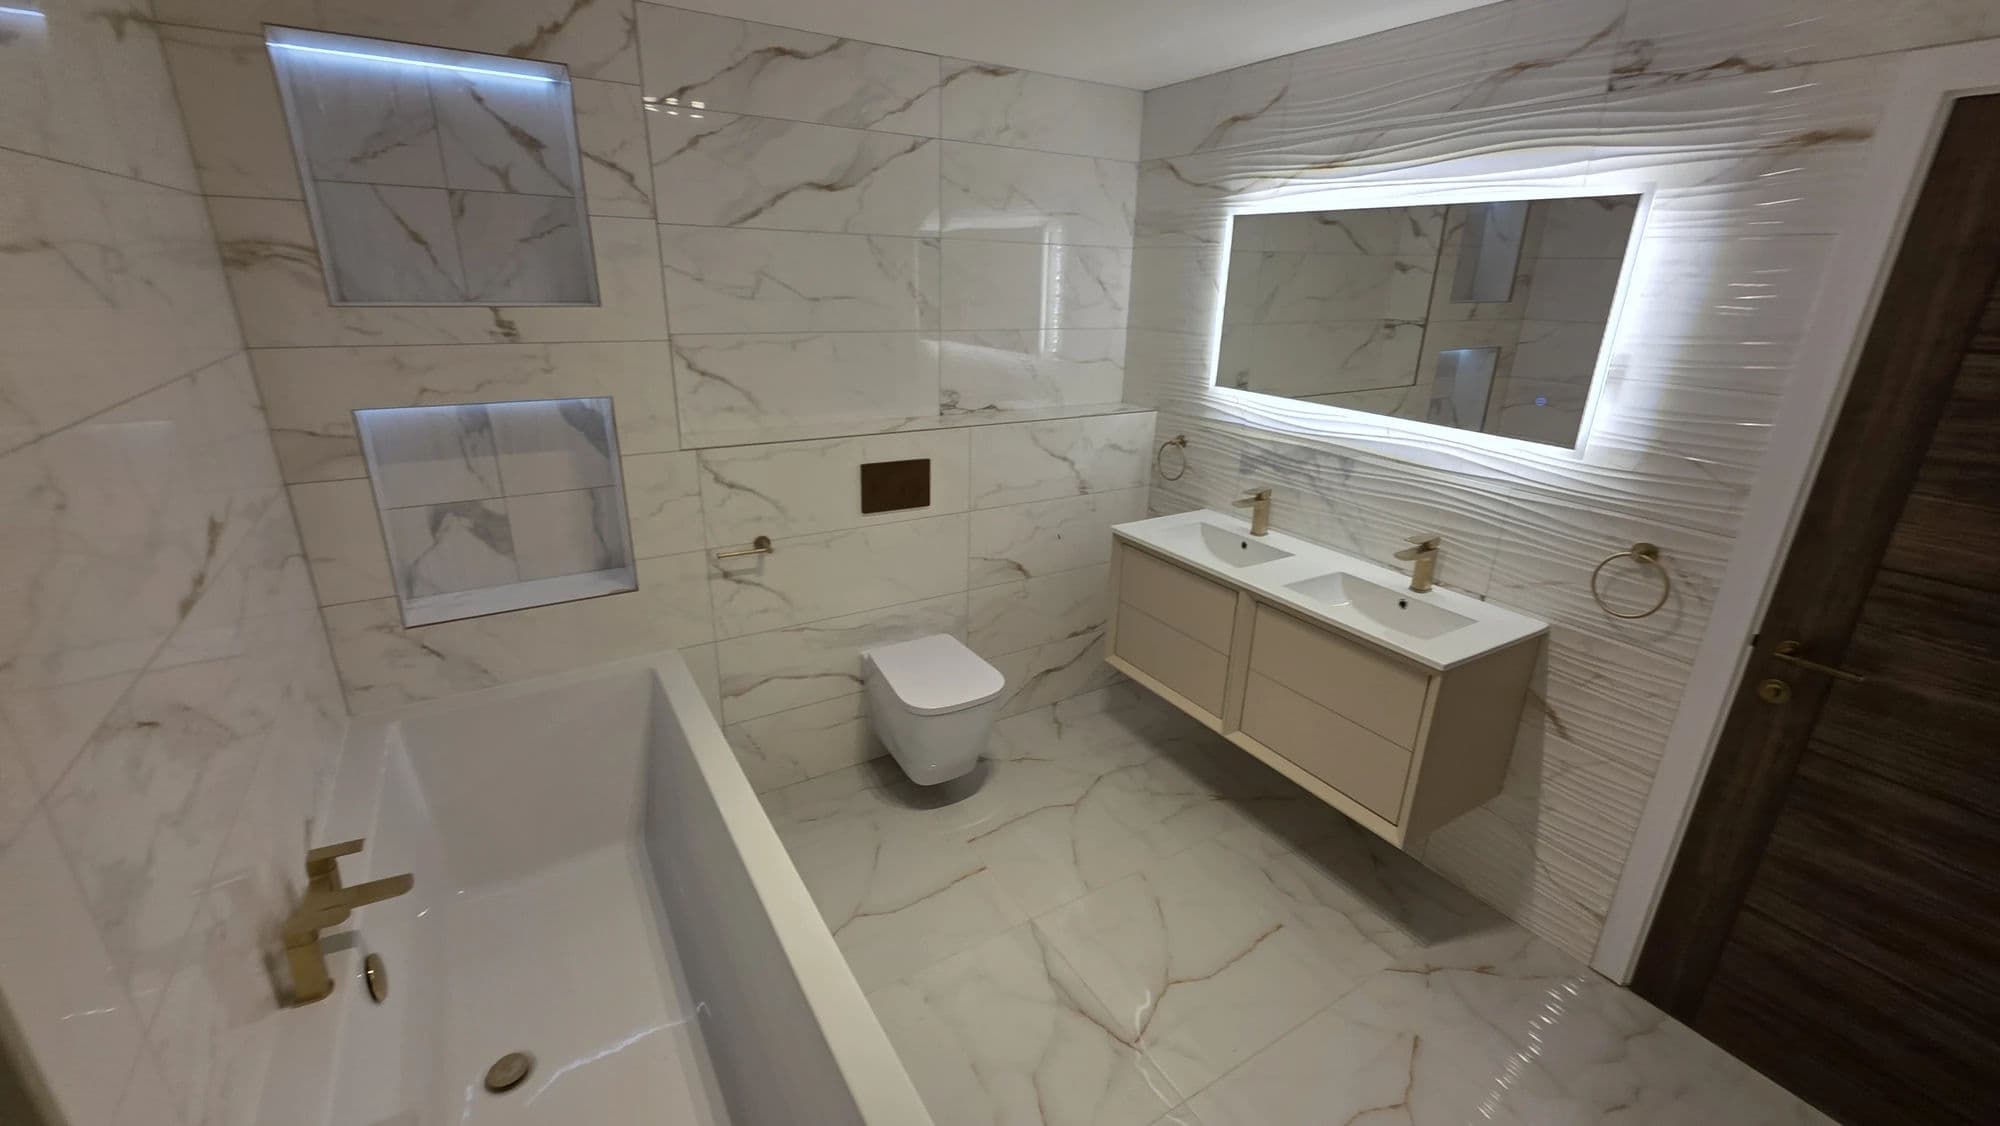
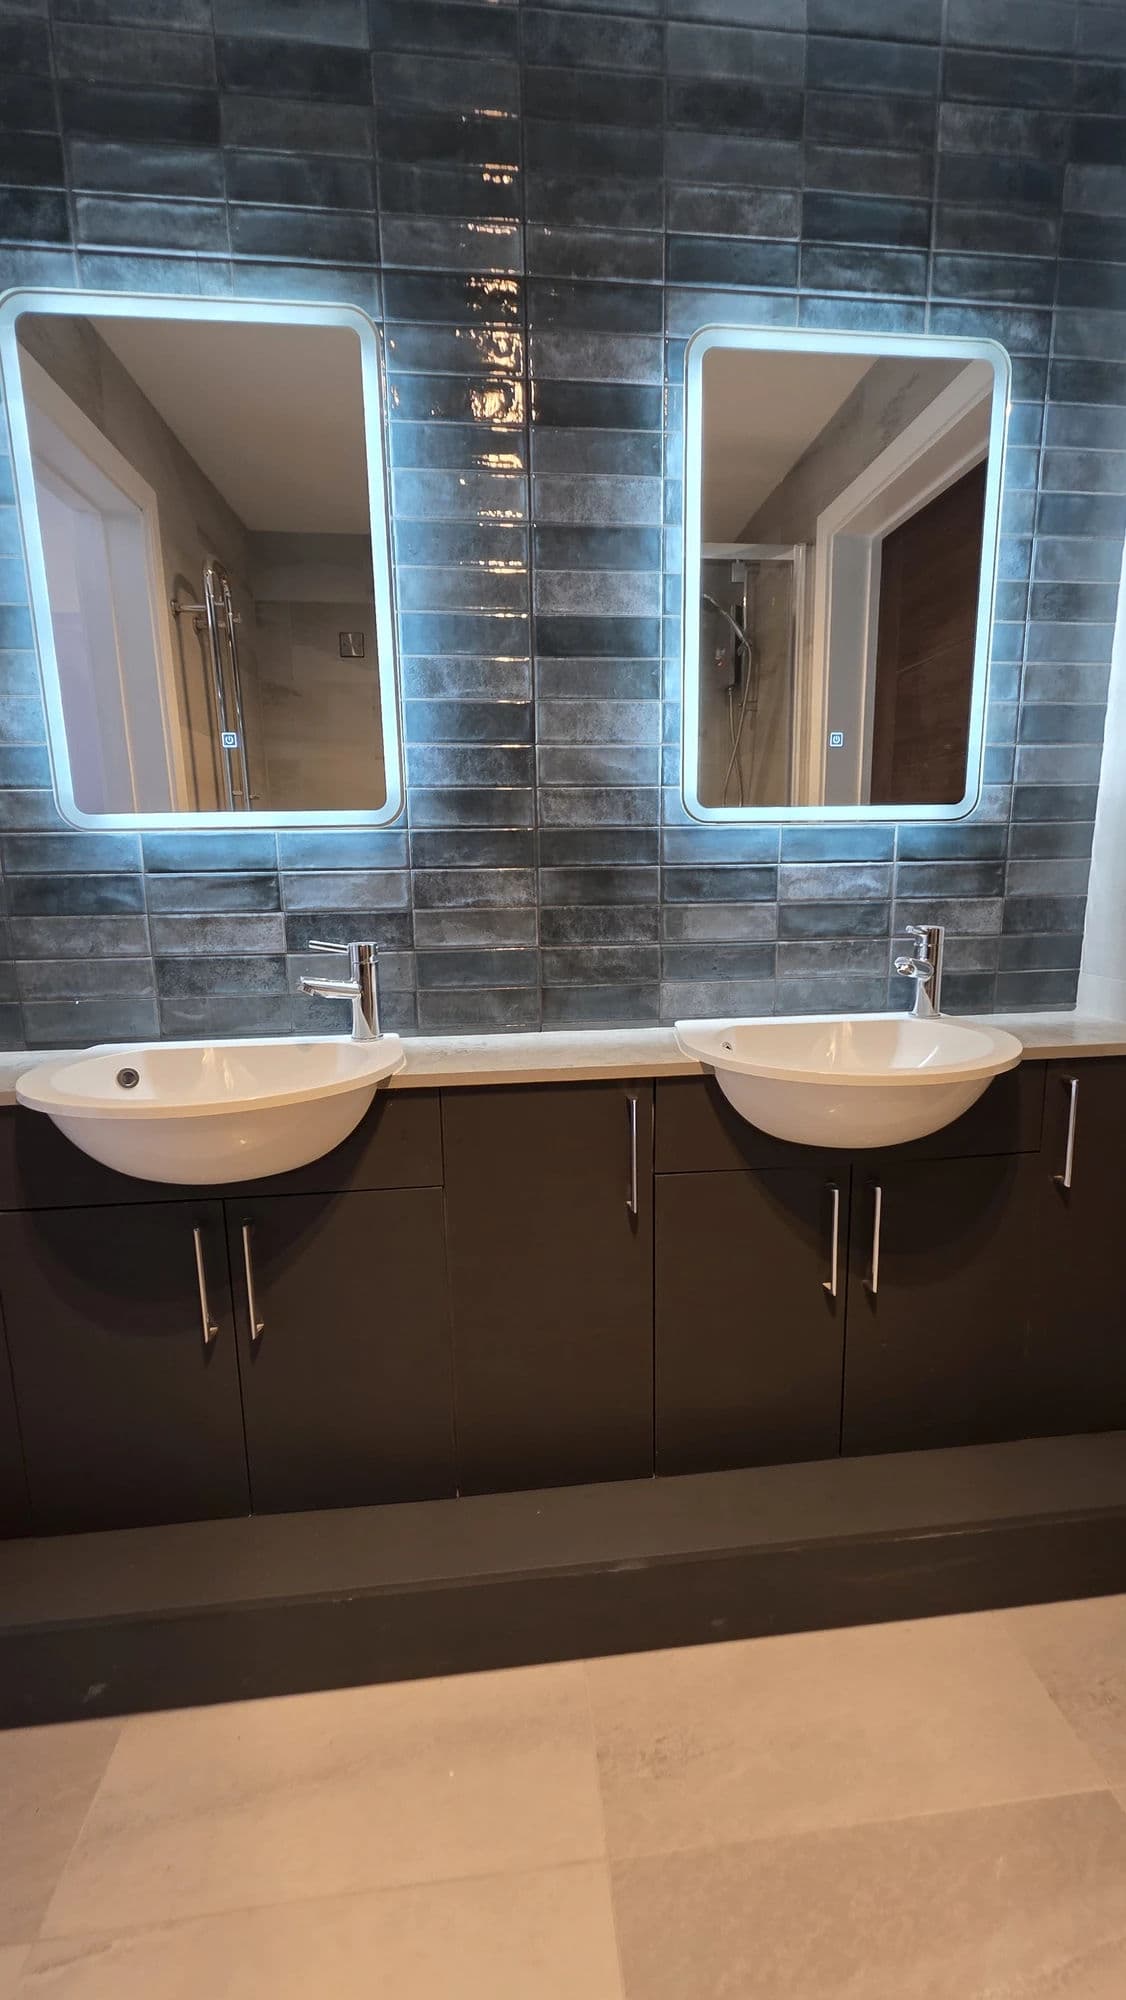
Bathroom Installation Hartlepool with Jack-and-Jill Double Vanity
Master-Bedroom En-Suite
The master-bedroom en-suite was also completed in February 2026 over exactly one working week.
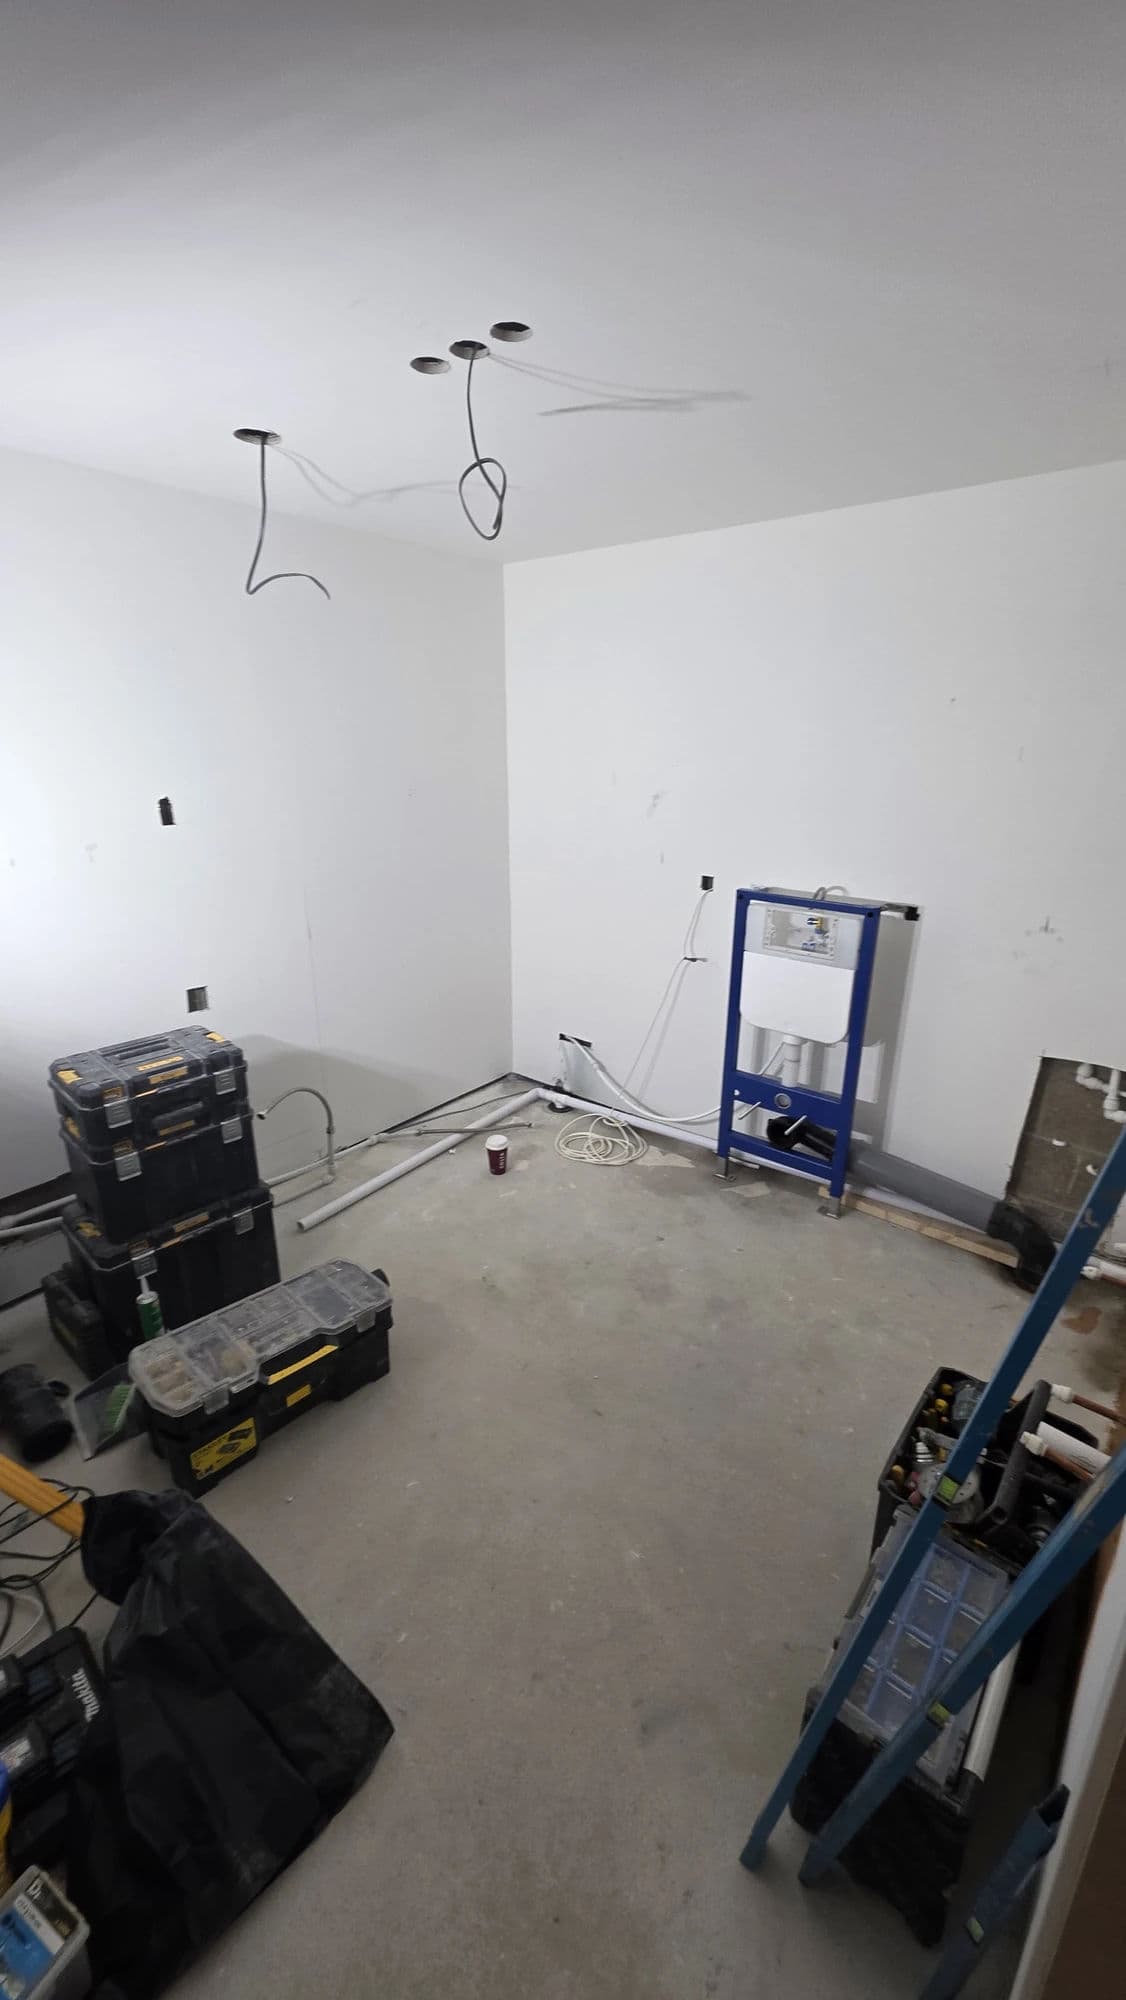
Shower Room Installation Hartlepool with Large Shower Enclosure
Main Bathroom
After completing the two February bathrooms, we moved onto another previously booked project.
We returned to the same property in March 2026 and completed the larger main bathroom over two working weeks.
Bathroom Fitting Hartlepool with Bath and Double Vanity
Cloakroom
Once the three bathrooms included within the agreed package had been completed, the customer later invited us back again for a separate cloakroom installation.
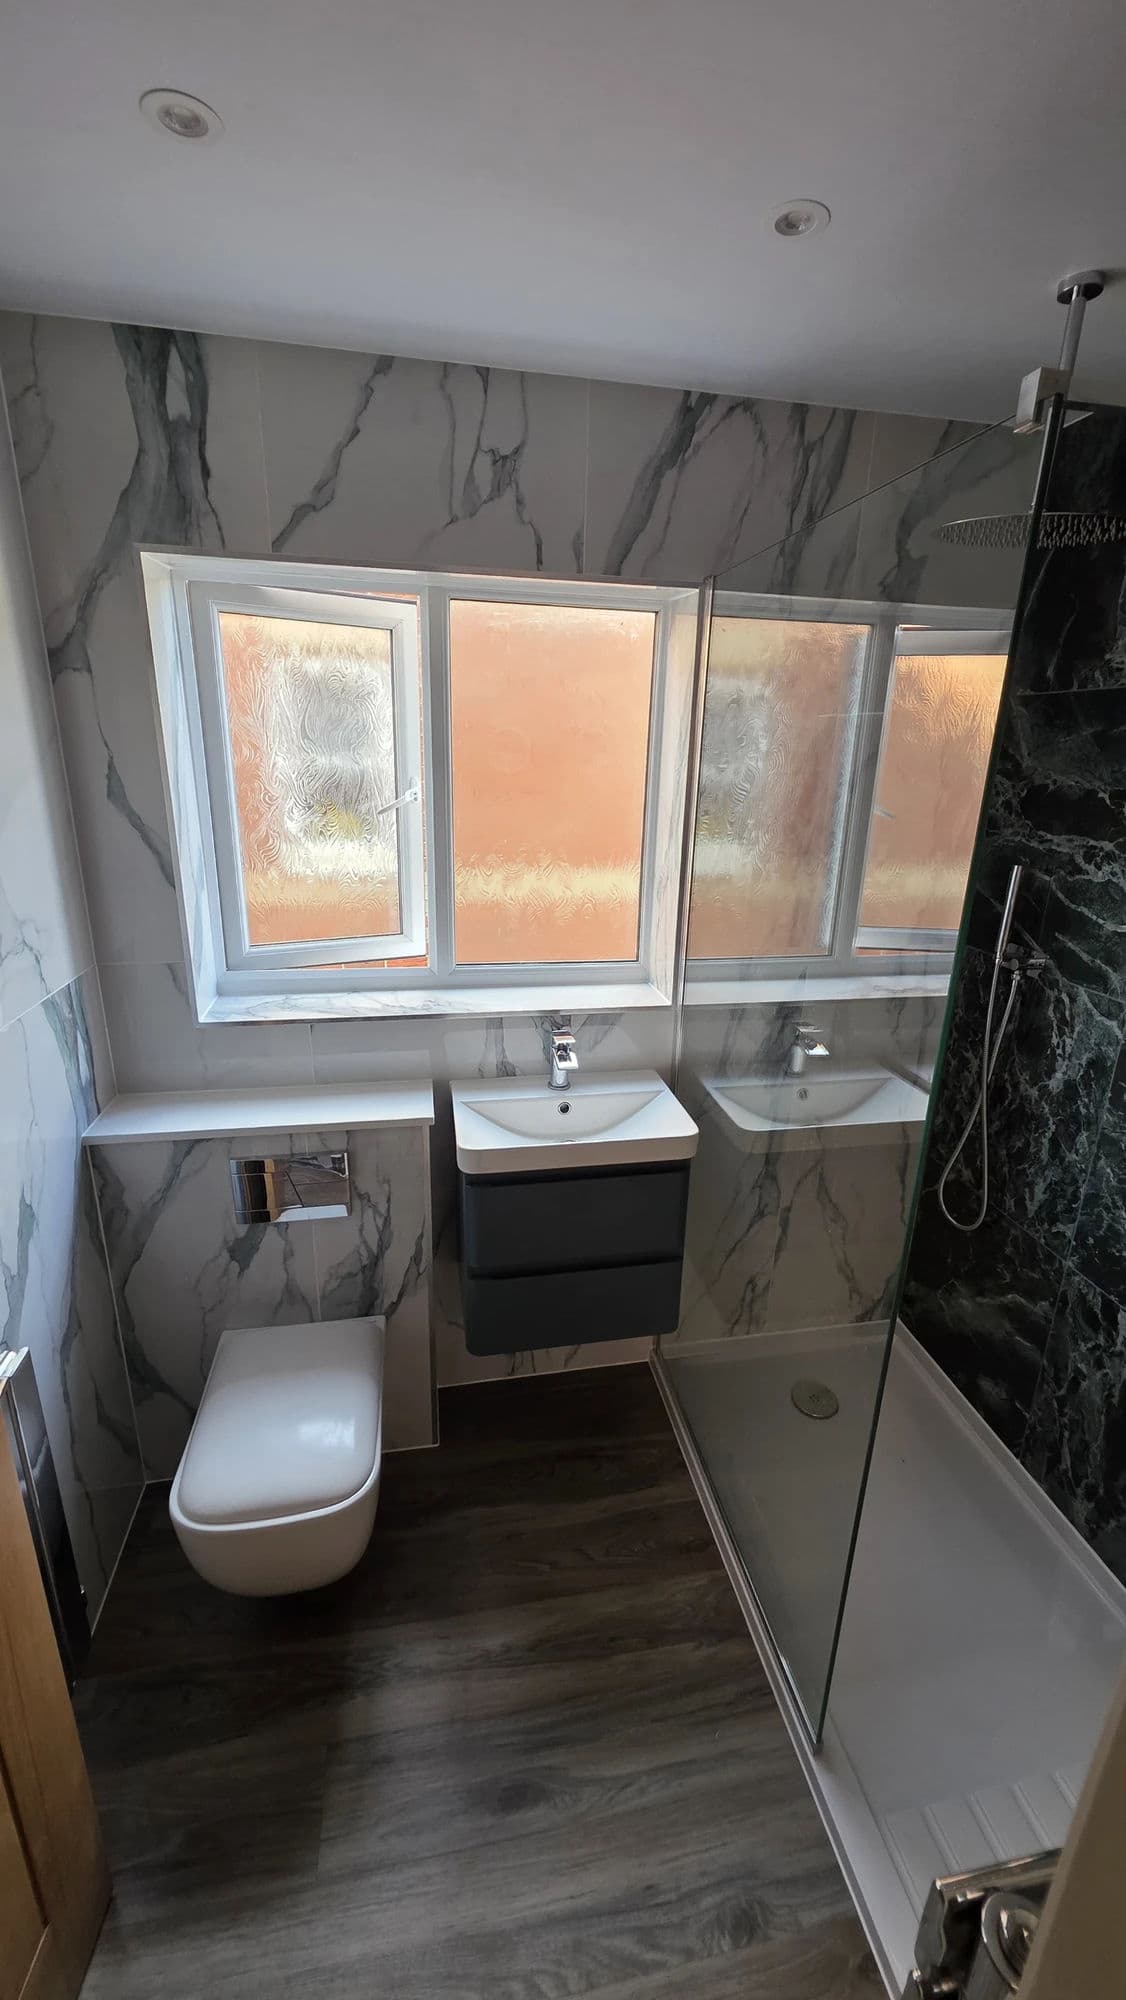
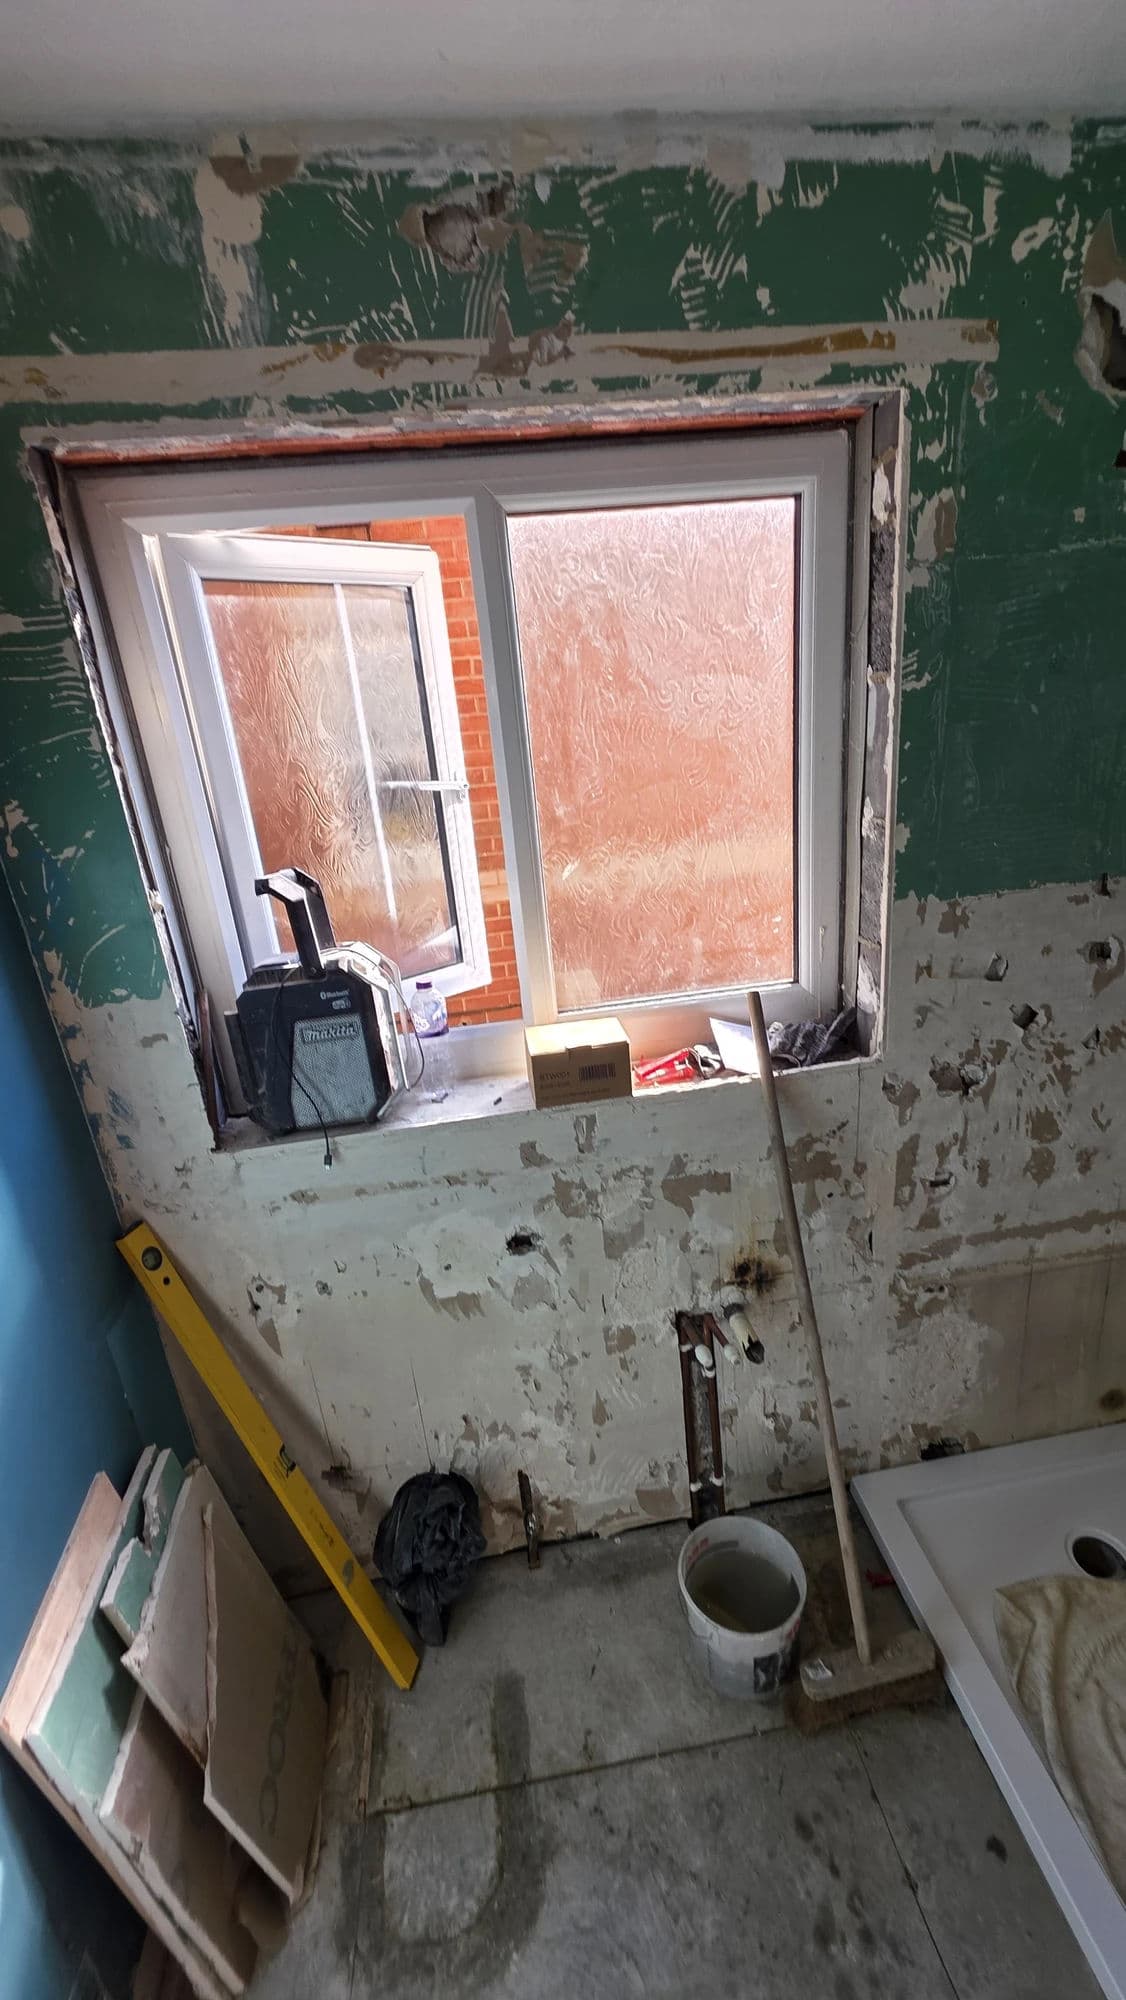
Cloakroom Installation Hartlepool with Wall-Hung WC
The progression from flooring into three bathrooms and then the later cloakroom reflects how the working relationship developed as construction of the property progressed.
Completed Hartlepool Floor Tiling
The completed project created approximately 150 m² of prepared and tiled flooring across two levels of this substantial Hartlepool new-build property.
The finished installation included:
- approximately 100–110 m² across the main upper level;
- approximately 40–50 m² across the ground floor;
- extensive floor preparation;
- BAL Prime APD;
- two-part BAL Level Plus floor levelling;
- preparation around existing water underfloor heating;
- localised levelling over the ground-floor screed;
- 600 × 600 mm porcelain tiles approximately 10 mm thick;
- straight-grid tiling across the large upper floor;
- diagonal diamond-pattern tiling through the ground-floor circulation areas;
- flexible grey S1 tile adhesive;
- BAL Gunmetal grout;
- 2 mm Dakota tile-levelling system;
- bespoke colour-matched movement-joint profiles;
- approximately 70 mm porcelain tiled skirting;
- anthracite finishing trims;
- careful control of finished floor levels around existing doors, windows and thresholds.
The scale of the installation meant that substrate preparation, level control, setting out and movement accommodation were every bit as important as the visible porcelain finish.
What began as a floor-preparation package developed into a substantial programme of work for the same Hartlepool customer, ultimately covering approximately 150 m² of flooring, three bathrooms and a separate cloakroom installation.